Author: Oleg M

  • Citroen C3 WRC Tour de Corse 2018 #2 bodywork

    Citroen C3 WRC Tour de Corse 2018 #2 bodywork

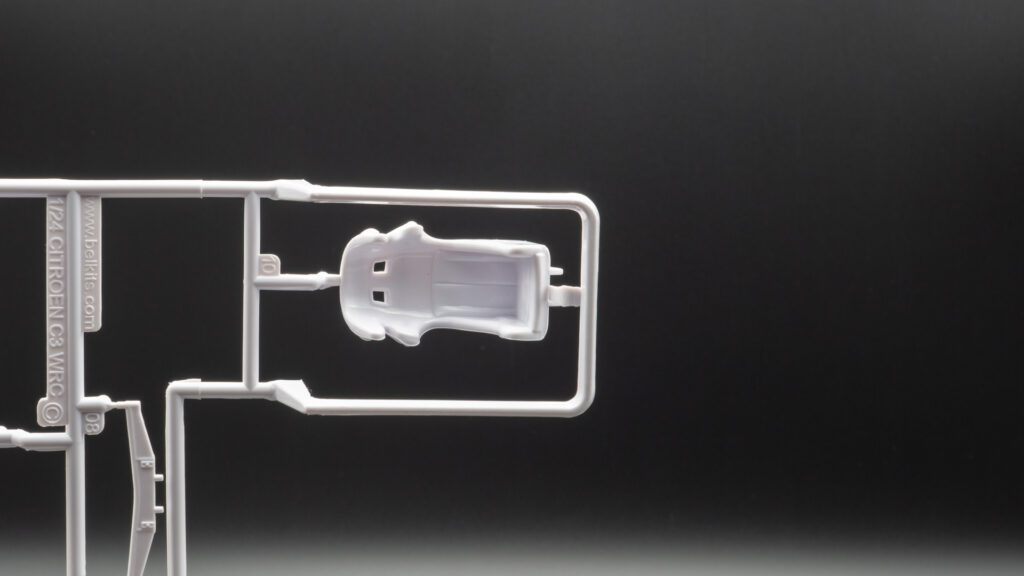
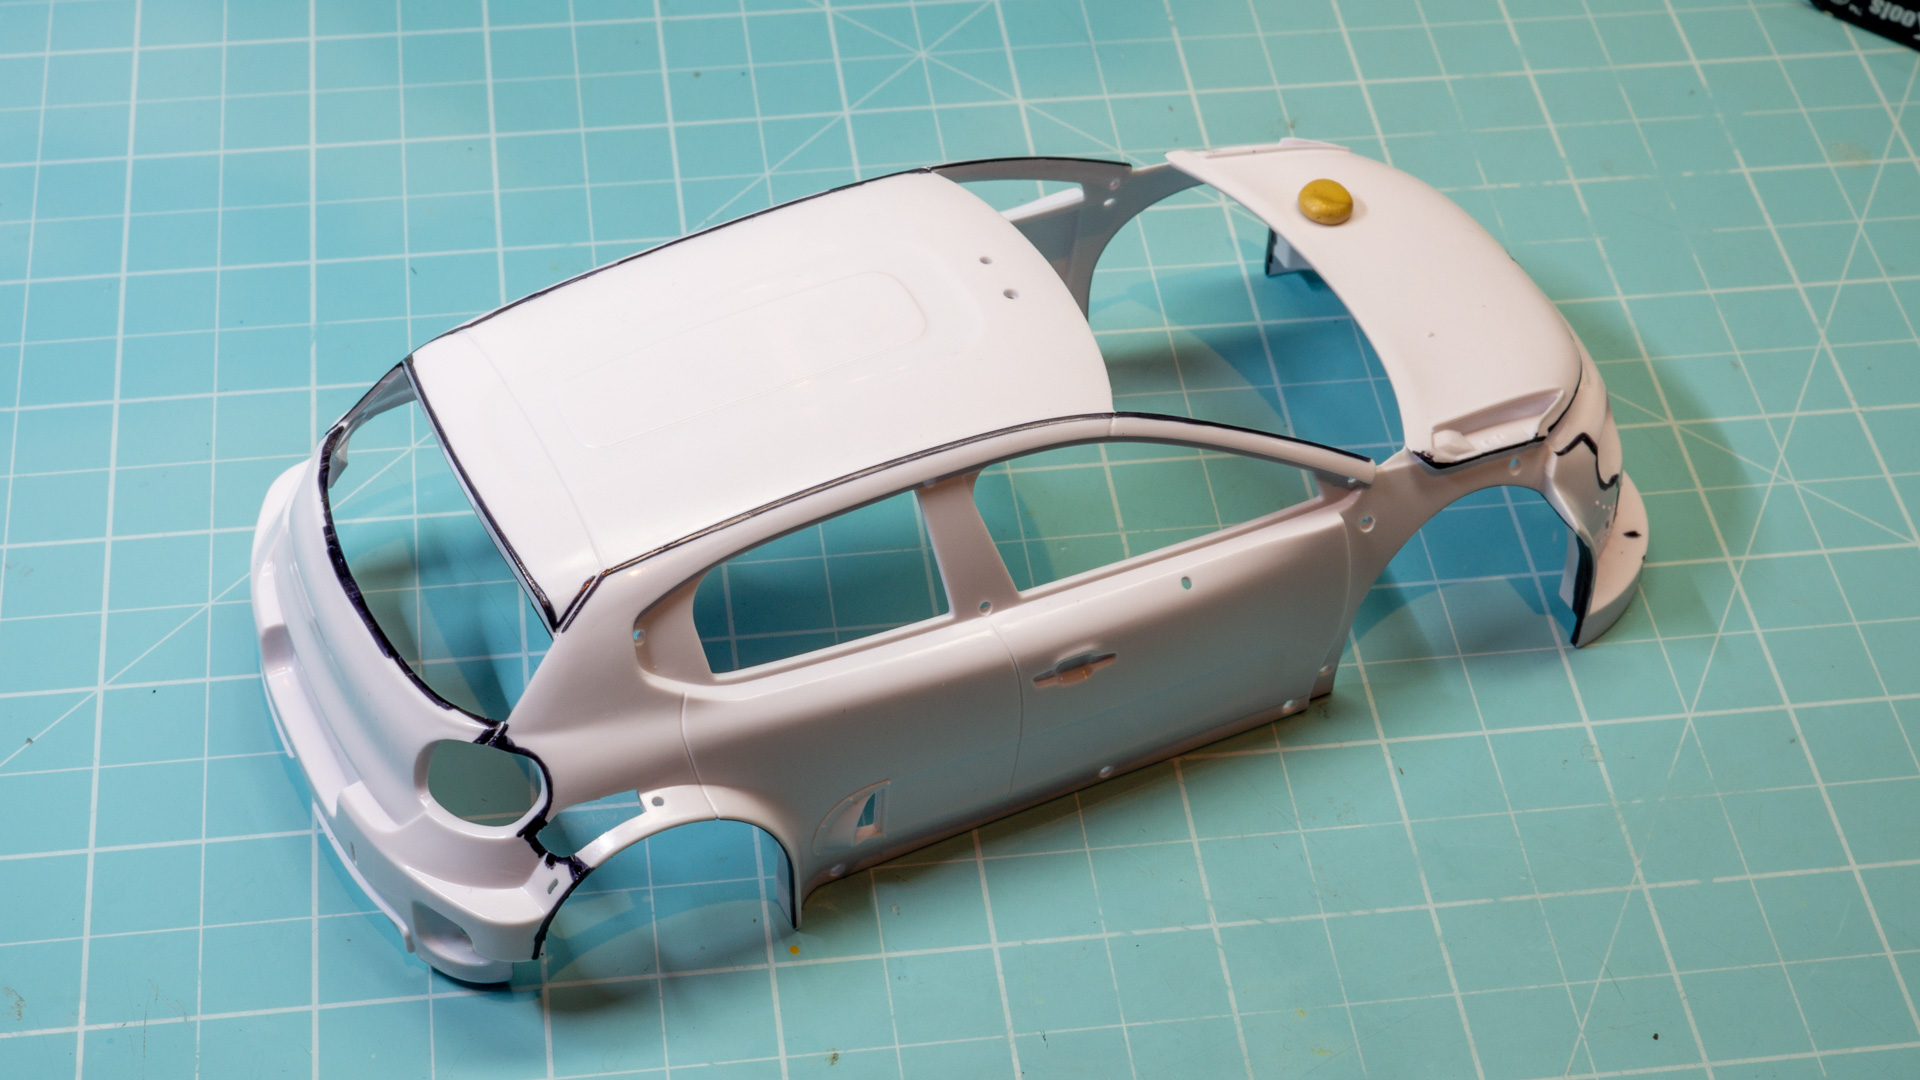
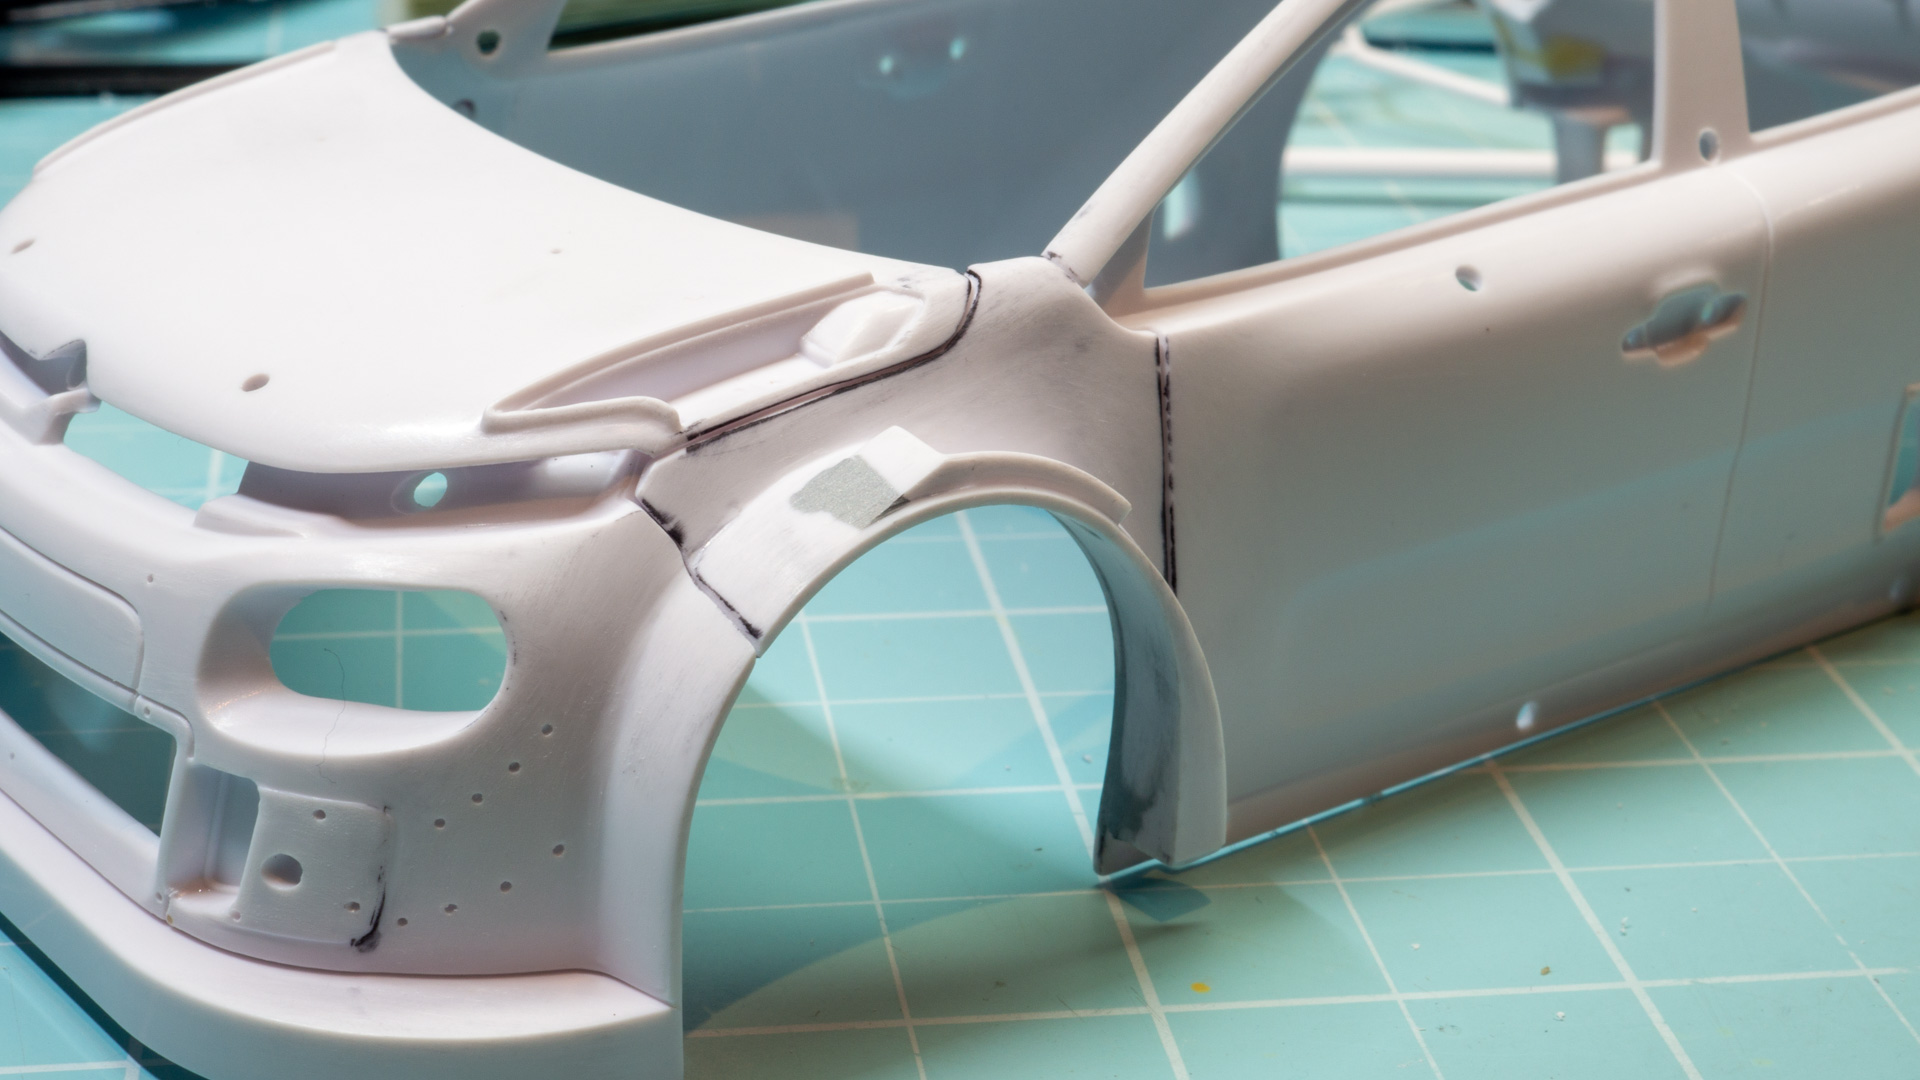
    We are going further with carbody. The first I do is marking all seams with black marker. That is because I will sand it with 400 grit sponge until black disappeared. That shows that all seams are clean. The yellow epoxy is a printed stamp of windscreen washer nozzle. Moulded in body I will sand off.

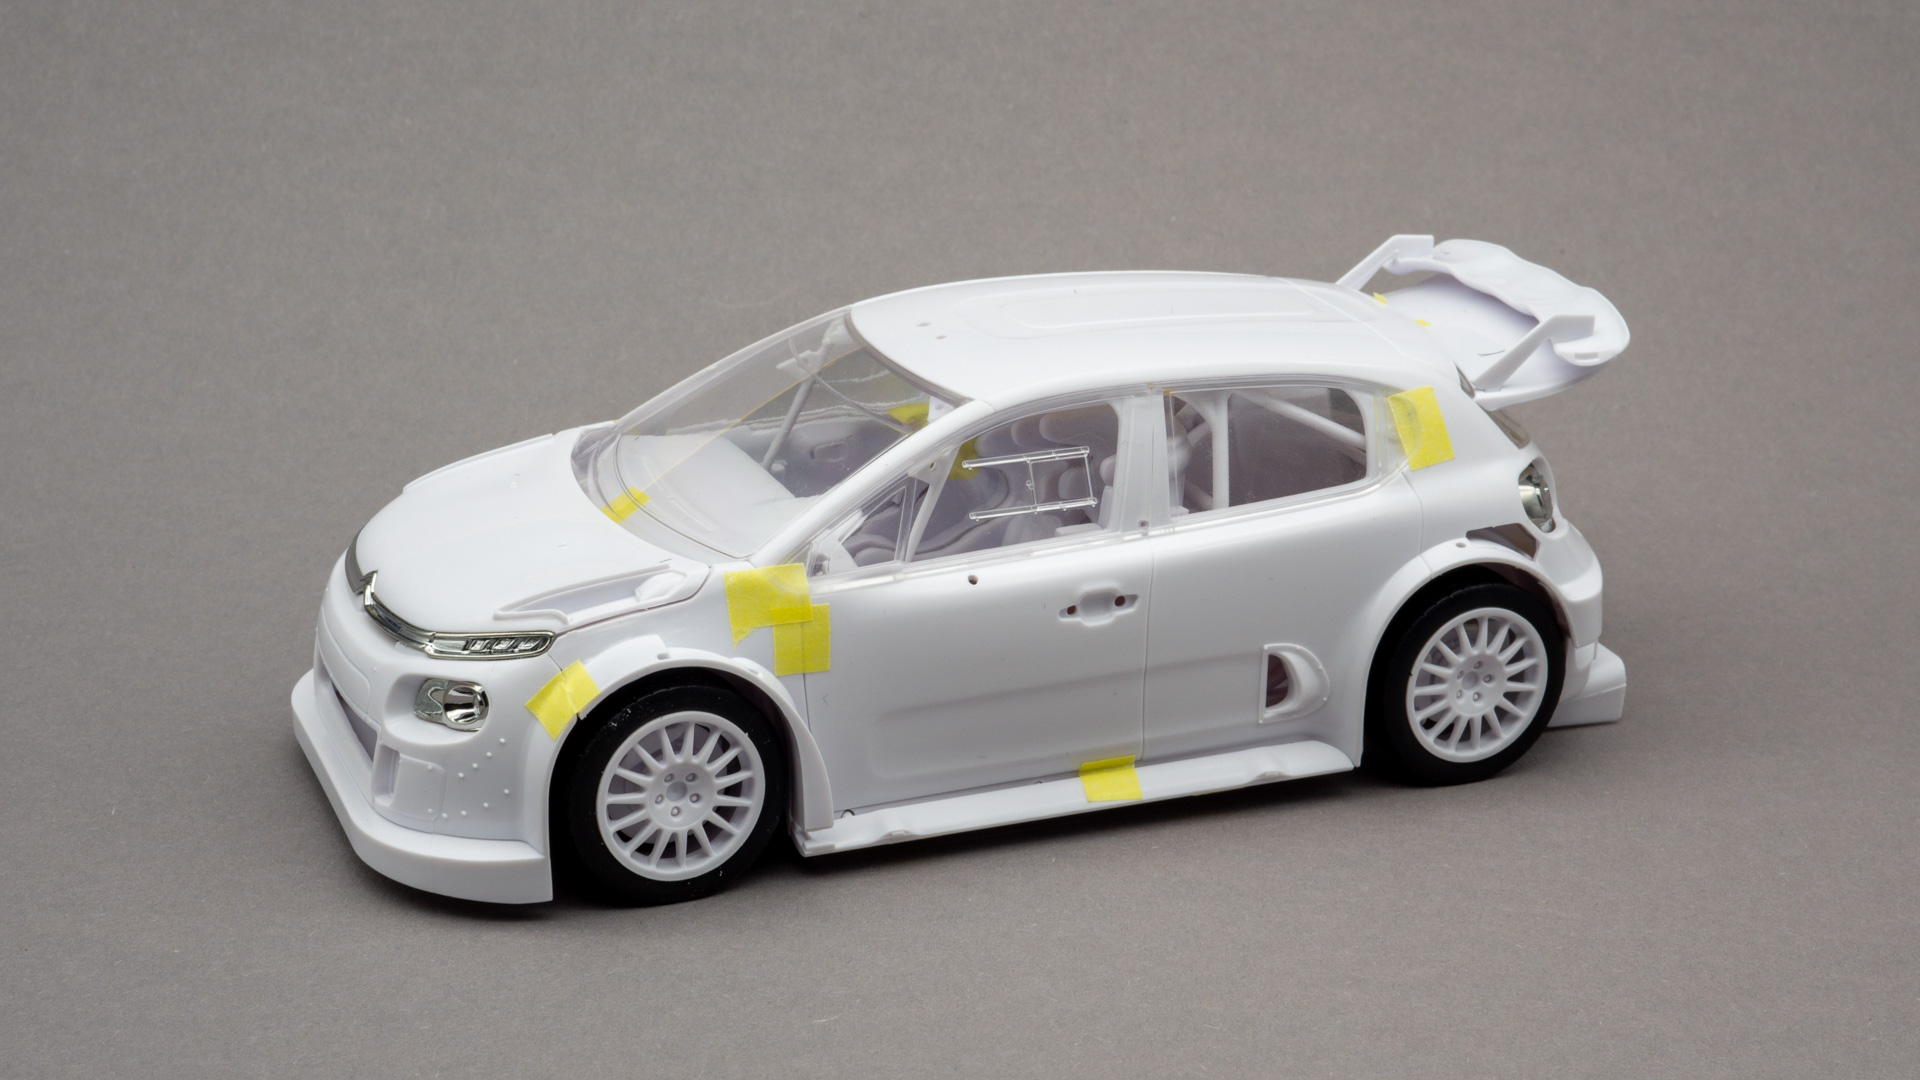
    Fenders can be glued after paint work, but I decided to fix it before painting. Moreover, they need to be aligned with the rest of body.

    Scribed new panel lines in the trunk door area.

    I also glued small parts over the fenders.

    Fenders glued and aligned with the body. And holes for night lighting made.

    Also fitted PE-meshes to hood. They have a double curvature, and it is difficult to bend them. Having worked with pliers and got something.

    Screws in the side air intakes were cutted off and new holes made. I’ll put there metal screws later.

    Fill the seams on the small parts on the fenders and drilled holes for canards.

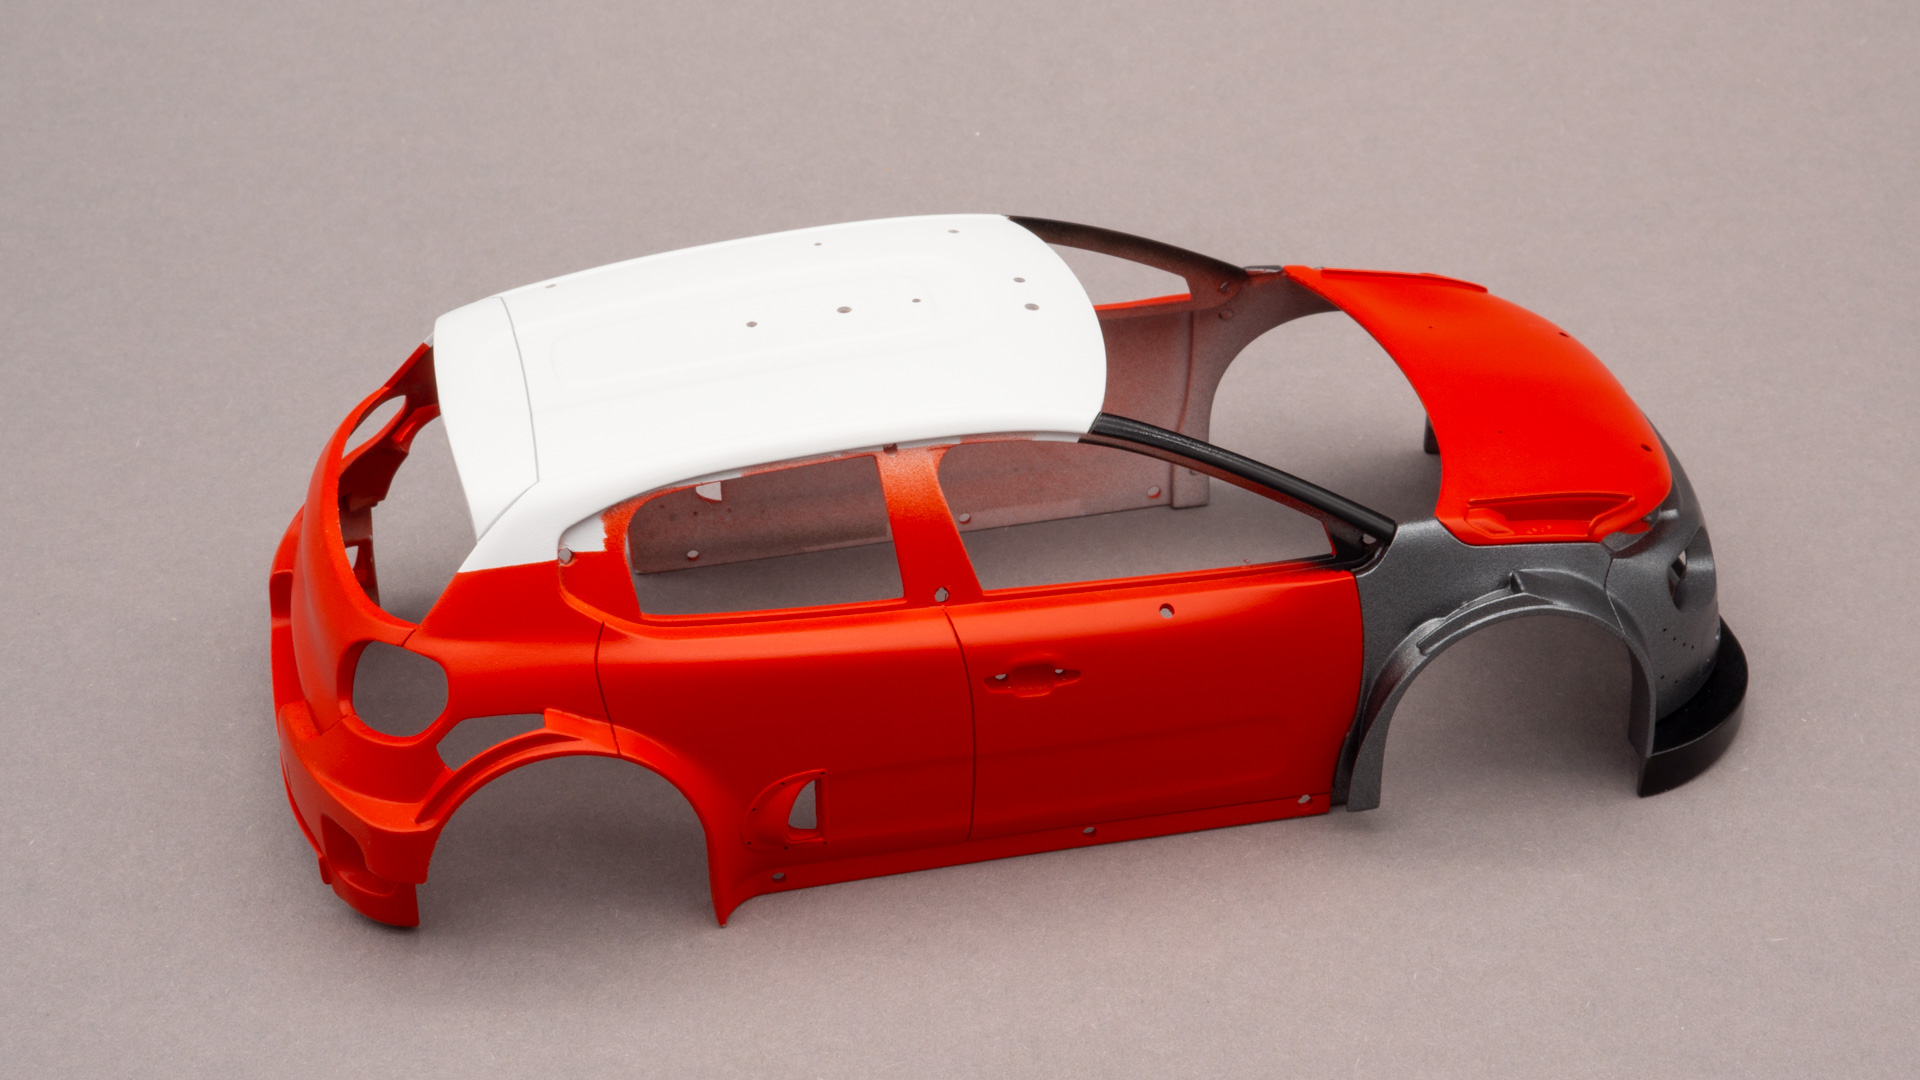
    Now it is time for painting. As first, sprued automotive 1k primer filler, sanded 2000 grit and painted roof in white. Body has three main colours. Here are white areas masked and we can continue.

    Then body got red and grey anthracite colours. A-Pillars and front lip are black.

    Next is decaling step by step. I recommend to paint body with gloss clearcoat before put decals. But I neglected my own advice and some decals were silvering, few of them though.

    So, the whole body is decaled. On the doors there is no large gray strip. Since it must be matte, I left it for the last step.

    And then 2k clearcoat was added.

    Here is orange peel sanded with godhand sponge 4000. Clearcoat was left on 3 days before I started to sand.

    Further sanding with 6000 sponge.

    Further 8000 sponge. The difference is not so noticeable, but I recommend do not skip this step.

    And finally 10000 grid.

    And then polishing with proxxon and meguiars scratch-x. After that polishing by hand with step 2 meguiars medium.

    After polishing masked all areas but the front part. This must be not so glossy.

    Semi-gloss Alclad 2 clearcoat was applied.

    Then applied the rest decals – big gray stripe with Citroёn logo. Windows area painted brush in black.

    Logo Citroёn with text was taken from box. This is metal stickers. Black decal over that.

    On this step i would say the bodywork is finished.

    You can also find video build on my YouTube channel.

  • Citroen C3 WRC Tour de Corse 2018 #1 unboxing

    Citroen C3 WRC Tour de Corse 2018 #1 unboxing

    Here i will start the next build. This is a rally car Citroen C3 WRC version 2018 by Belkits with article number BEL-017. By the way, this kit was kindly given to me by webstore Domino.be. I recommend it, since I use this shop very often myself and buy there a lot of stuff.

    The car body is complex, with many different imitations of bolts and other details. To the kit i have got some paint jars for basic coloring. Number 5 is excellent paint, they do not eat plastic and are absolutely friendly for any surface.

    Sprue with undercarriage and suspension elements. The brake calipers are molded into the discs.

    Sprue related to the bottom parts. There are covers that close everything from below, and the side sills.

    Sprue with wheel rims. The one without bolts is a reserve rim. It will be placed in the cockpit.

    The interior tub is as a separate part with many holes – to position accessoires. I like when such parts are separate, and not moulded into the body, you do not need to waste time to mask it during painting. The imitation of the engine is simple, it seems to me that they insert it into all models. Doors cards are separate and with a small detailing in it.

    On the next sprue, the parts of the safety cage, the dashboard and some small parts for in the interior.

    Various small parts for the exterior and rear wing parts.

    Sprue with clear parts. There is some distortions, but still ok.

    Chrome plated parts.

    And this is a cool sprue, all the parts of the rubber. Mudflaps, air cooling ducts and other things. The tires are simple, with a tread.

    Also was given stamped canards made of metal, a couple of PE plates with meshes, disk rotors on each side and various seatbelts things. Also painted masks and metal sticker mirrors with Citroen emblem.

    The sheet with decals is very large. Made by cartograph, this means that there will be few problems with them.

    Before starting work, I make dry fit with the main parts to check the further building process.

    All four wheels touch the surface of the table, which means the bottom part is straight flat, without distortions.

    I prefer to glue safety cage before painting. Marked which parts can be assembled before painting. Almost everything except two front beams. I will show them during the WIP.

    This is what the final option will look like. Me like it.

    That is all for a while, see you.

  • 1/24 Audi R8 Revell 07398

    1/24 Audi R8 Revell 07398

    Hey all, this is the very first entry on this personal blog, which I wanted to start for so long, but could not because of some reason. As this is the first post, I will show my first model, where it all began.

    This is a Revell‘s Audi R8 (art. 07398), which i random buyed when I was looking something in the web in 2015. Just from interest reason, I bought this box, it was a gift set with a brush, glue and several colors inside. It seemed to me that this would be enough to build and paint the model 🙂 Began to build step by step according to the instructions and paint with the brush with existing colors. I had to buy some colors, these were Acrylic water -soluble Revell paints in square bottles 18 ml. Before proceeding to the body, I found out that it was best to paint it with an airbrush, after which a simple single -acting airbrush set was purchased from the same Revell company. However, painting still left much to be desired. Despite of that i was very pleased with the first result and got more desire to go further.

    You can also find more photos in gallery.