Just a few small things left before I can call it complete. I’ll clean up the roof air intake to make it look proper — the dent there is bothering me.
Exterior parts
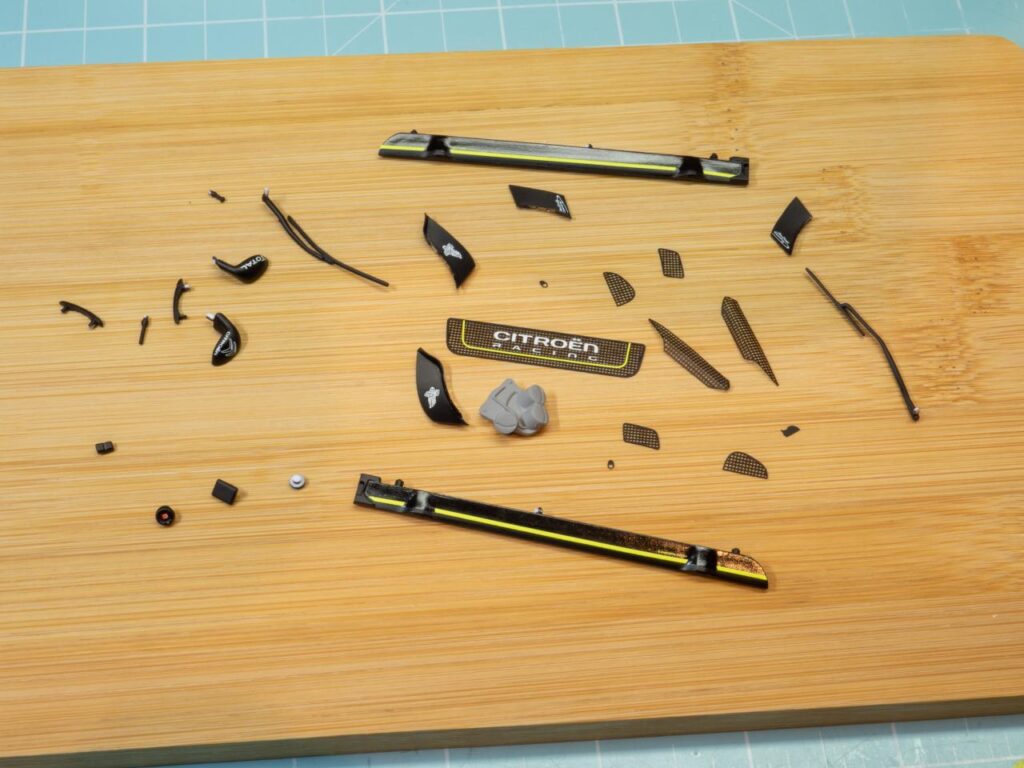
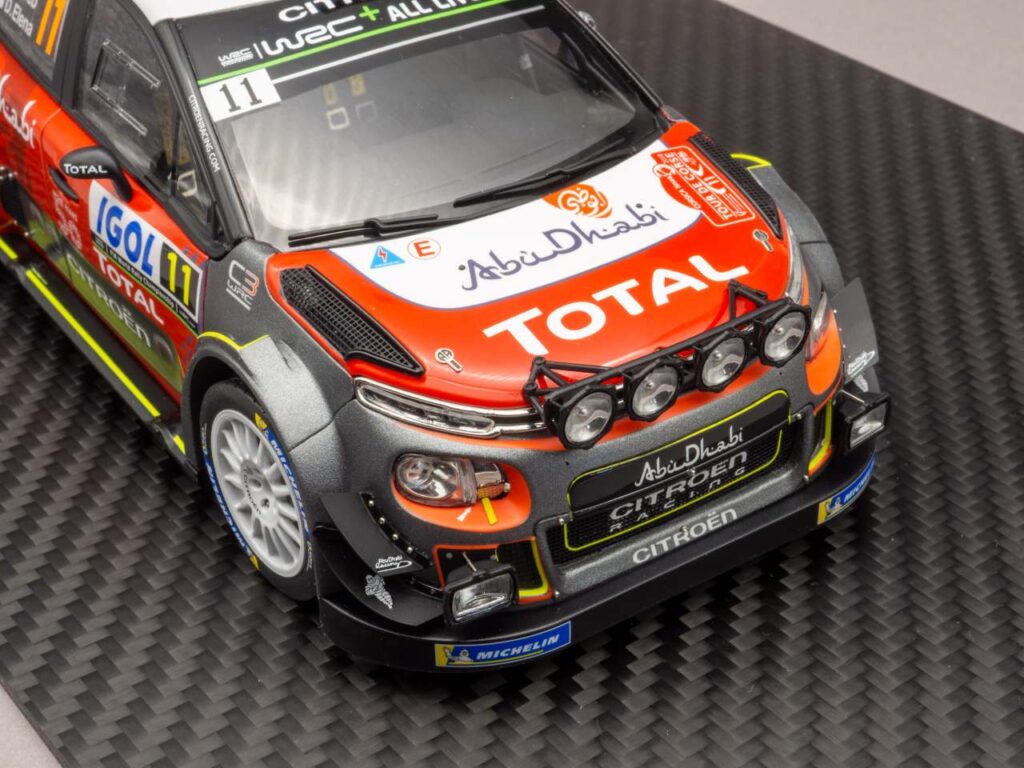
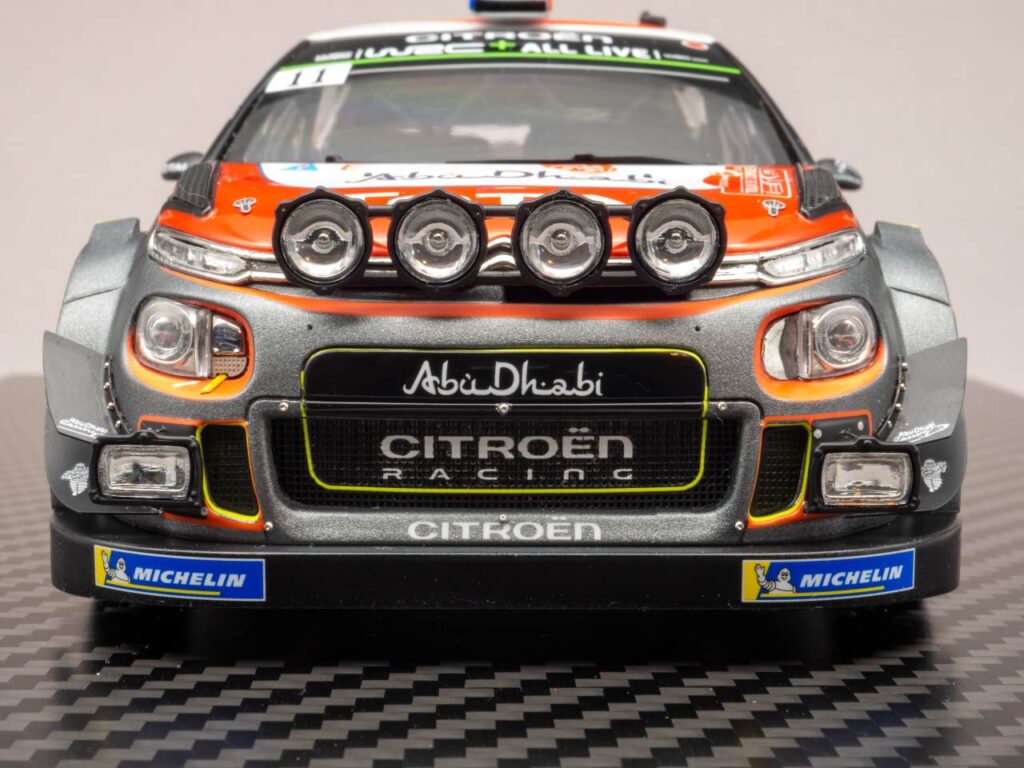
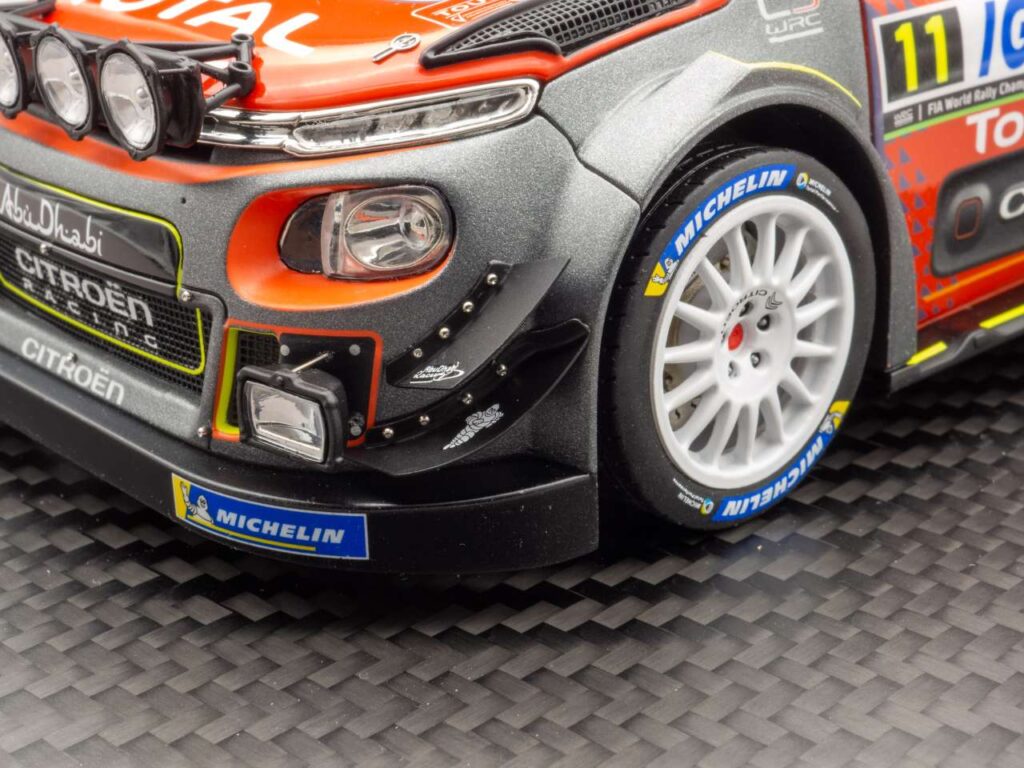
Photo-etched mesh parts. The ones on the bonnet need to be bent in a double curvature. Doing this without a bending jig is tricky, so mine came out a little uneven. The canards are already pre-pressed, which is great. I’ll attach them with real micro screws.
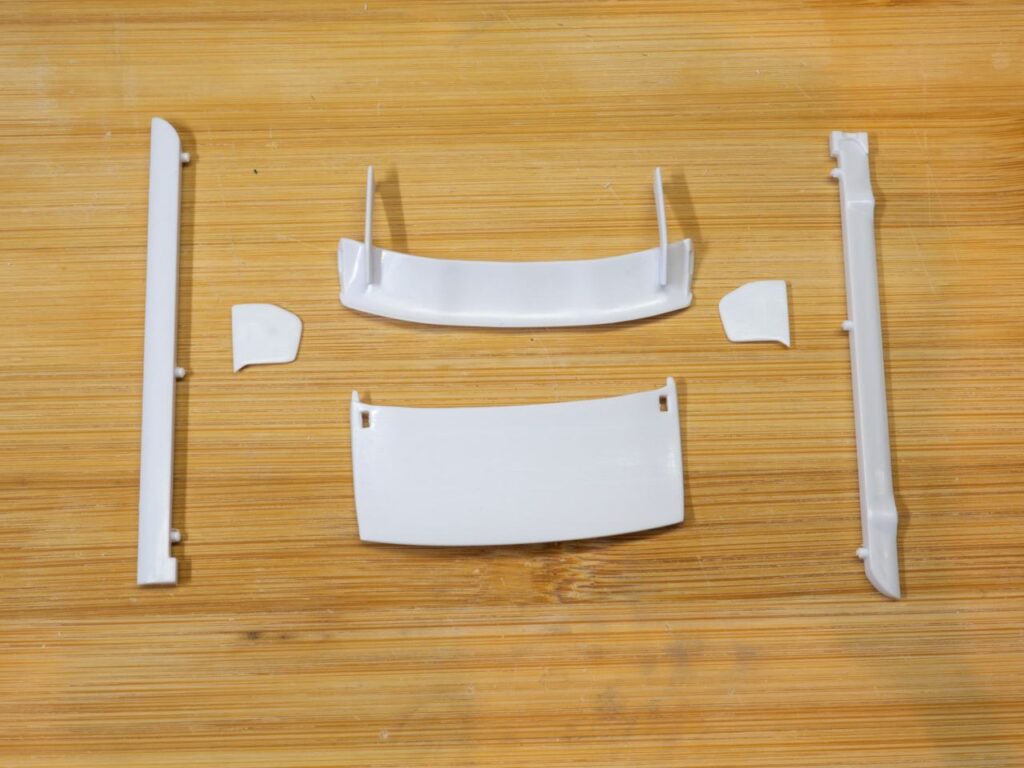
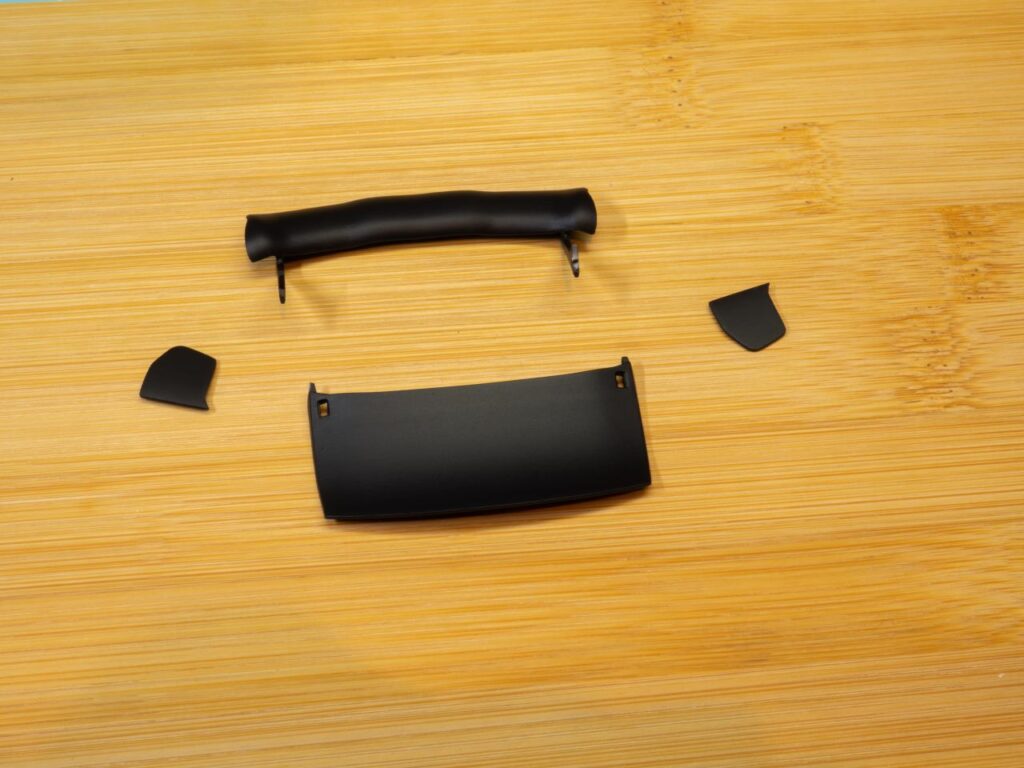
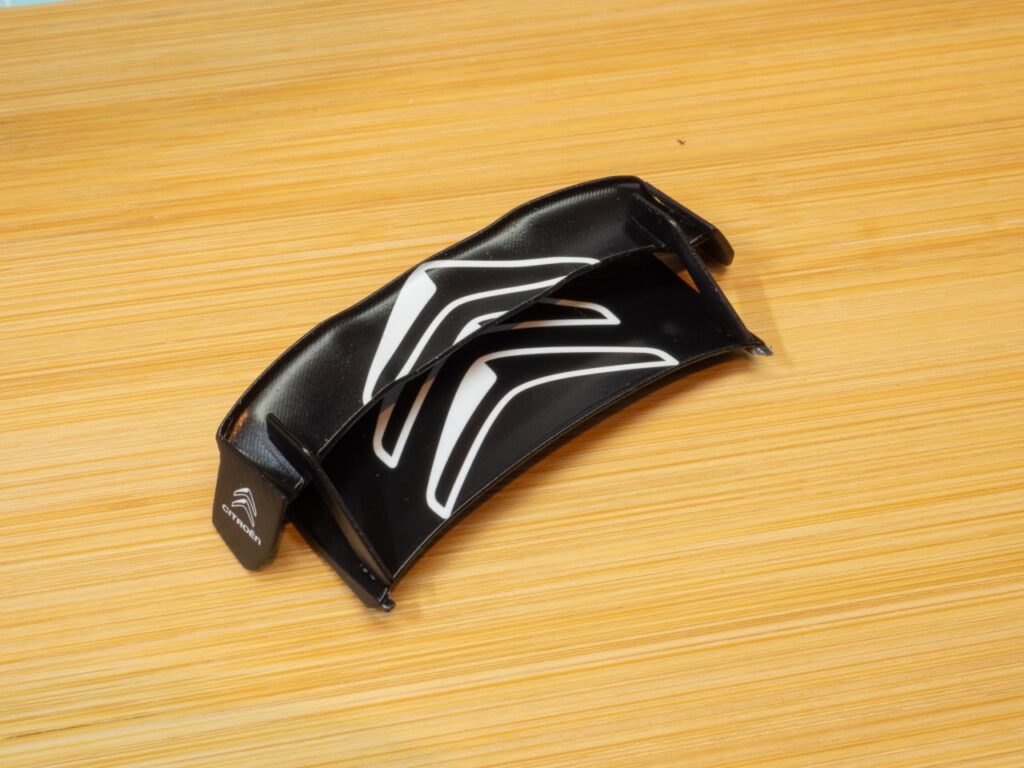
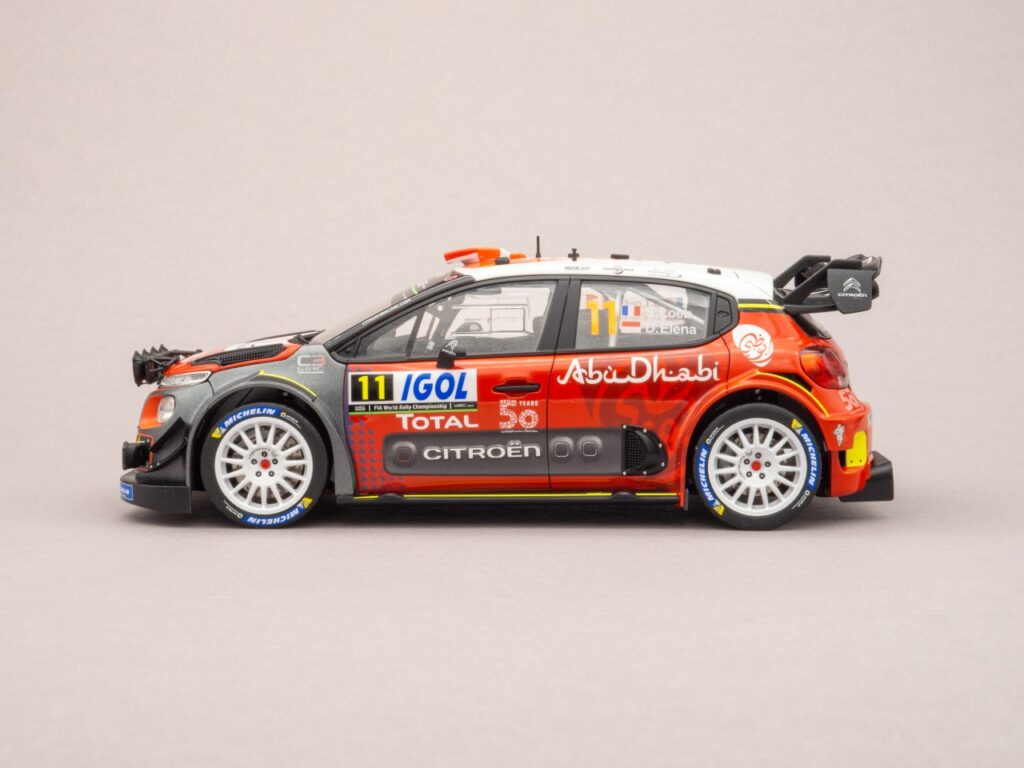
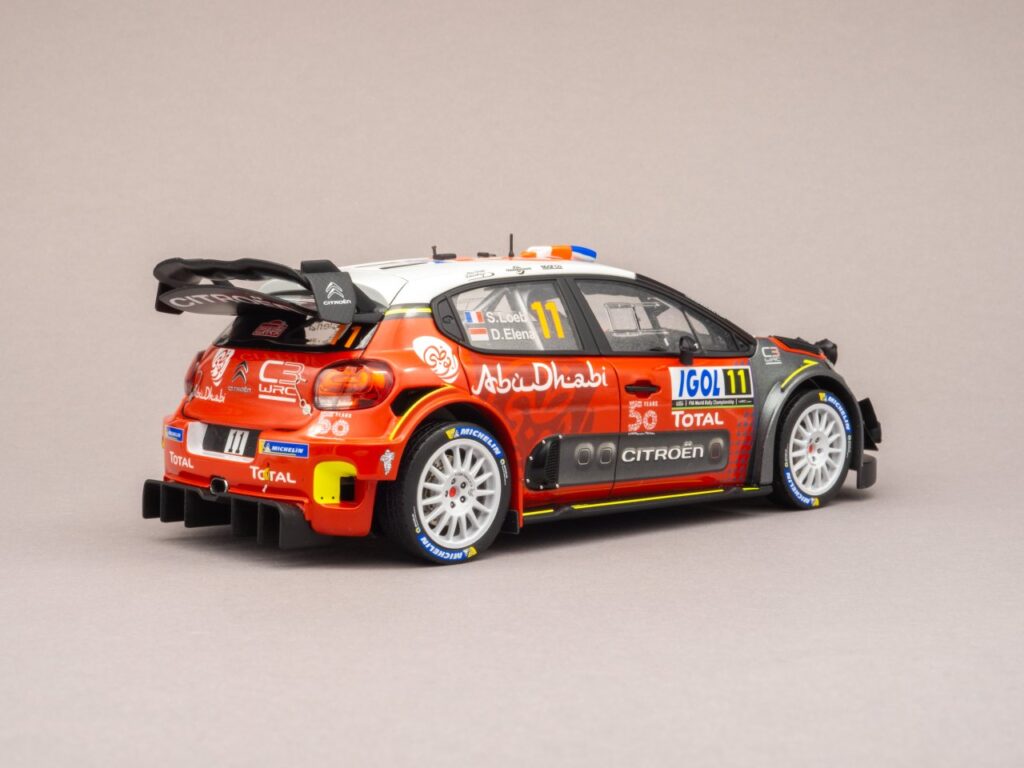
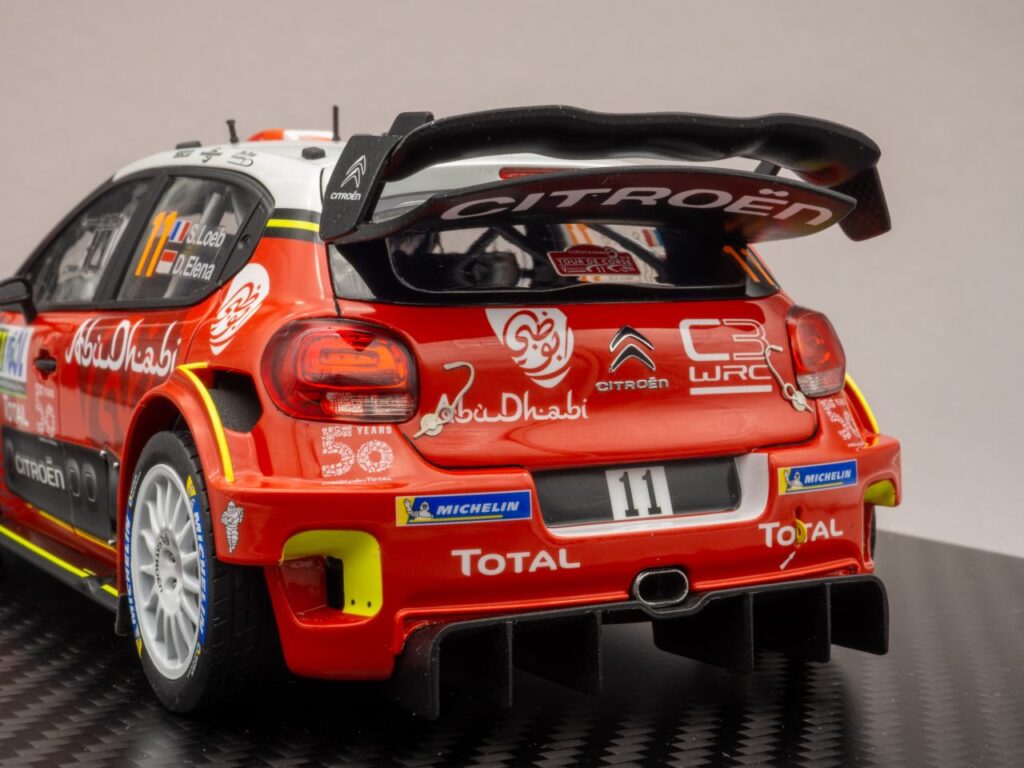
The complex rear wing and the side skirts
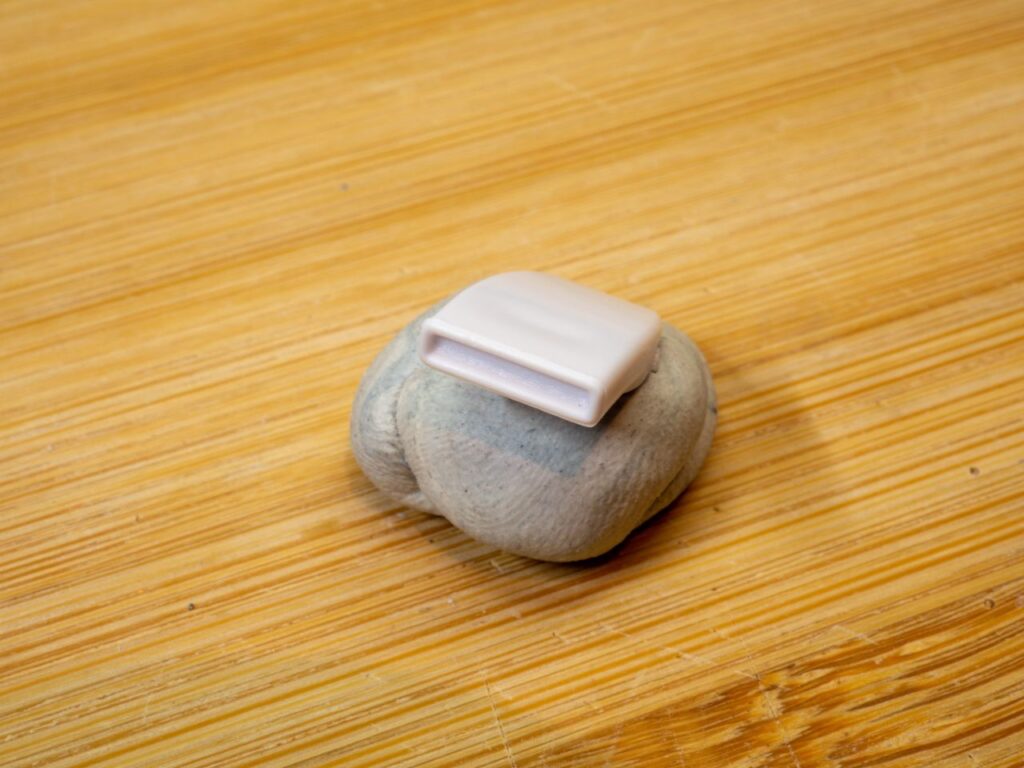
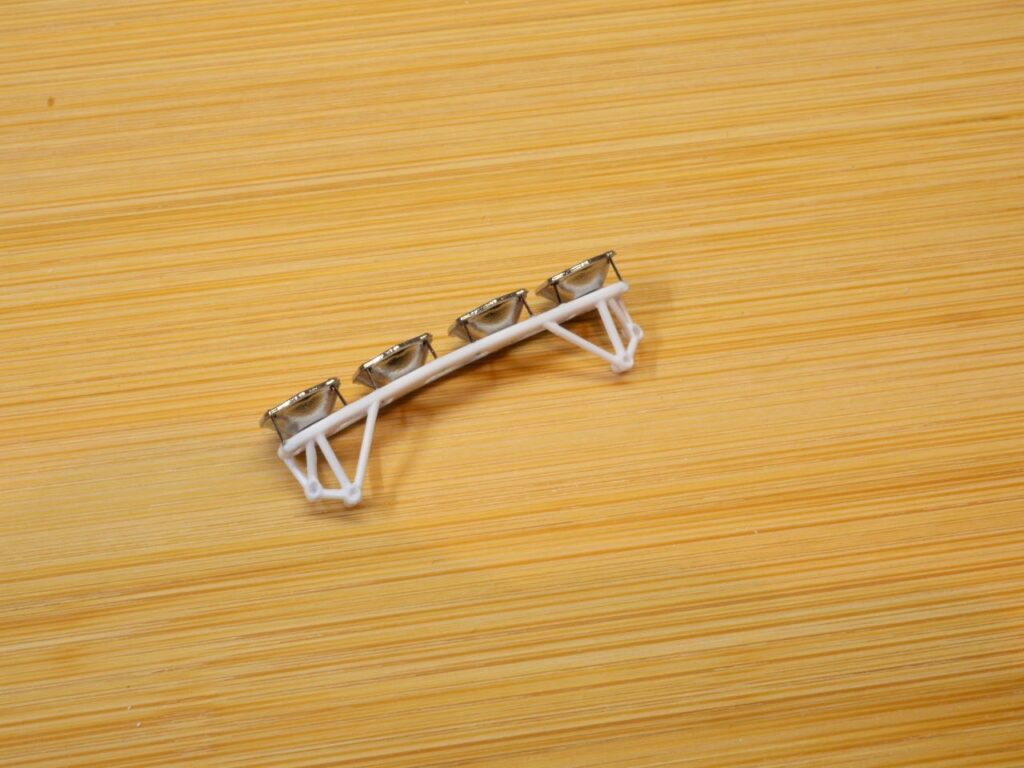
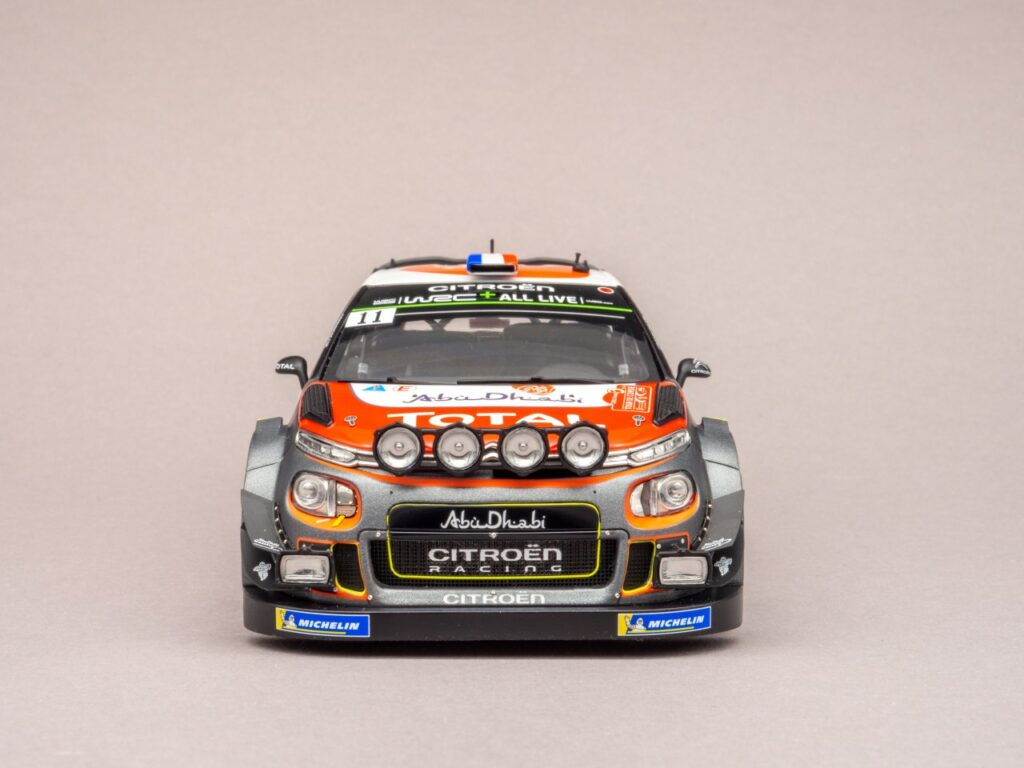
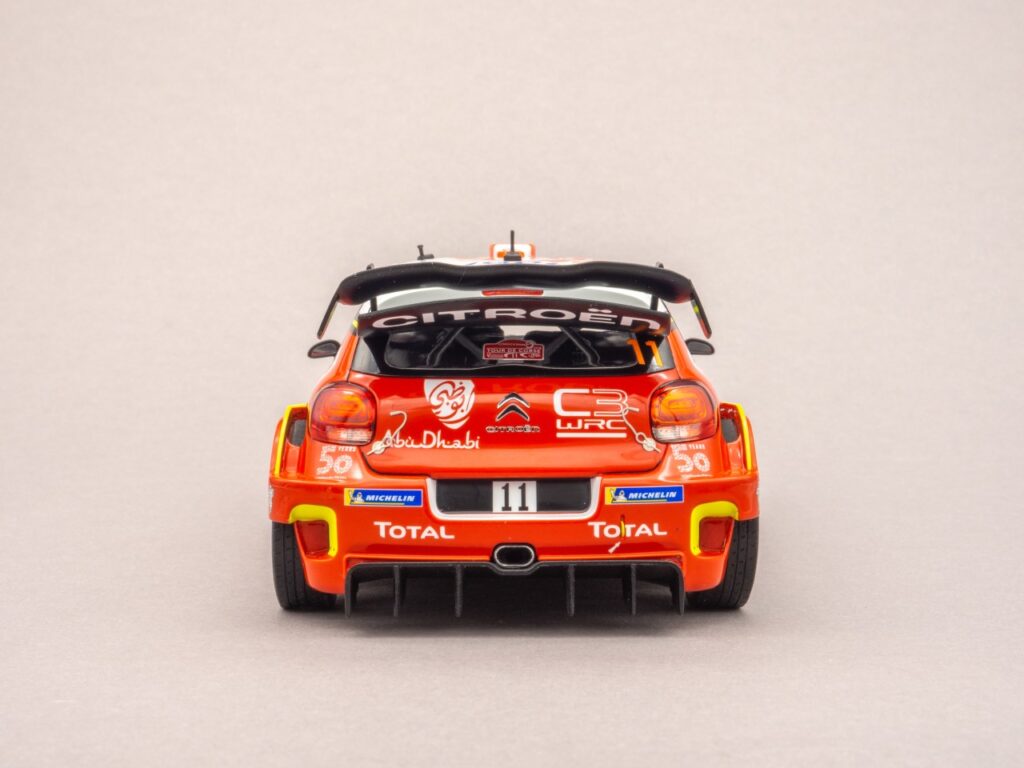
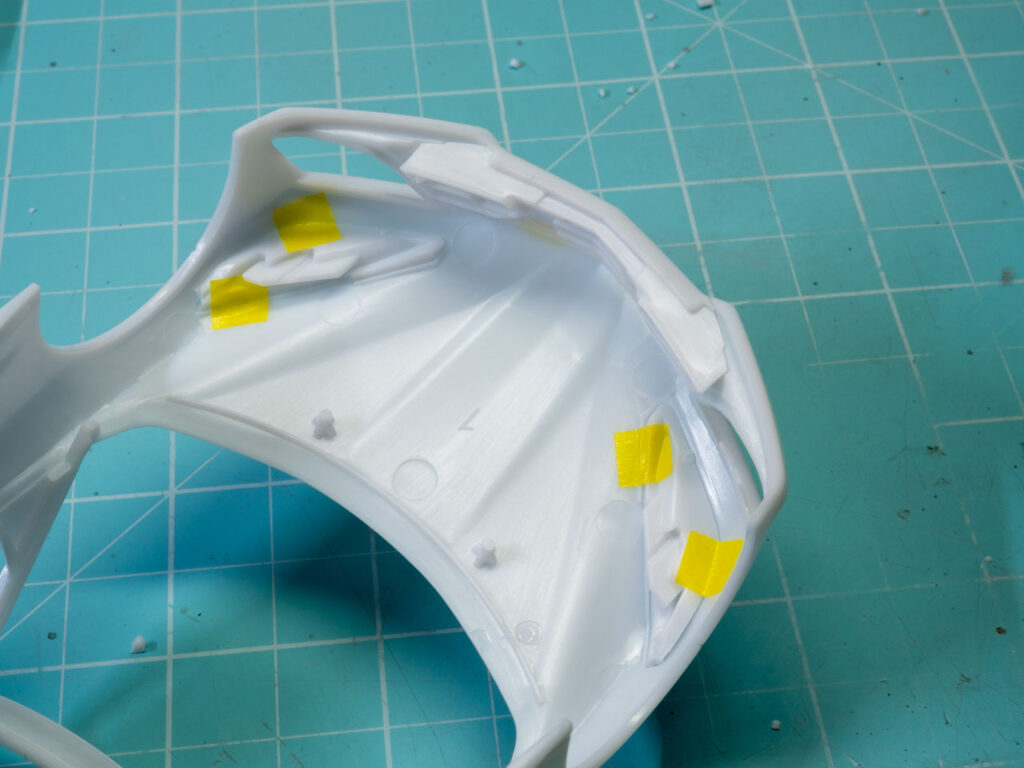
I drilled the holes in the body for the night rally lighting. And here are the lamp units themselves together with the frame.
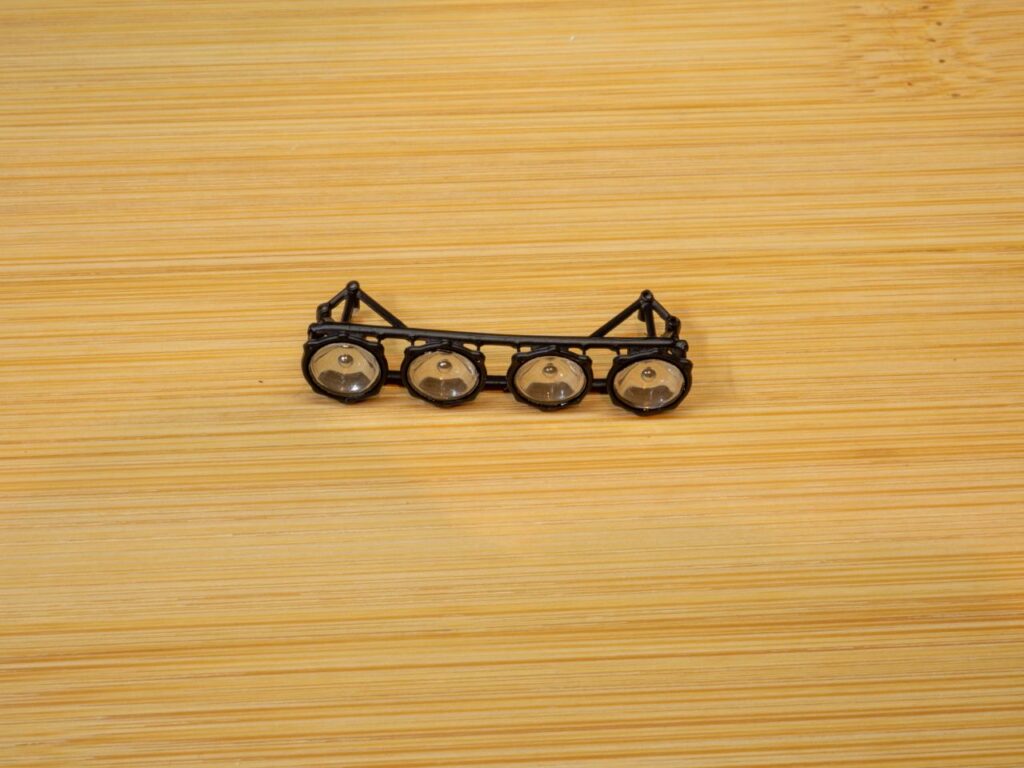
Here is how it looks assembled. I put it together carefully with CA glue. The reflectors were masked; everything else will be painted in one colour.
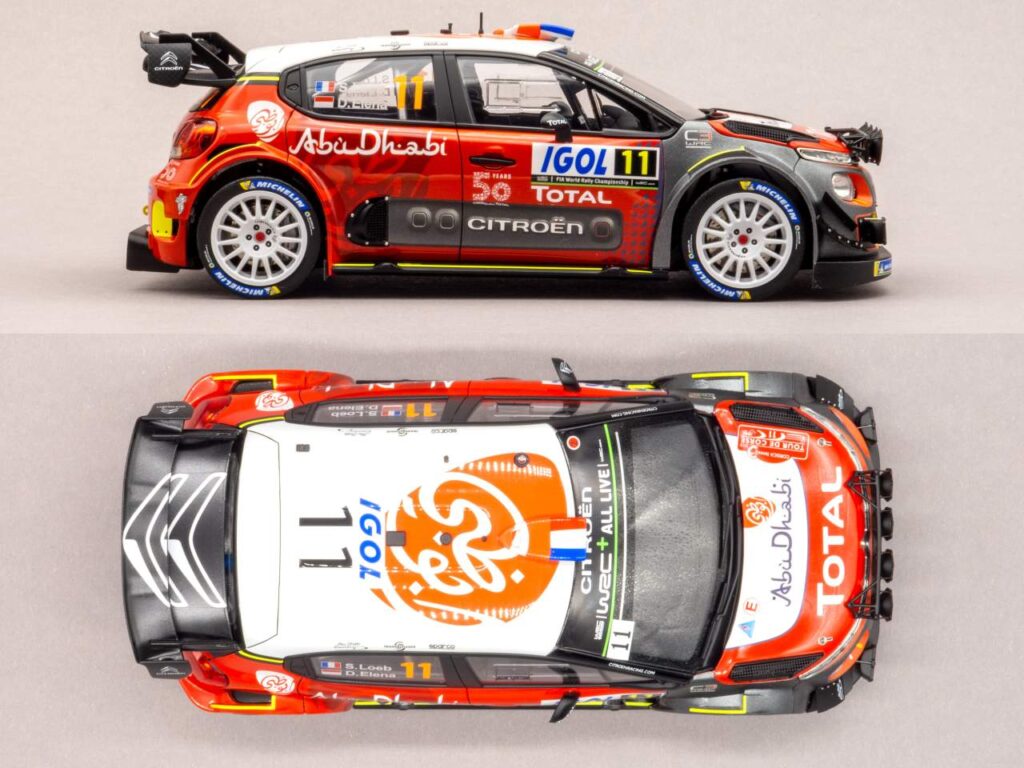
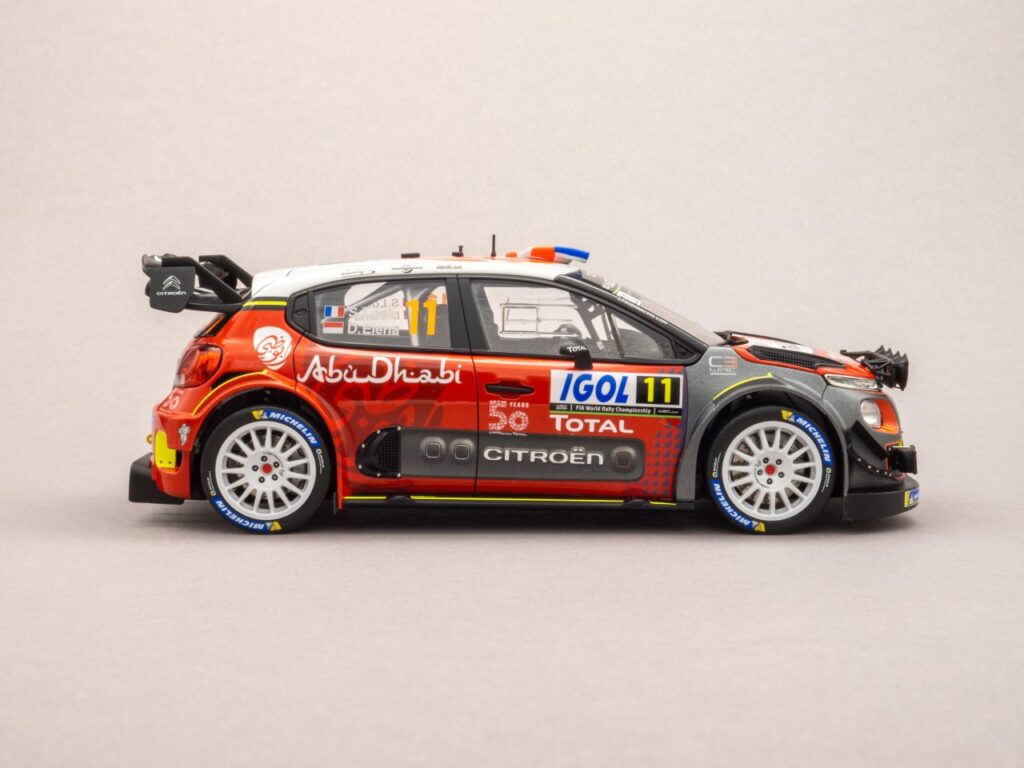
Paint results.
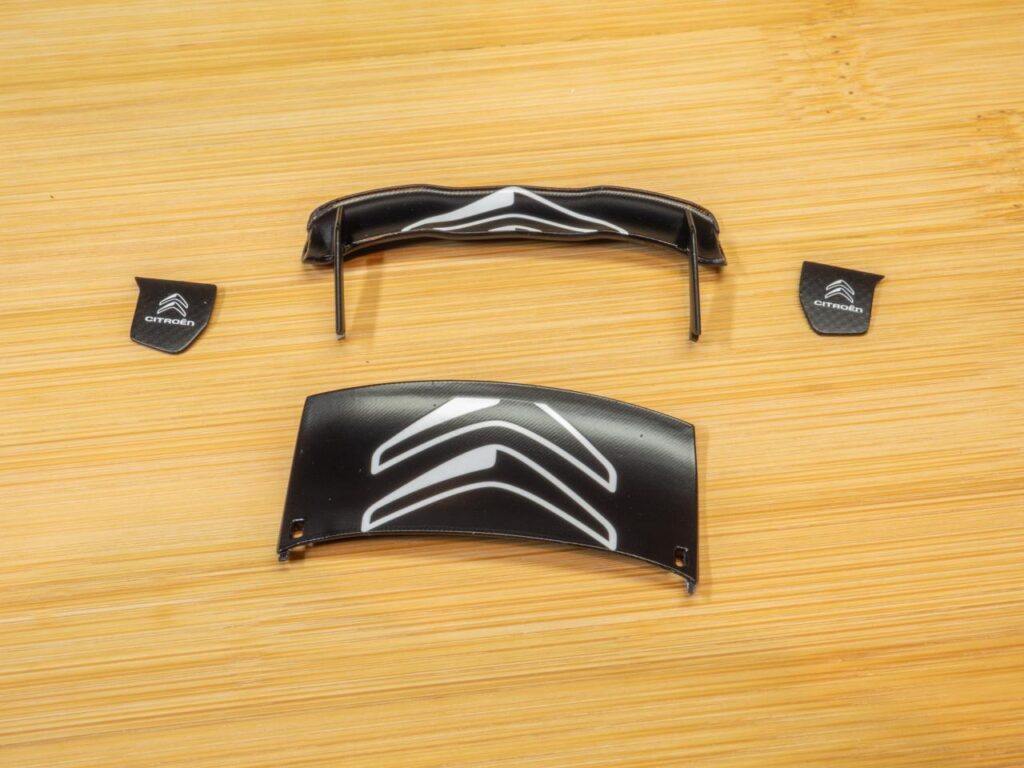
I painted the wing elements separately.
Then applied the “invisible” carbon pattern and sealed it with a semi-matte clear coat.
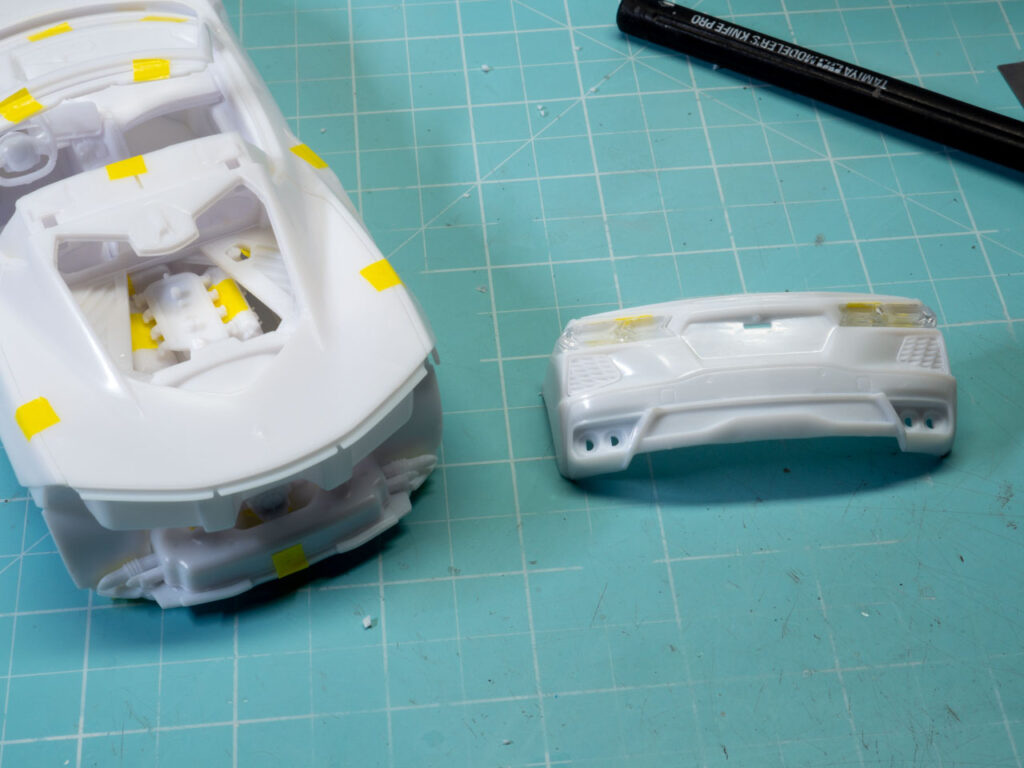
And assembled everything into one module.
The mesh pieces and other small parts are also ready for installation.
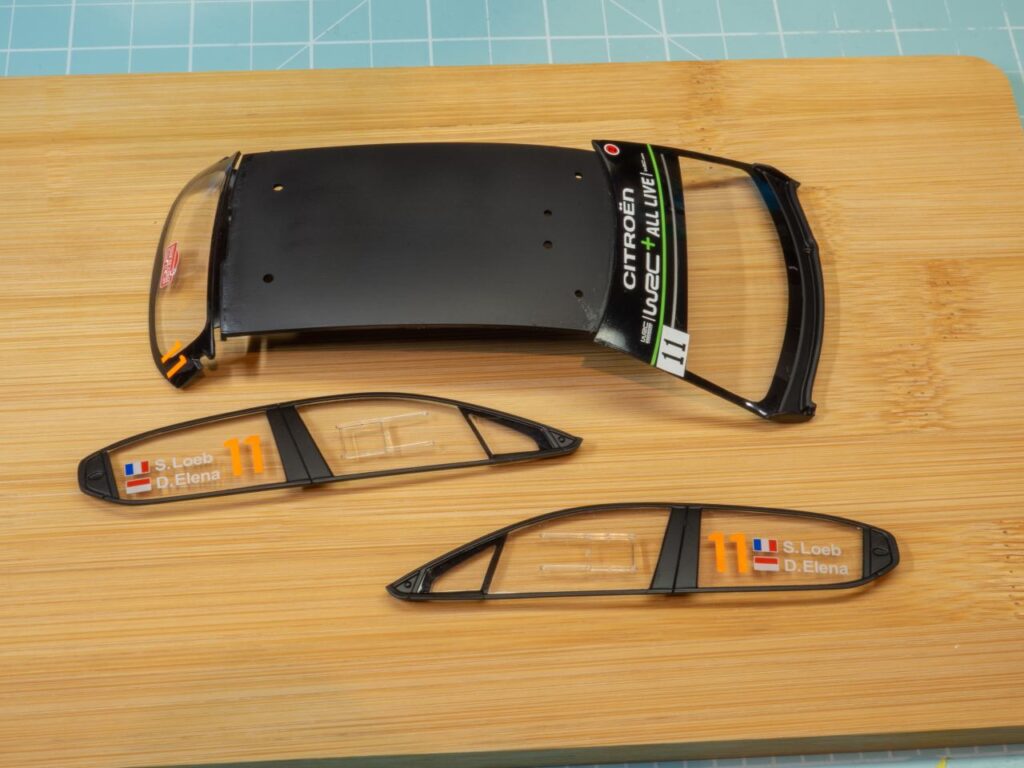
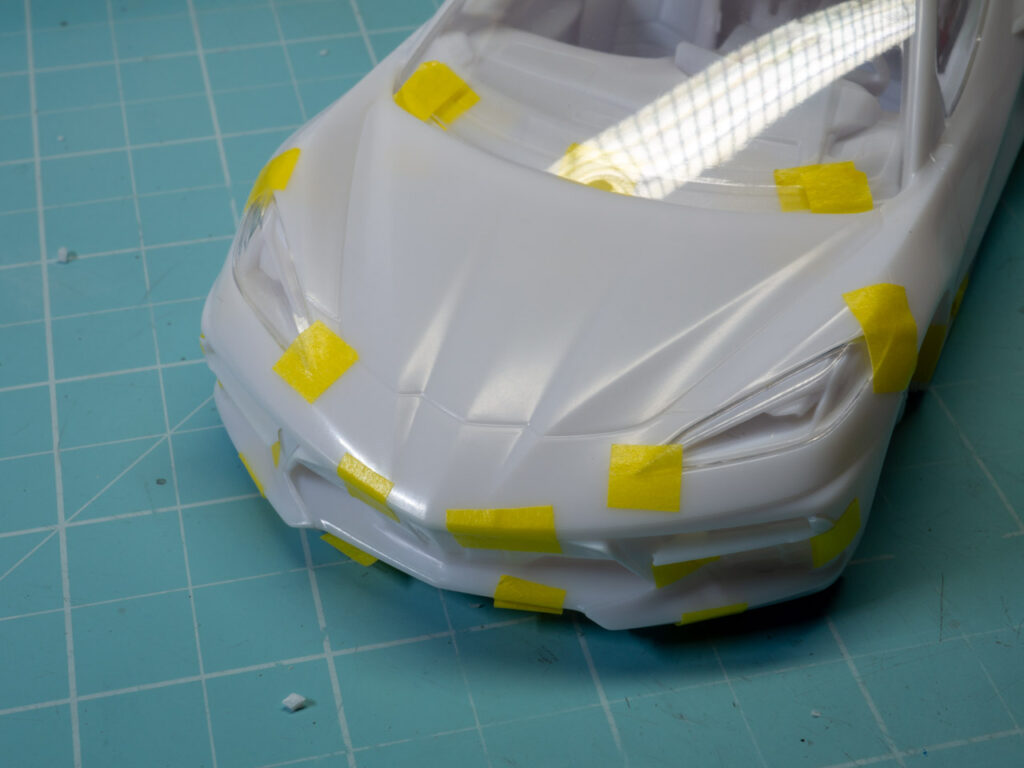
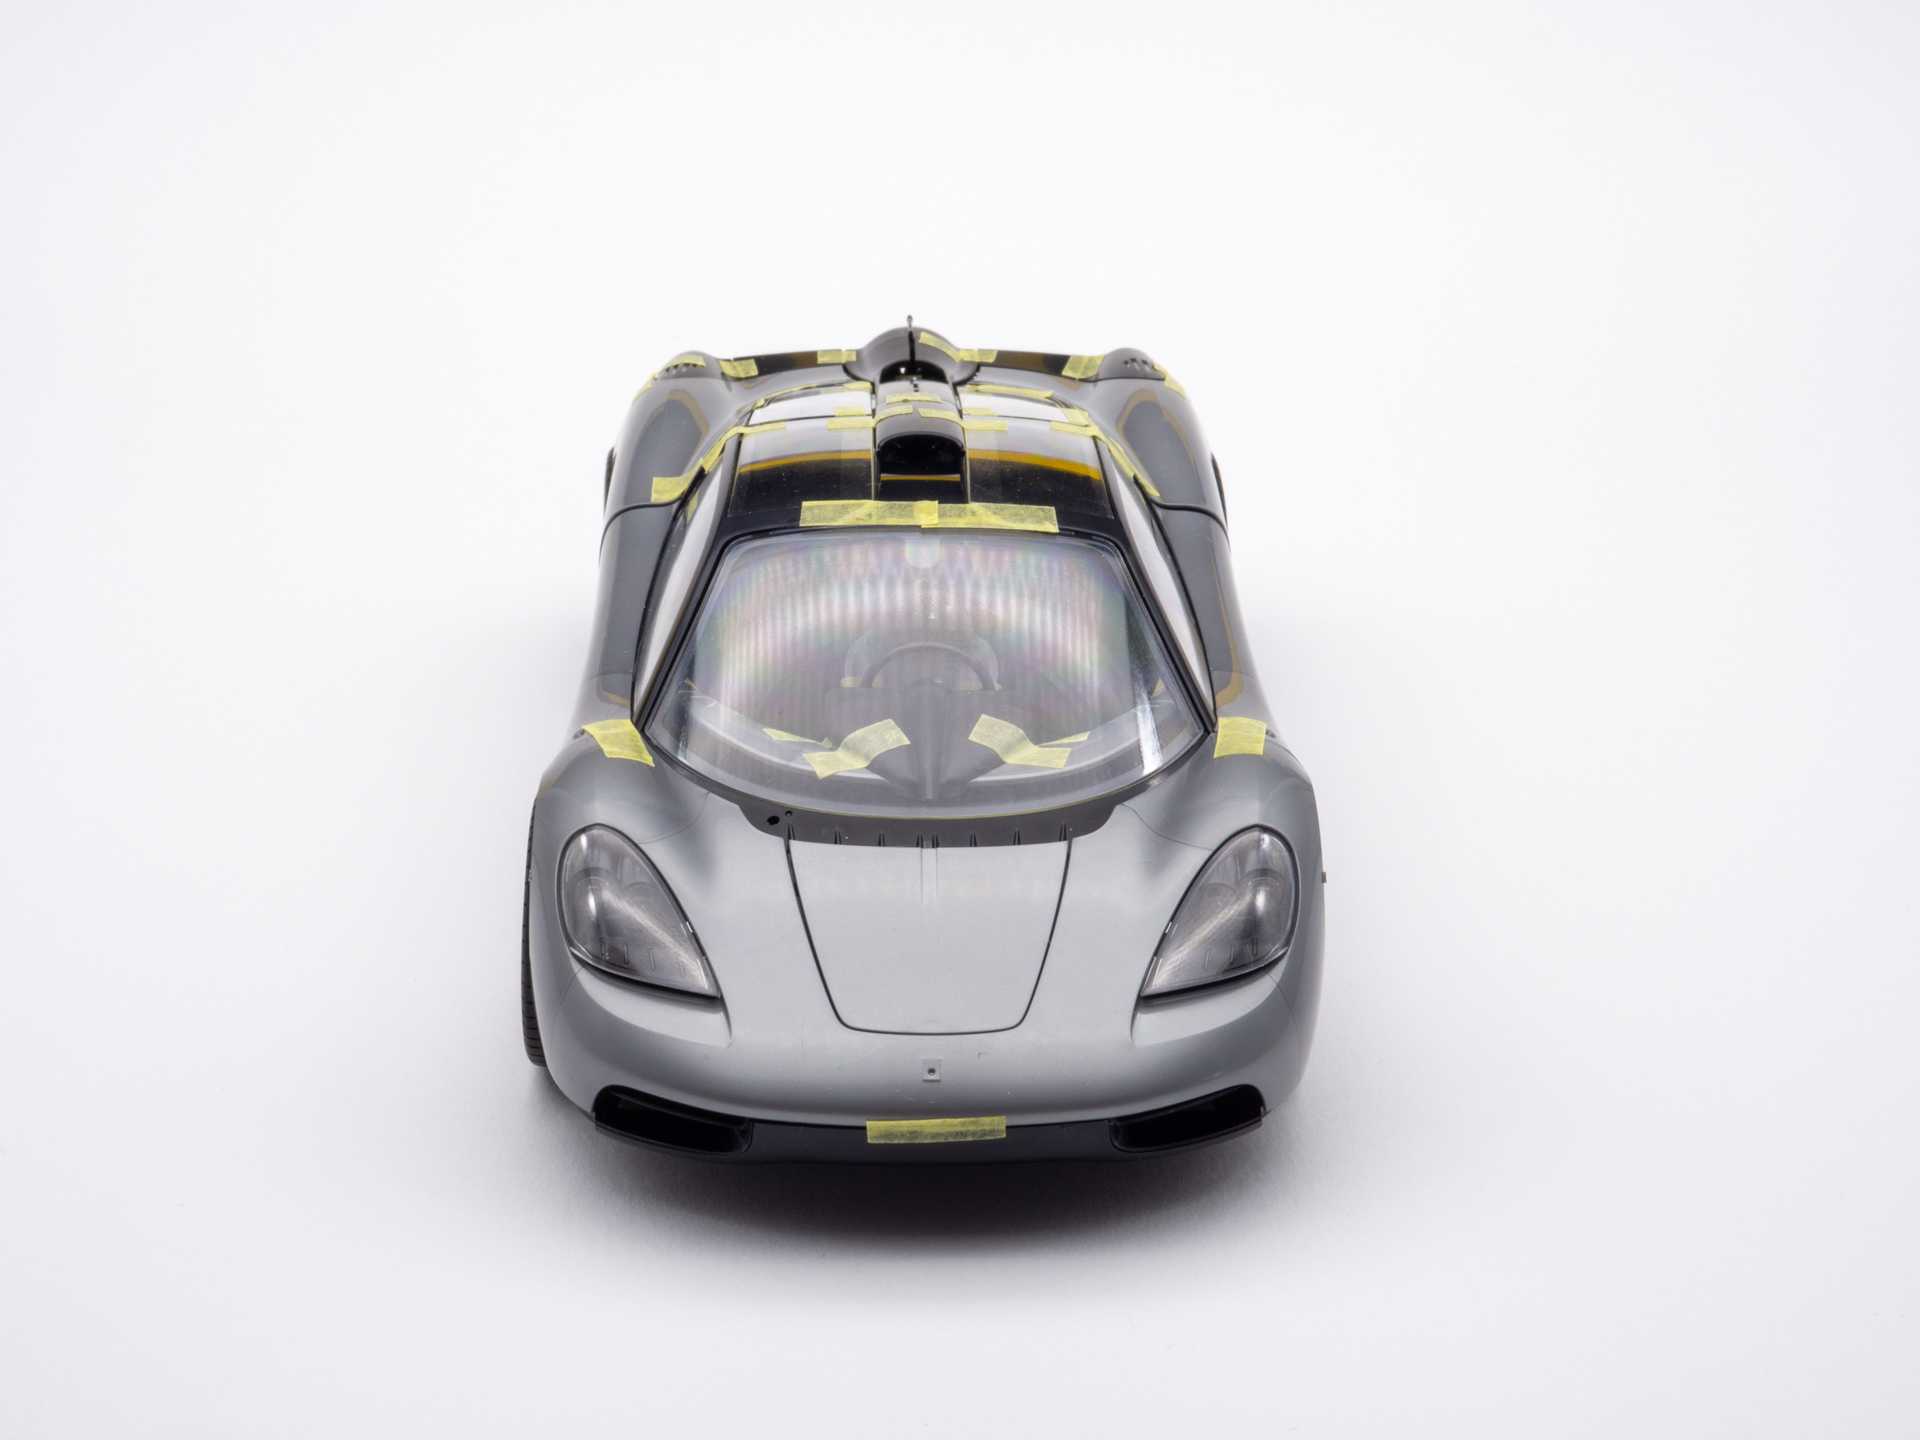
Masked the windows.
Semi-matte black applied.
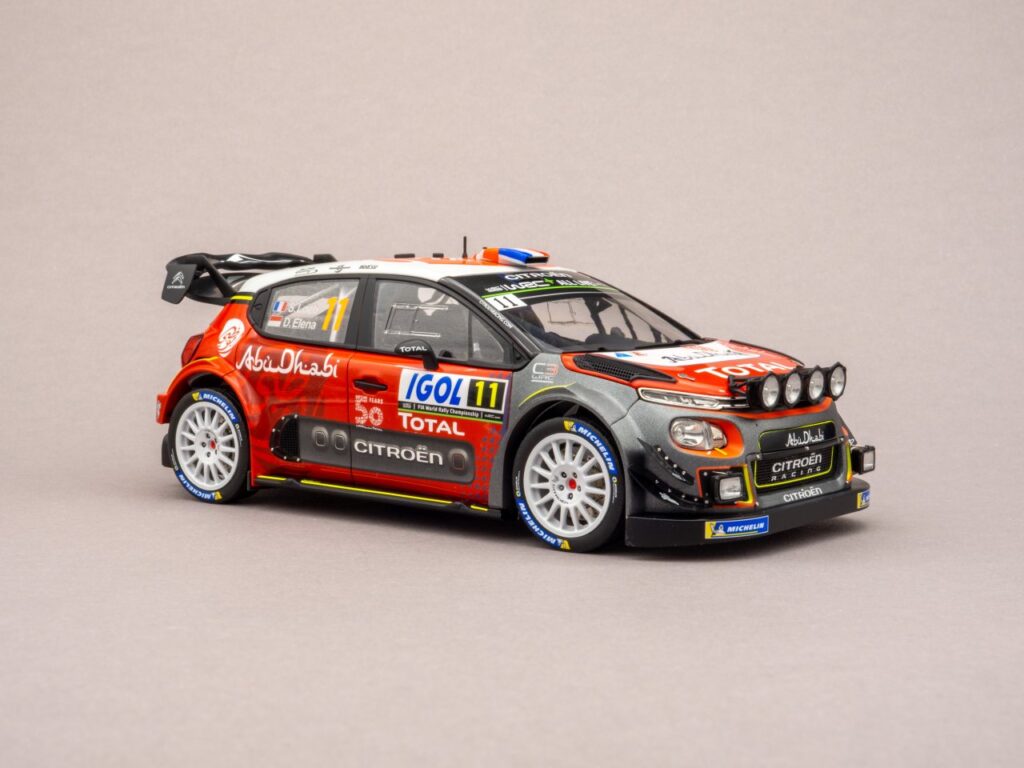
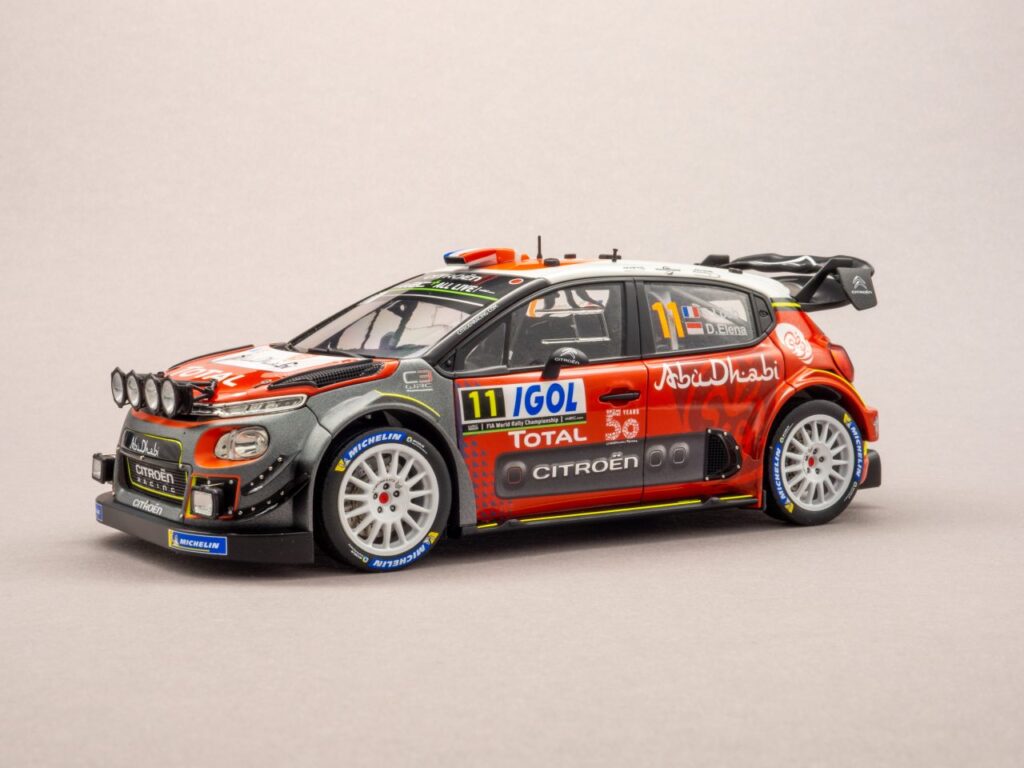
And a few decals. By the way, I applied the driver names from the inside — looks surprisingly good. I’ll keep doing it this way from now on.
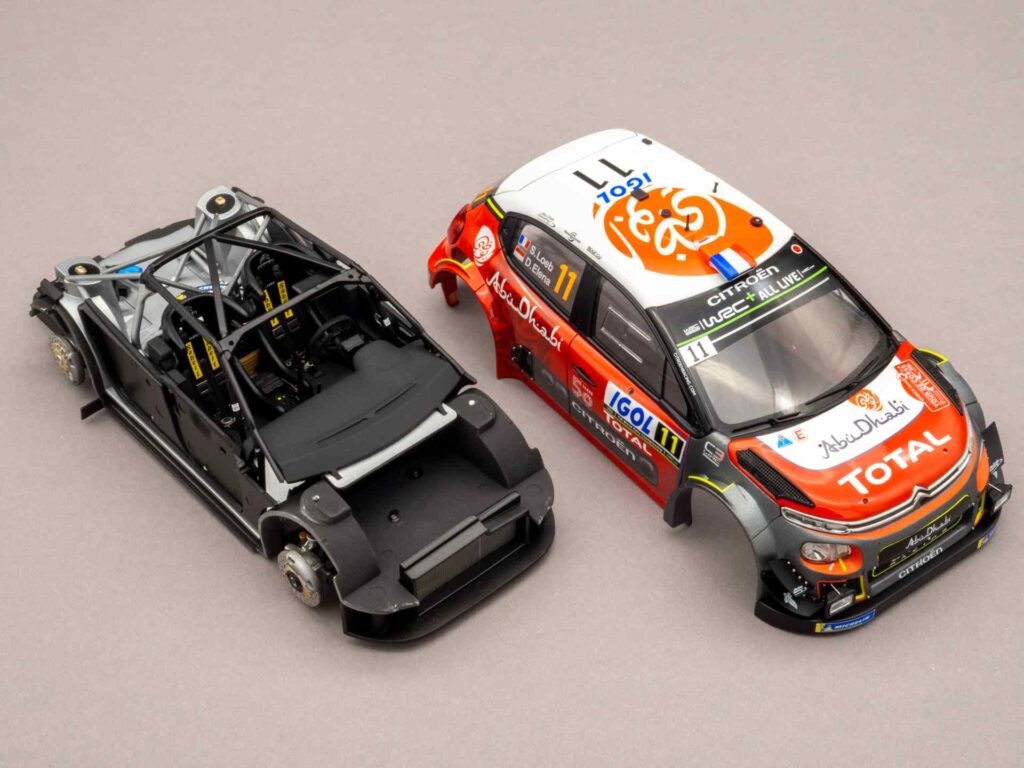
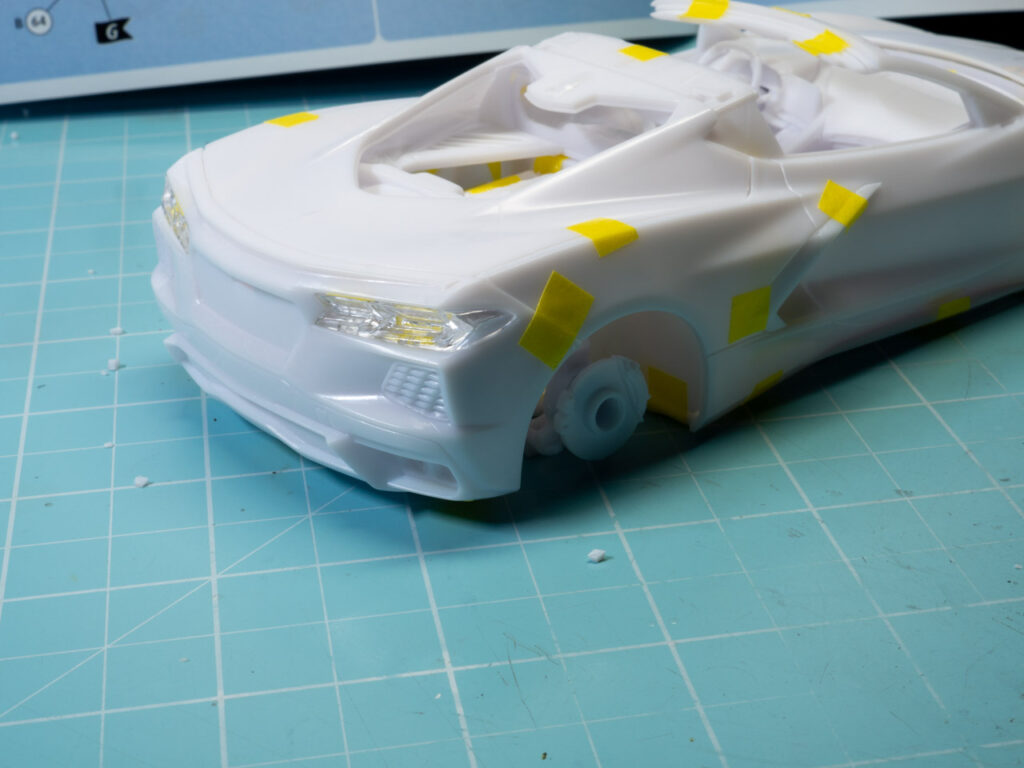
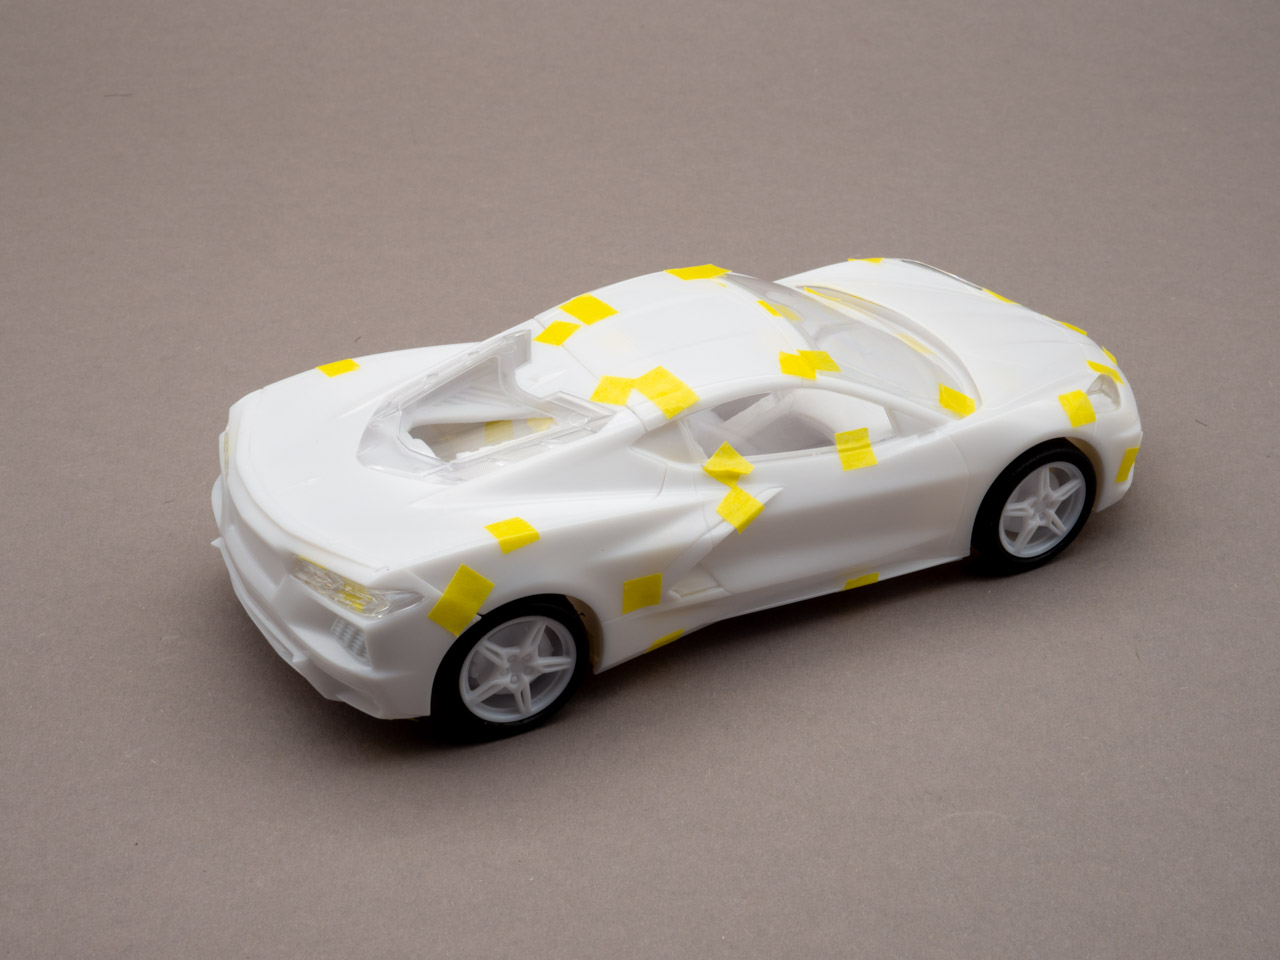
After installing the exterior parts, everything was ready for the “marriage”.
At the very end I added the rear wing and the light pod. Done.
Some days ago got this box. This is a brand new kit from Revell with new molds, not a reissue or repack, new design and production. Scale 1:25, a lot of details, 144 is indicated on the box, but it feels like a lot more. I suggest you look at what’s inside and watch a quick dry assembly, check how the Revell kits looks in in 2024.
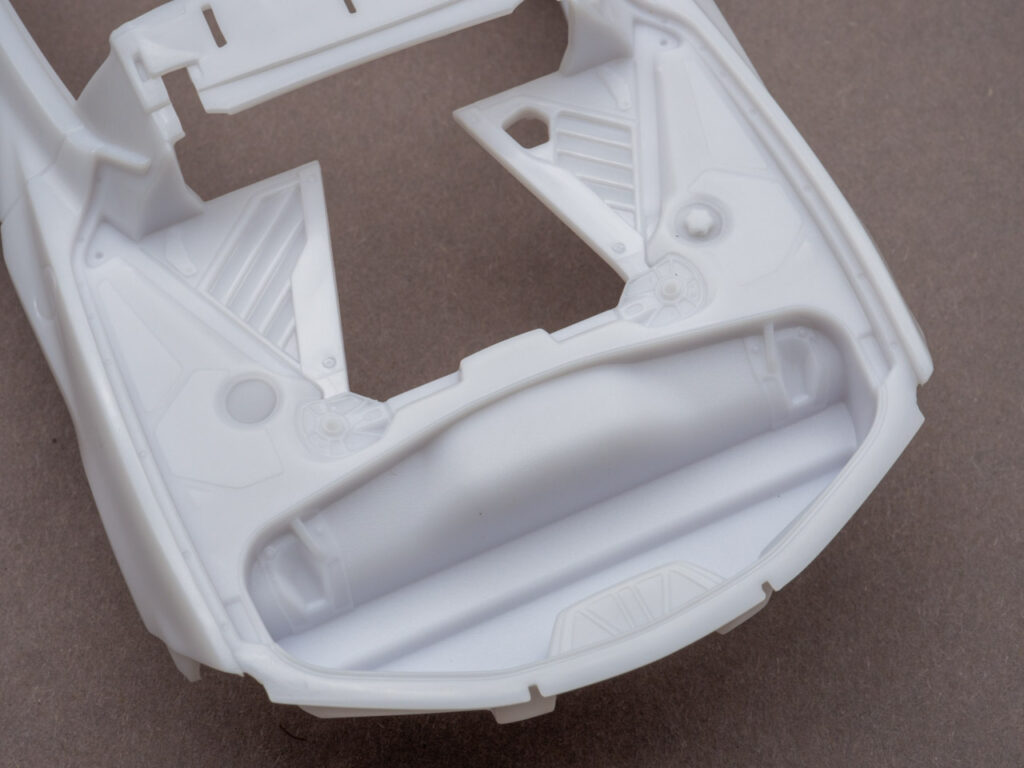
Body part. Plastic is standard for all Revell kits. I don’t really like it, it’s very soap-like. It is difficult to consider the quality of the surface; all the issues will be shown after the first layer of primer.
Example of hood panel lines. It’s wide, but that’s ok. It must be deepened and it will take all layers of paintwork.
A little more panel lines at the door. I don’t see any visible flaws on the body, such as sink marks or waves.
Engine and luggage compartment. Screw and other details are well and clearly molded.
The roof should be removable, engine cover can be opened as well.
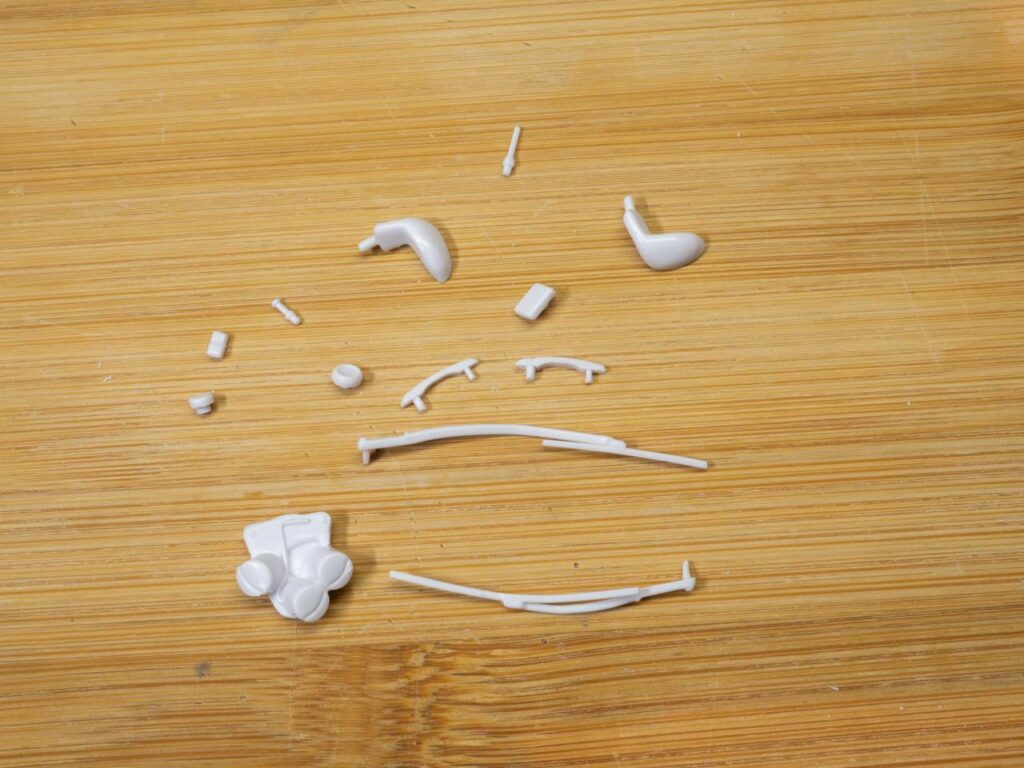
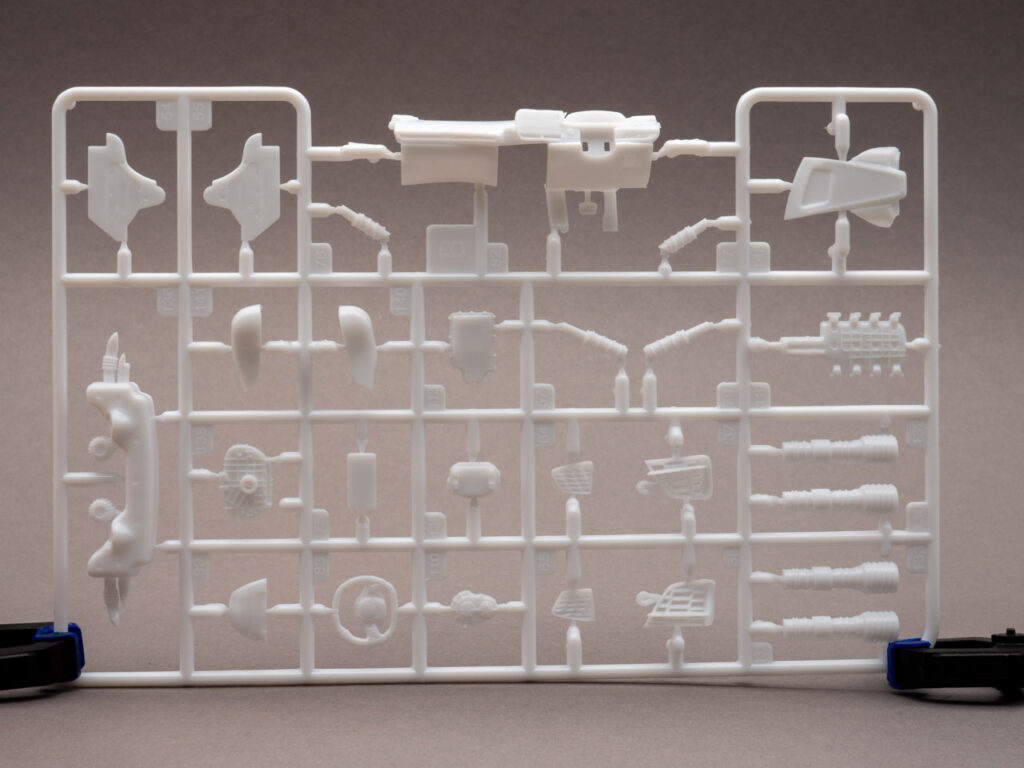
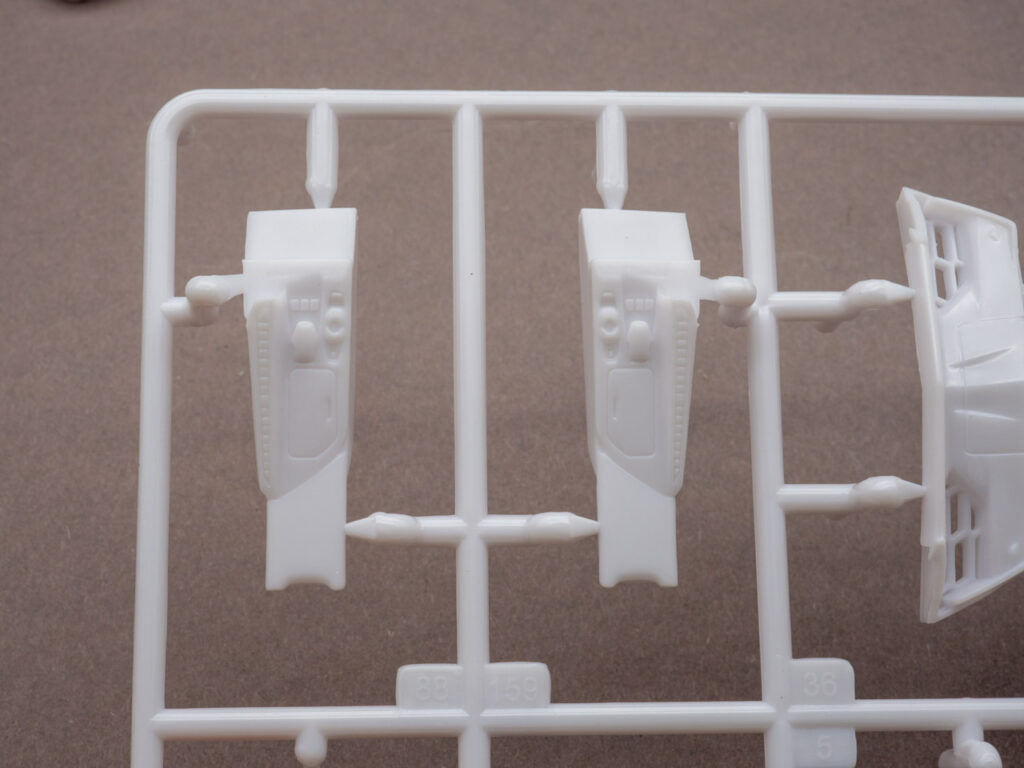
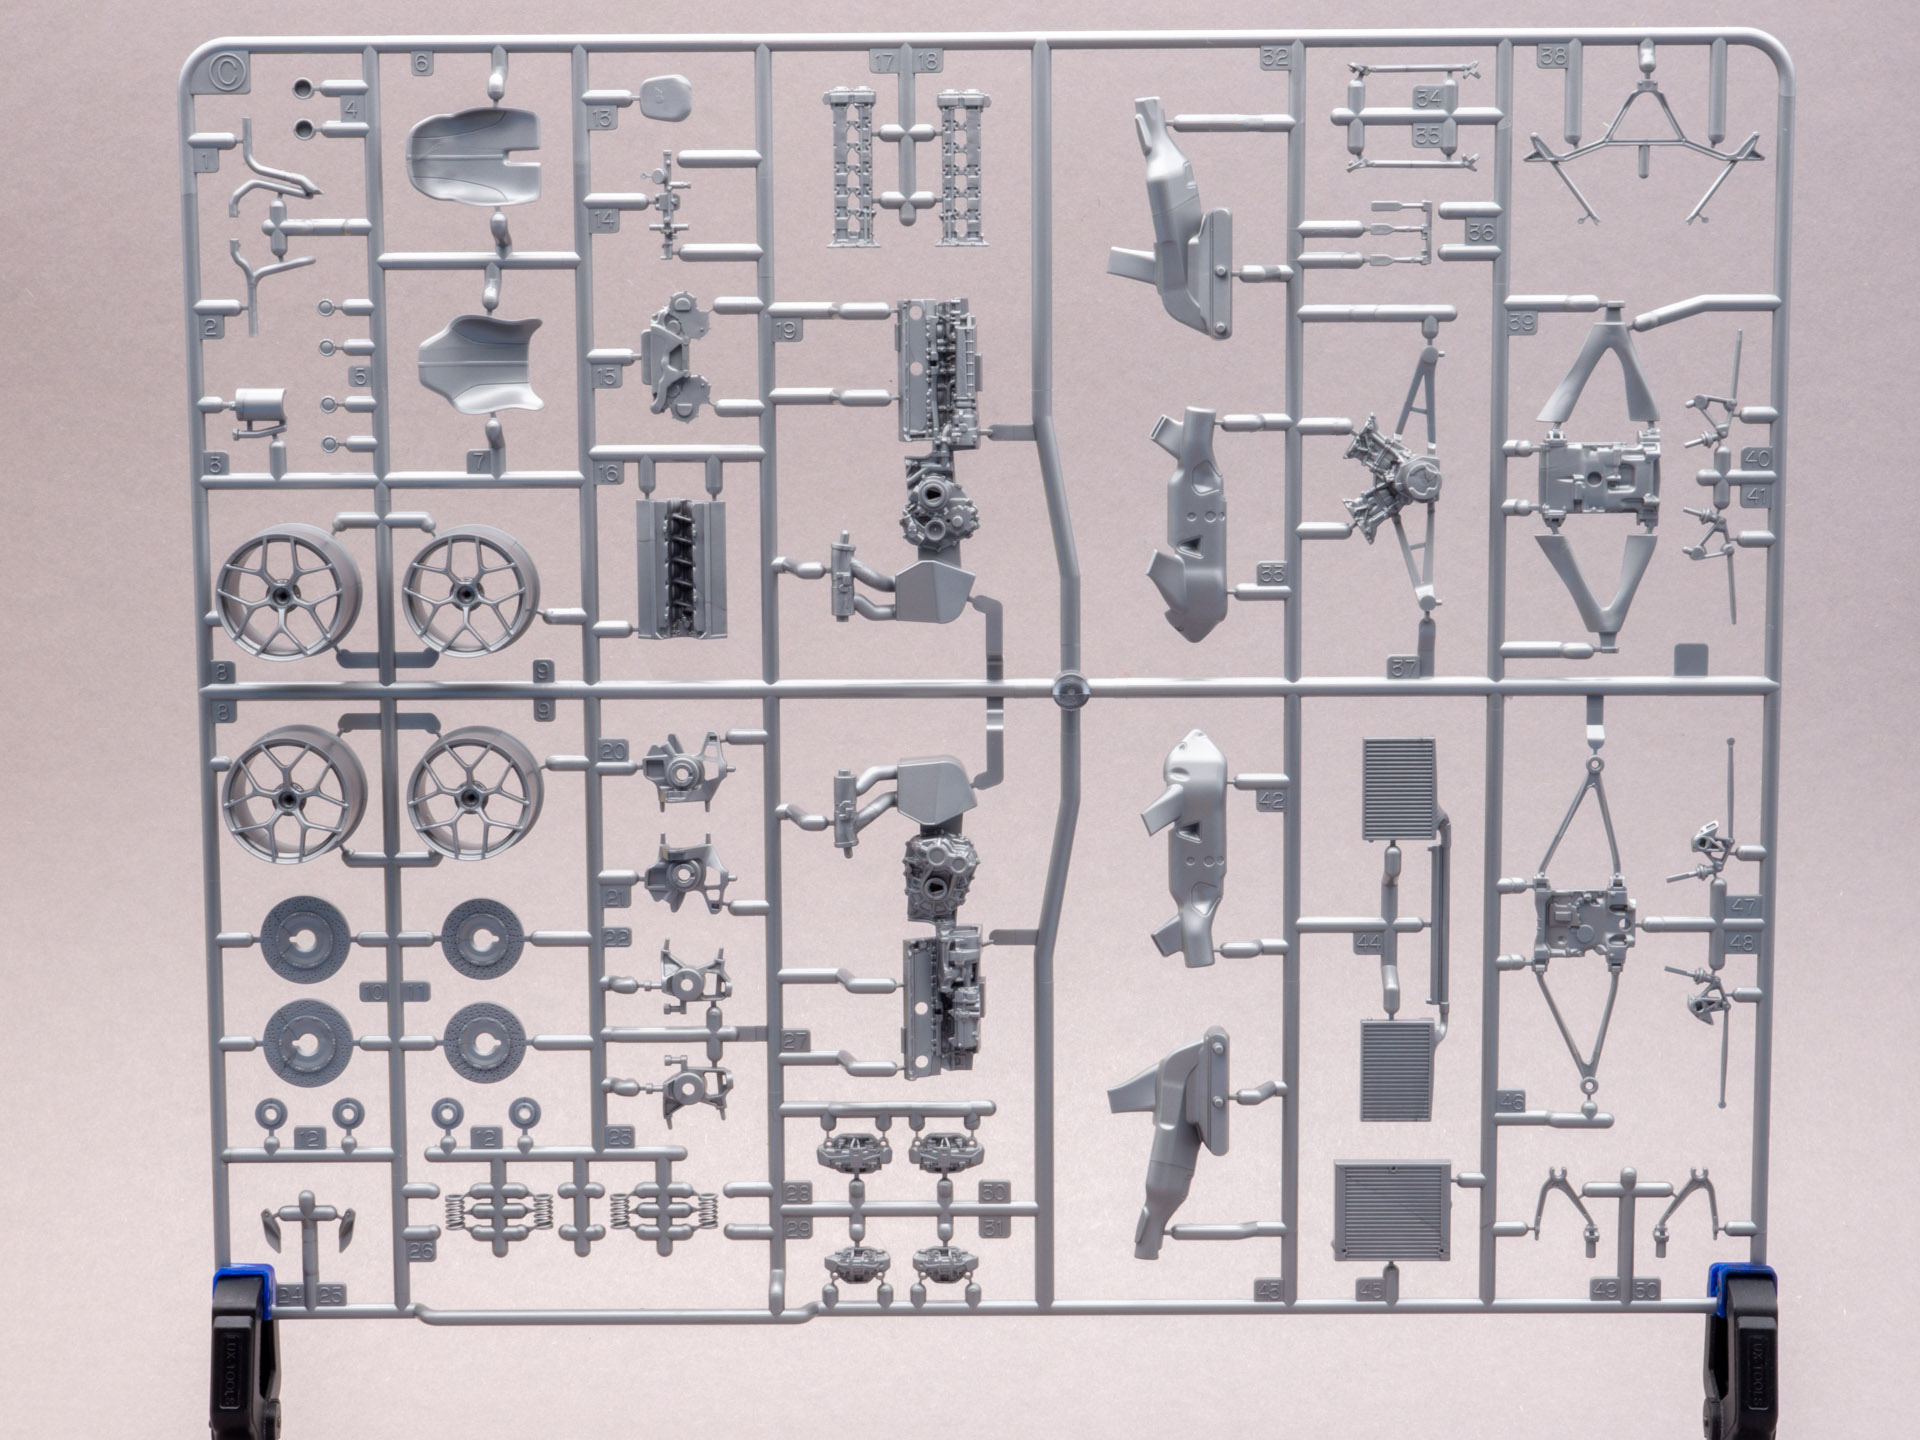
Now on to the sprues. Everything is made of white plastic. Here are the engine parts and the dashboard.
Despite the “soapy” plastic, the parts seem sharp.
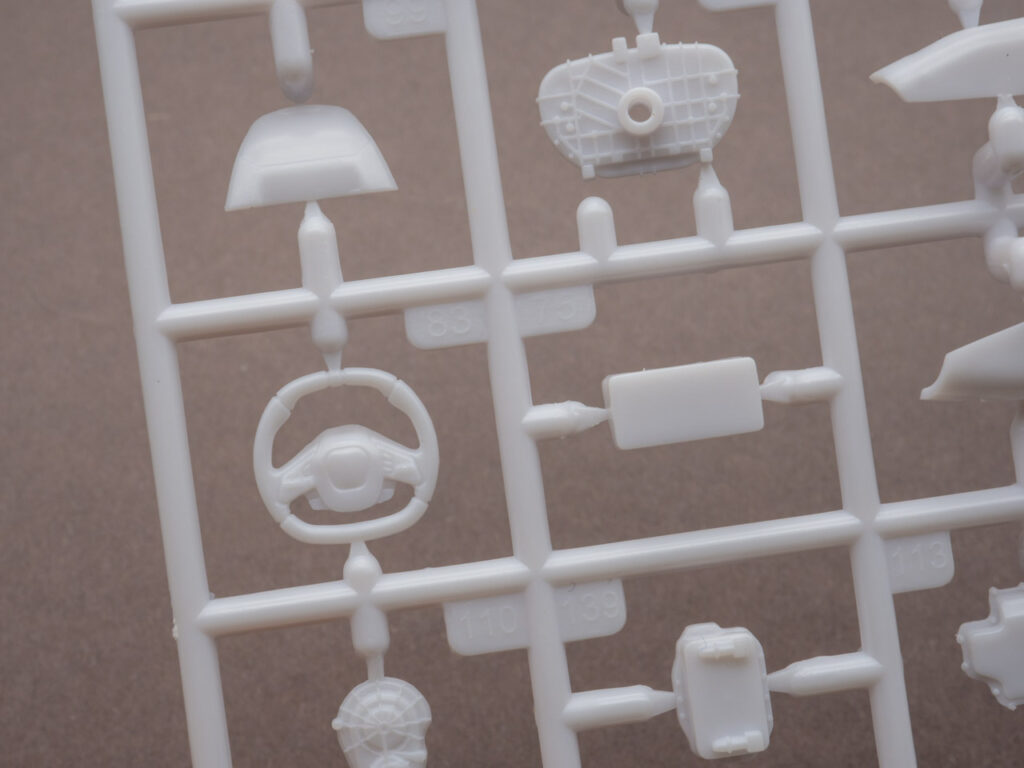
Next sprue. Also engine parts and other small things. Right-hand drive dashboard.
All buttons are clearly visible on the steering wheel, and such details as ribs on the engine parts.
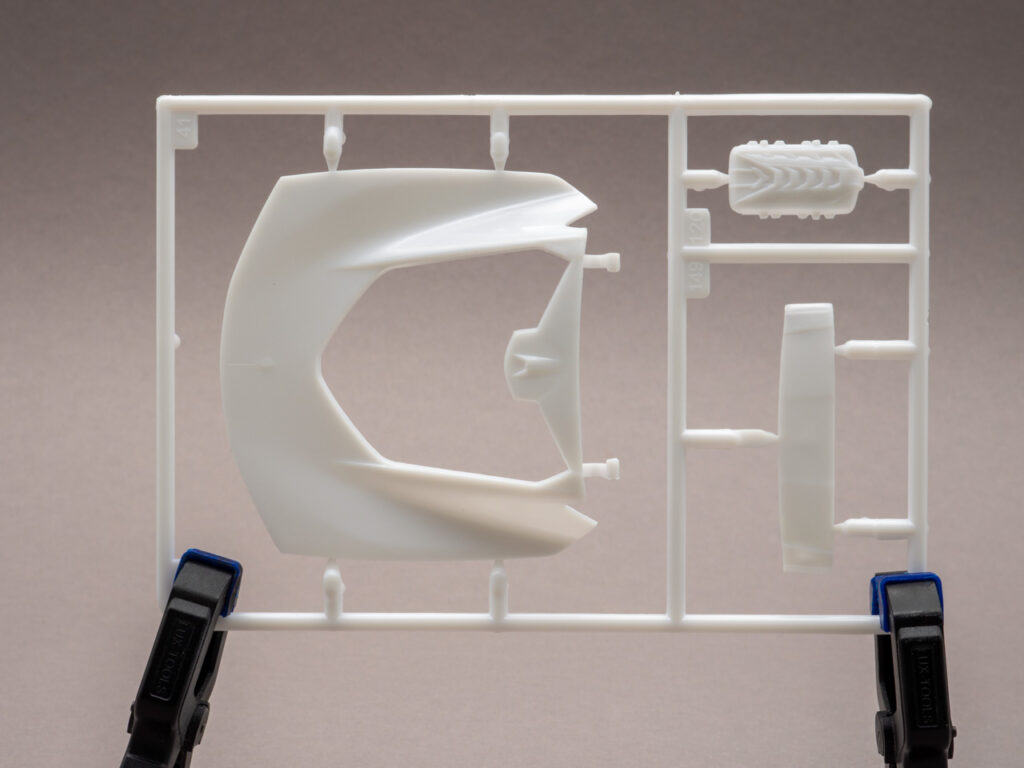
Another sprue. You can see the exhaust pipes, the panel with sun visors and other.
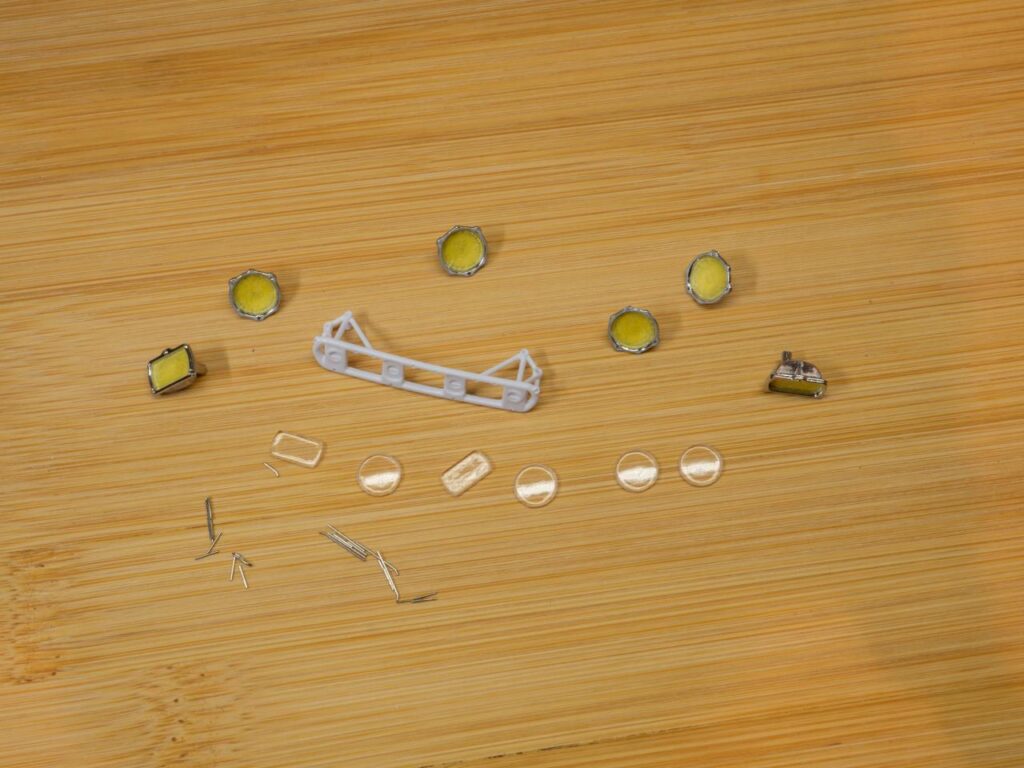
Reflectors for headlights and taillights.
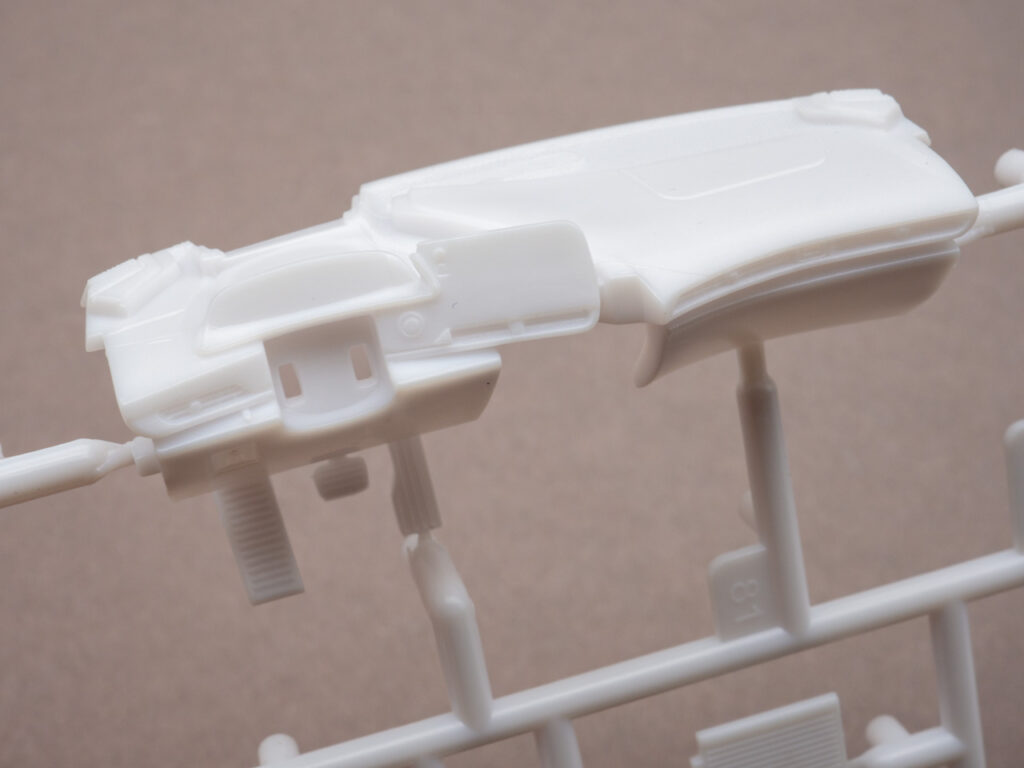
Trunk lid. I wonder how it will fit into the body. Hopefully flawless.
Bottom part, arches.
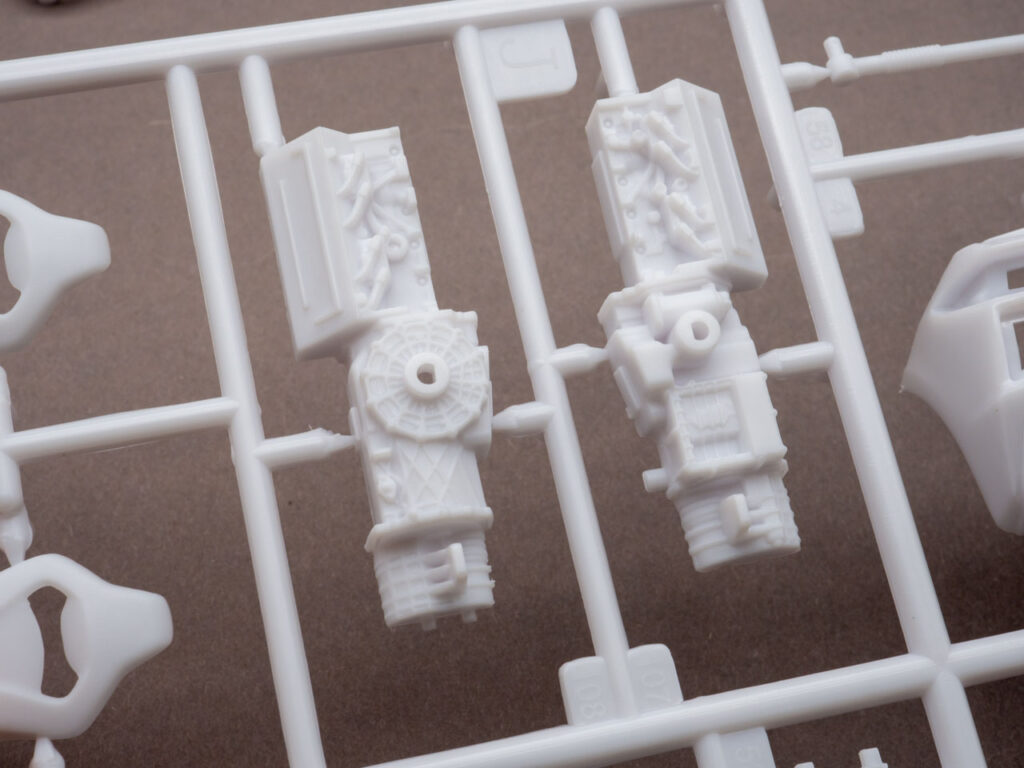
Interior elements and engine. The tail part is given as a separate piece.
The relief on the engine is also good detailed. Bolts and ribs of decent quality are visible. The spark plugs with HV wires are molded into the block; it will be possible to slightly improve the detail and cut them off, replacing them with normal wires.
Next sprue.
Center console for left and right hand drive. Optional.
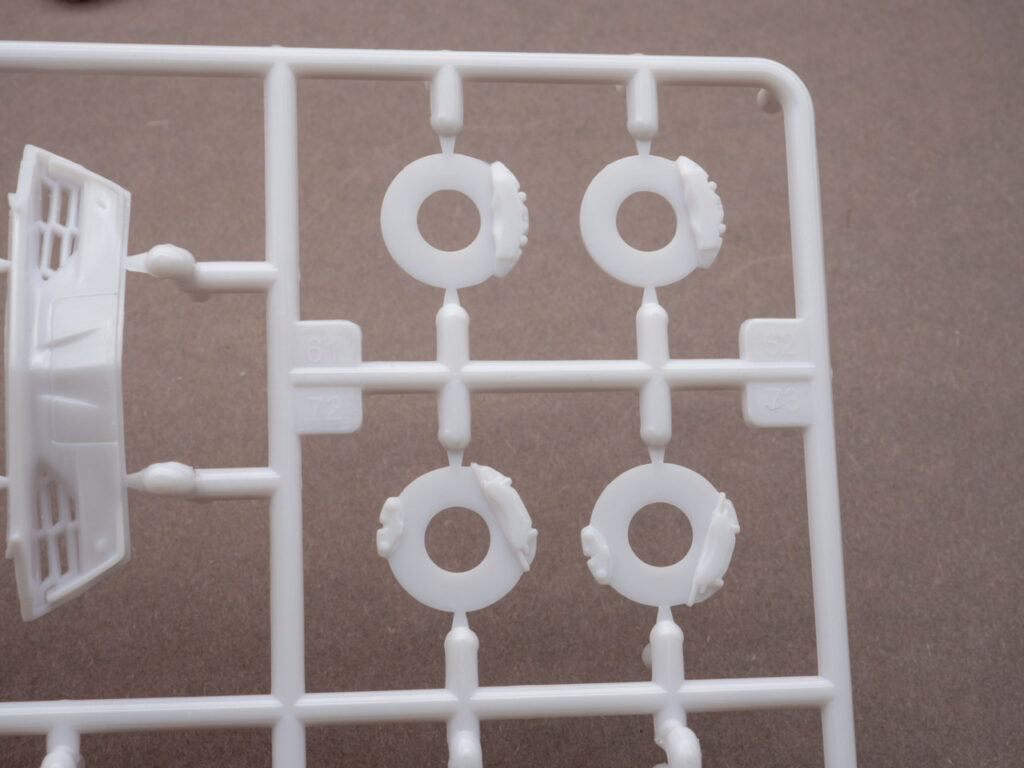
Brake discs with flat calipers. I plan to cut it off and replace it with my own 3D printed ones. But then again, even so they looks good.
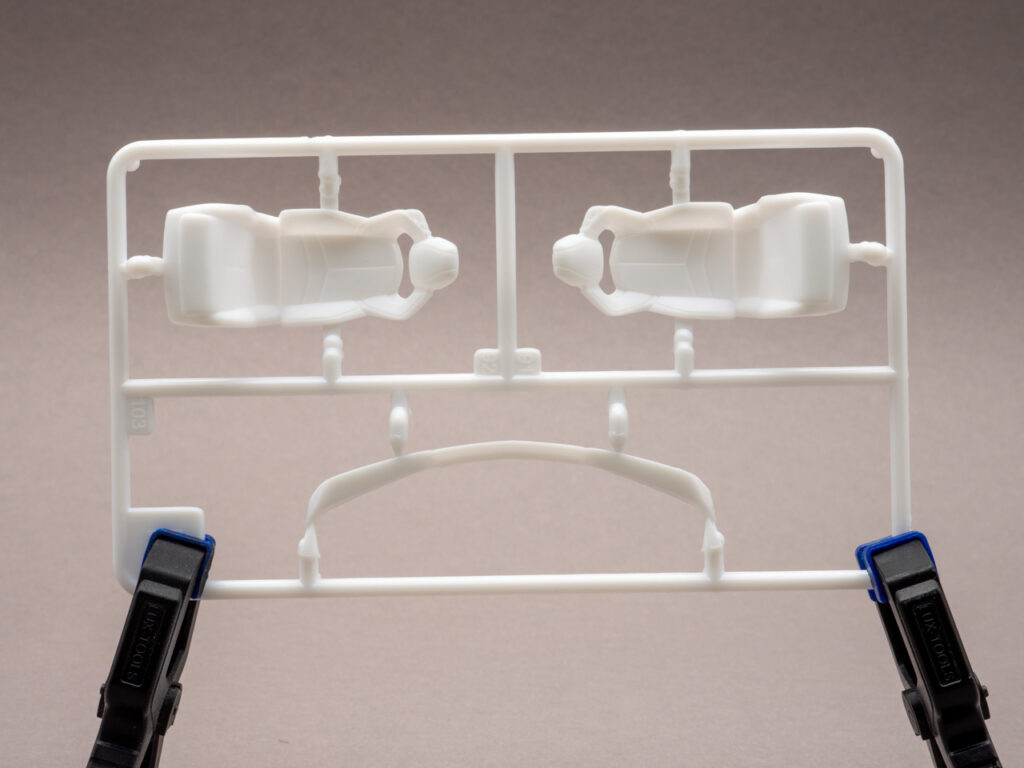
Seats and spoiler.
The chairs have absolutely no any sink marks. Because they made of two parts – front and back.
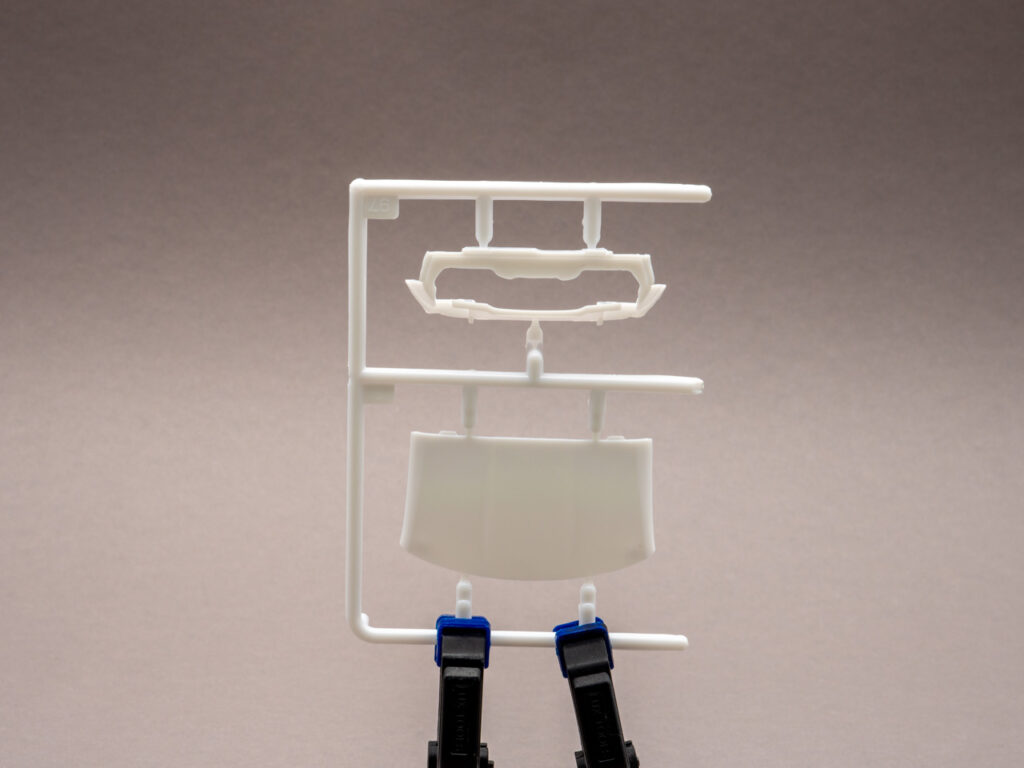
Removable roof and interior shield for the engine compartment.
And here are the transparent parts. Very clear and do not refract the image. But because they are very thin, like the latest Tamiya kits. I like.
More transparent parts. Need to mask, but there are no masks in the box. A very strange move, this is a big disadvantage. You’ll have to cut it out the old fashioned way with a knife.
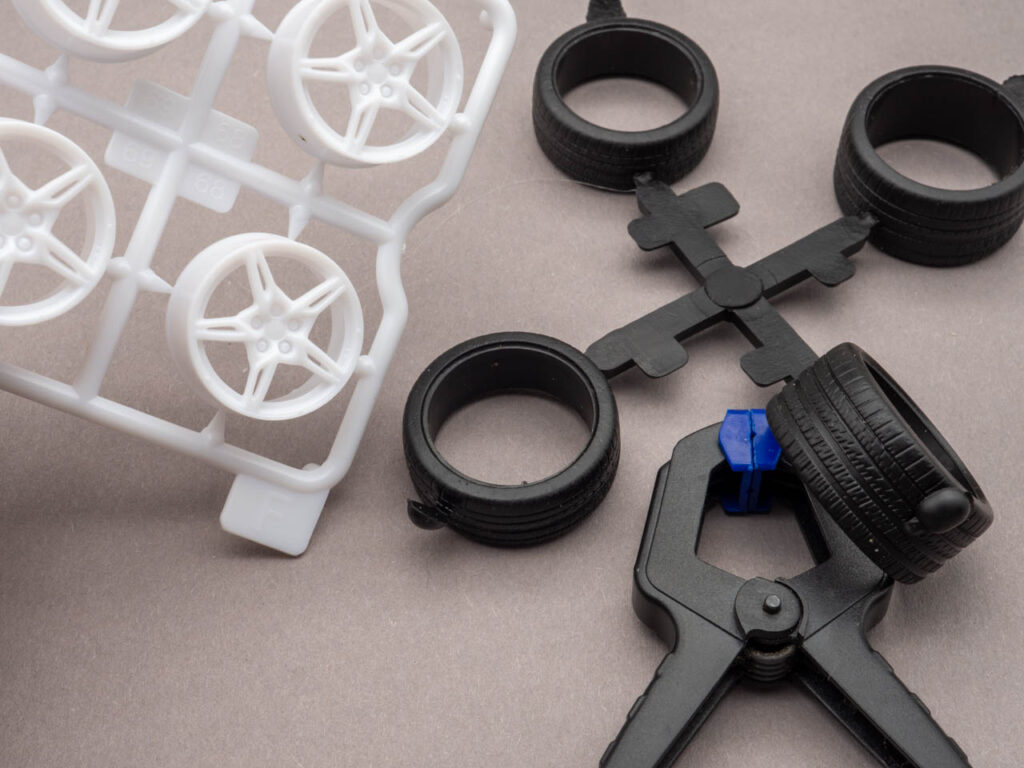
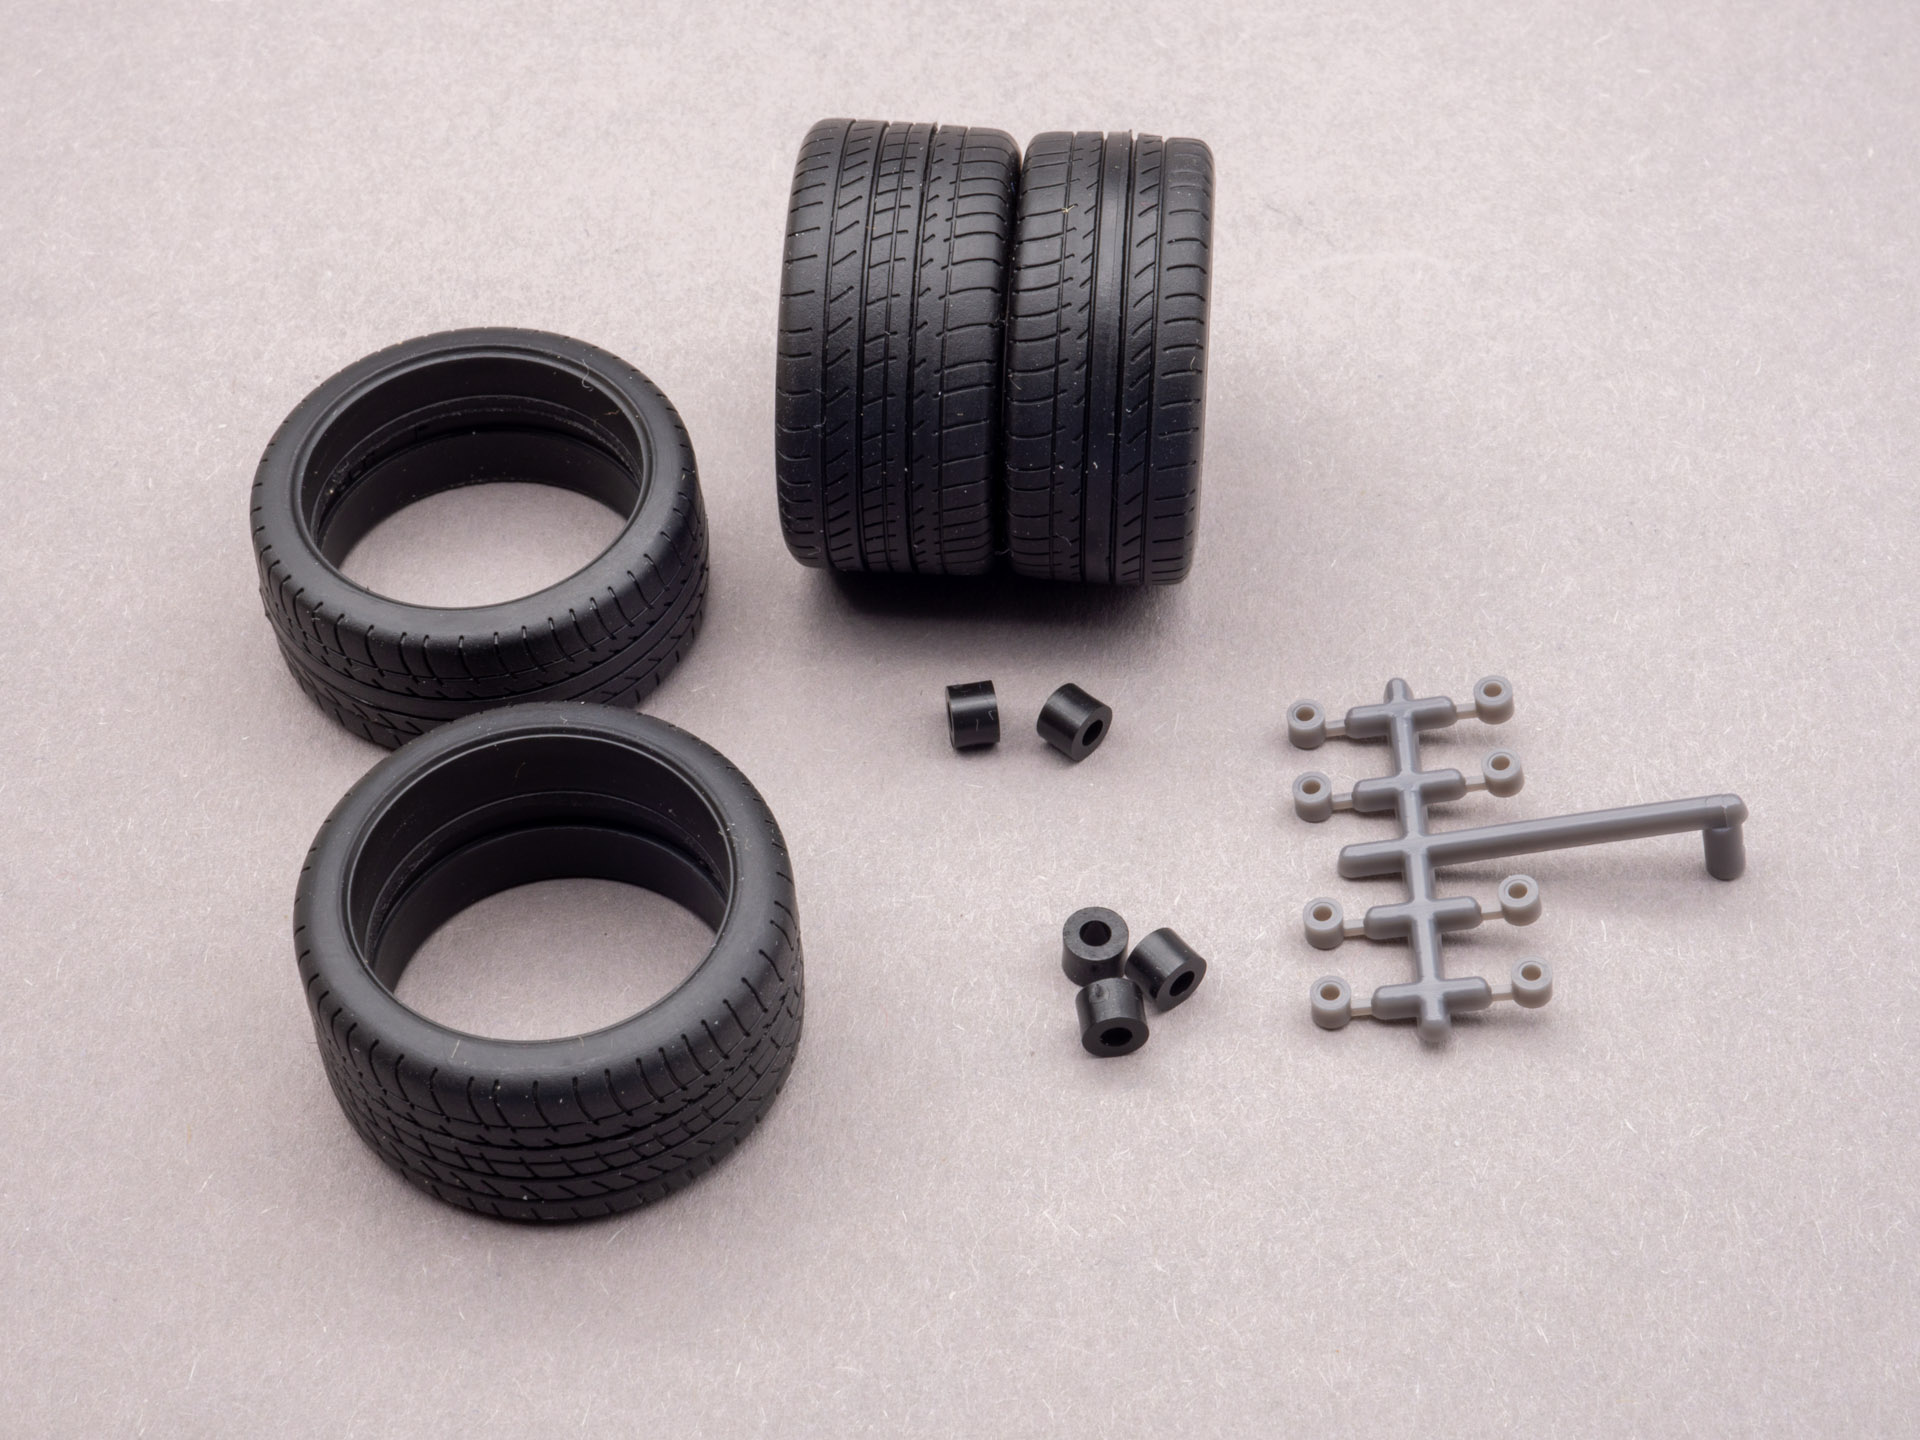
Rubber with not clear molded protector.
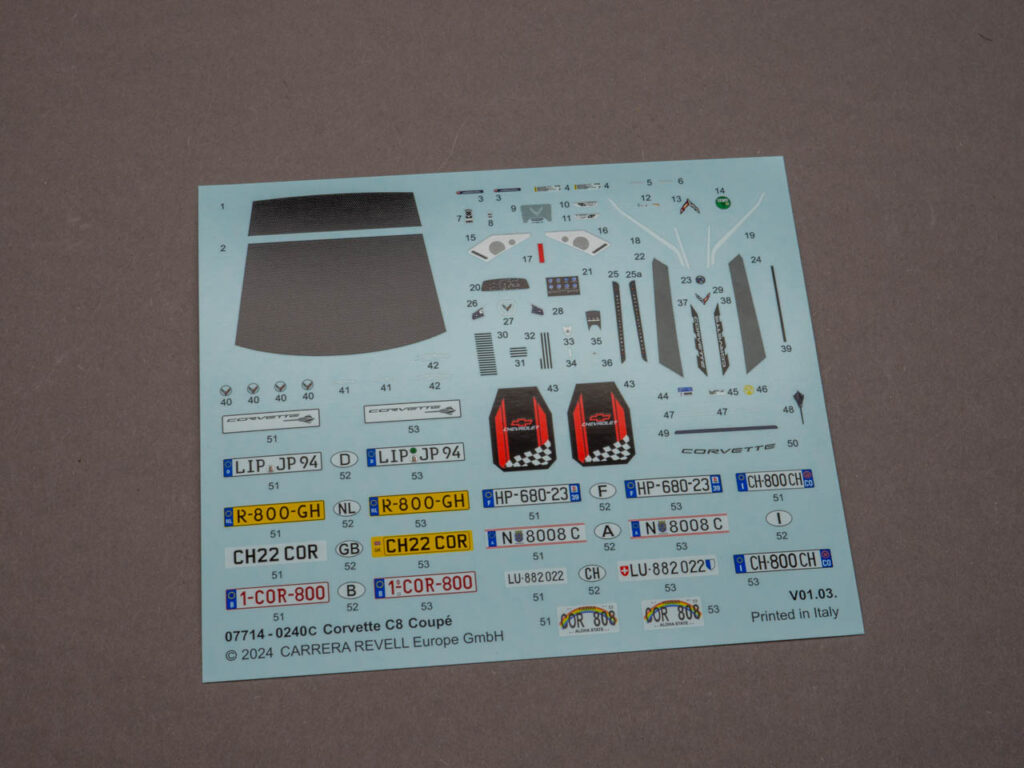
Decals sheet. Wide selection of license plates.
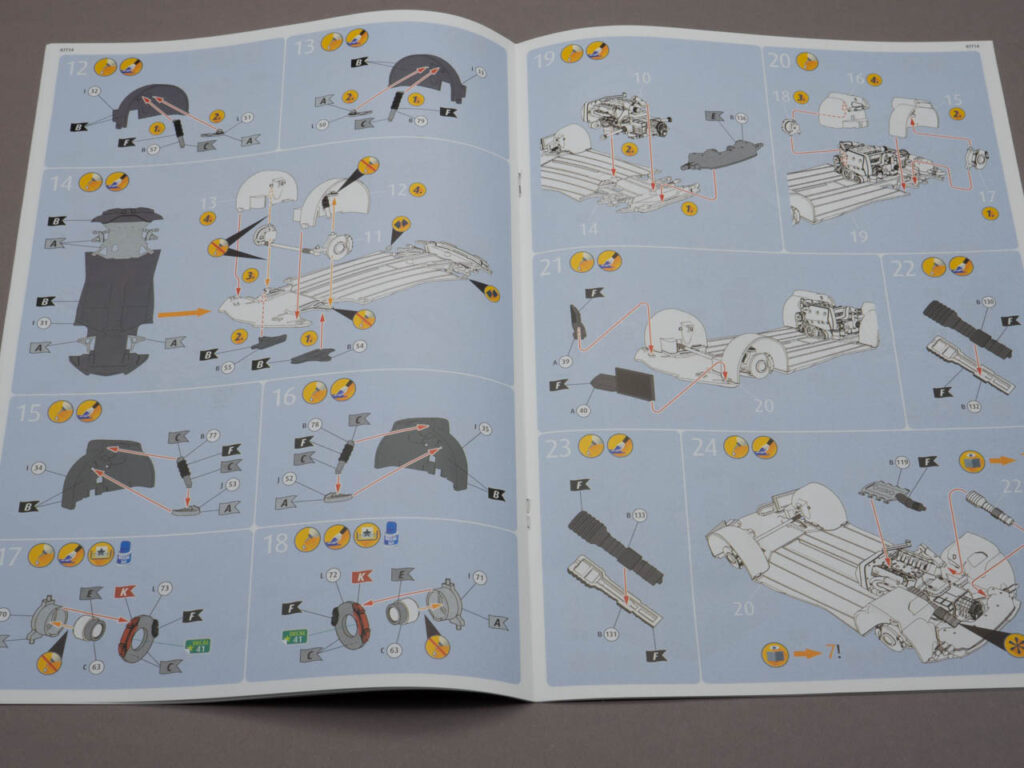
Instructions. It is clear that attention has been paid to the motor. There are also no usual rubber caps for the wheels.
The bottom part is similar to all Revell kits.
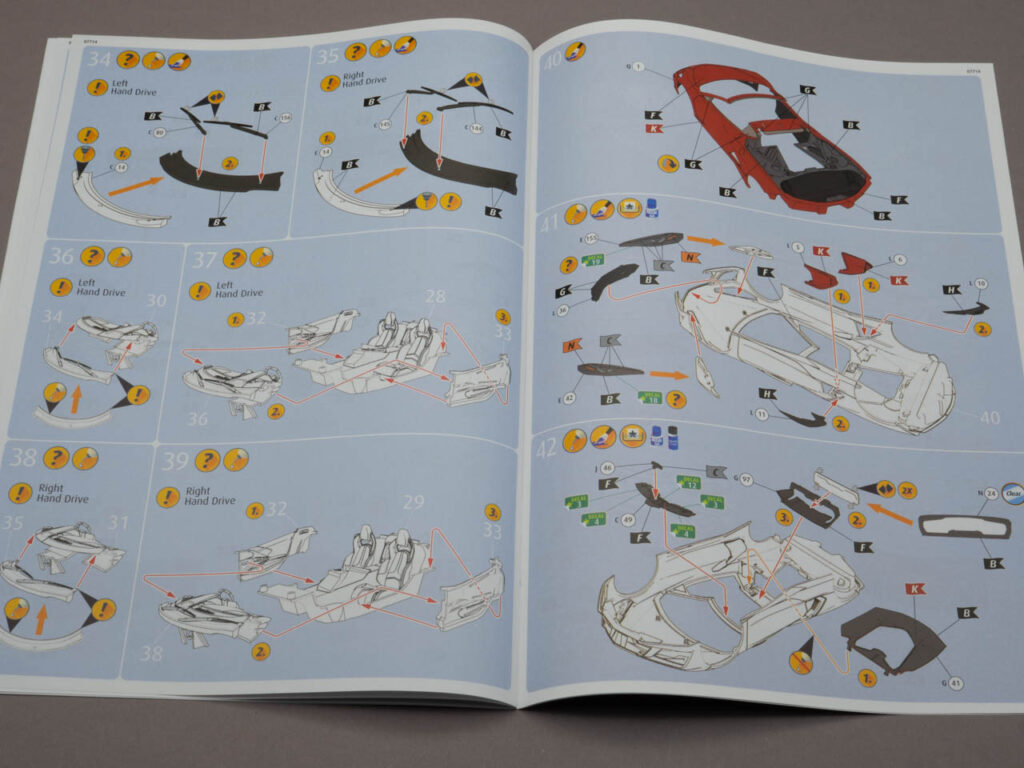
It is proposed to assemble a left- and right-hand drive version.
The rear part is glued in at the end; apparently, it will not be possible to assemble the body in advance.
Opening engine lid.
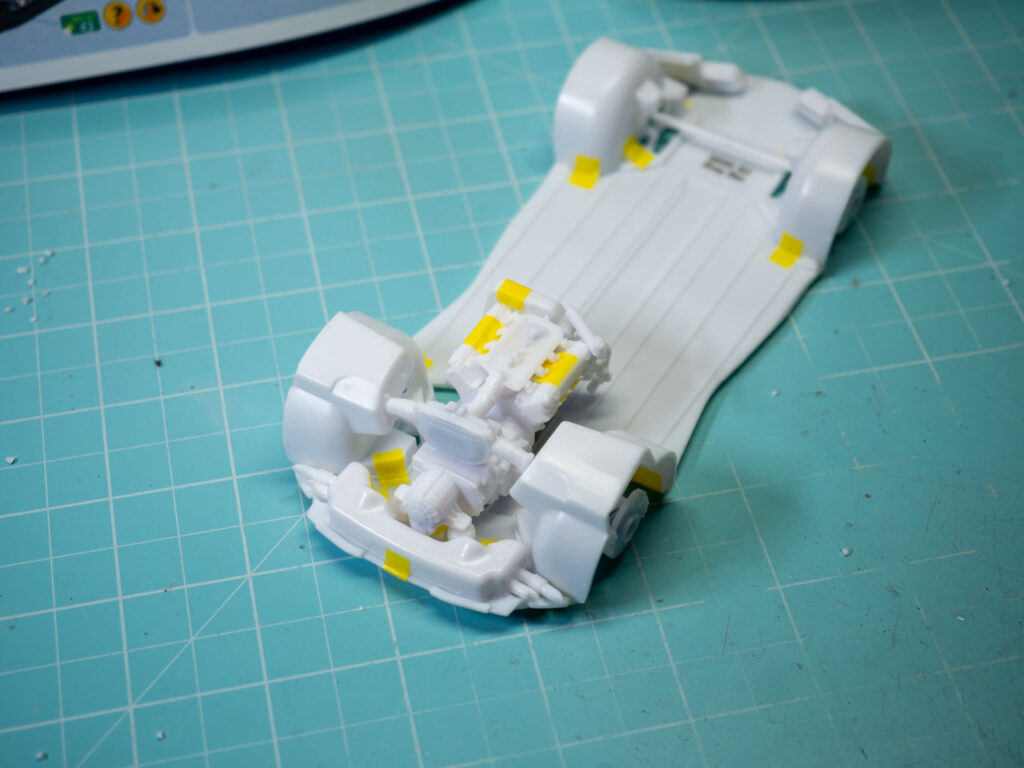
And now quick build on the tape. Assembled the lower part. Typical Revell scheme of bottom part + arches.
Of course, not all the parts are on the engine here. But it is clear visible what is where.
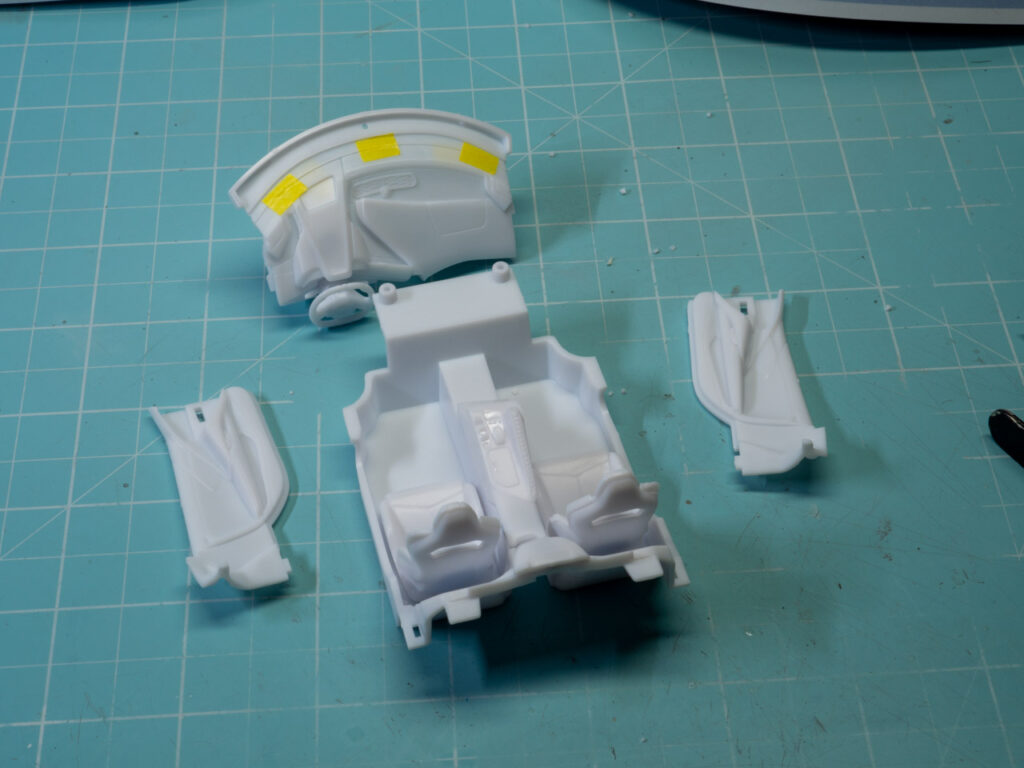
Interior made from some parts.
Assembled into one unit.
The headlight reflectors attached and positioned without problems. It is very convenient – there are guides with sides. You can glue it and not be afraid that the glue will leak out and ruin everything there.
Lateral aero elements. It also seems to fit together, although the shape of the joint is complex.
Wow, the motor cover fits smoothly and without gaps !
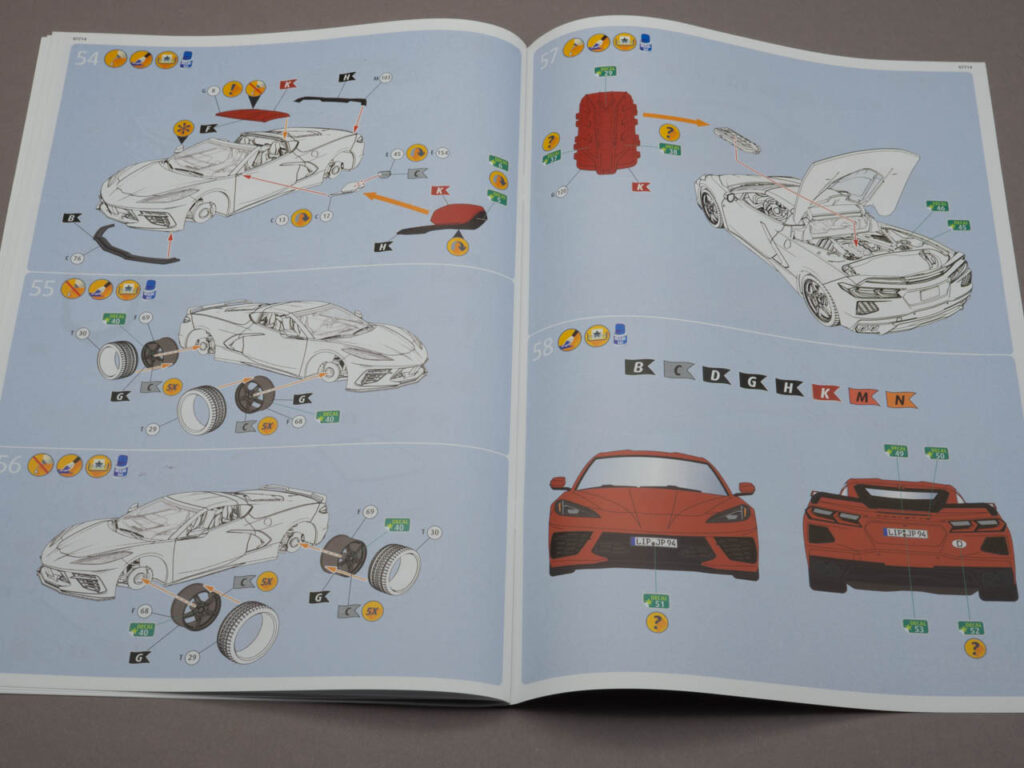
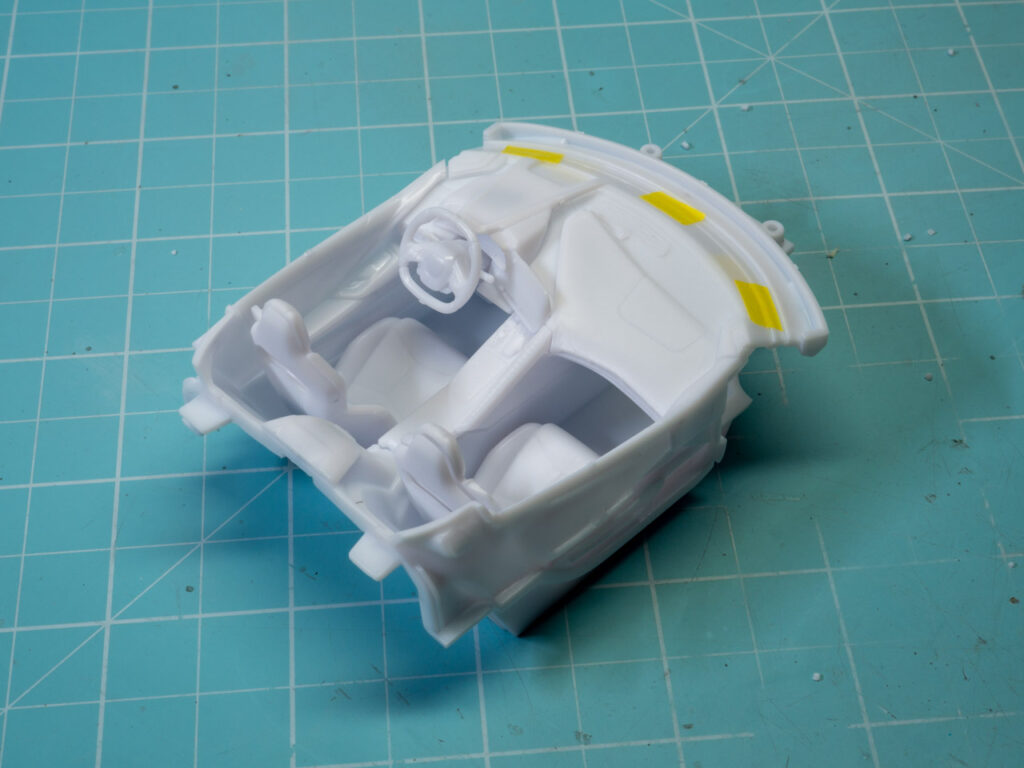
So I attached the interior to the body. There are no gaps in the interior-body joint.
Tail. The light reflectors and clear parts fit very smoothly. Without the back part, by the way, you can clearly see what’s inside – a resonator with a gearbox.
Here the joint is smooth. But anyway, need to fit it more precise.
Transparent headlight covers fit without a single gap. Fine details, fitted perfectly.
The windshield also fits without a single gap or tension.
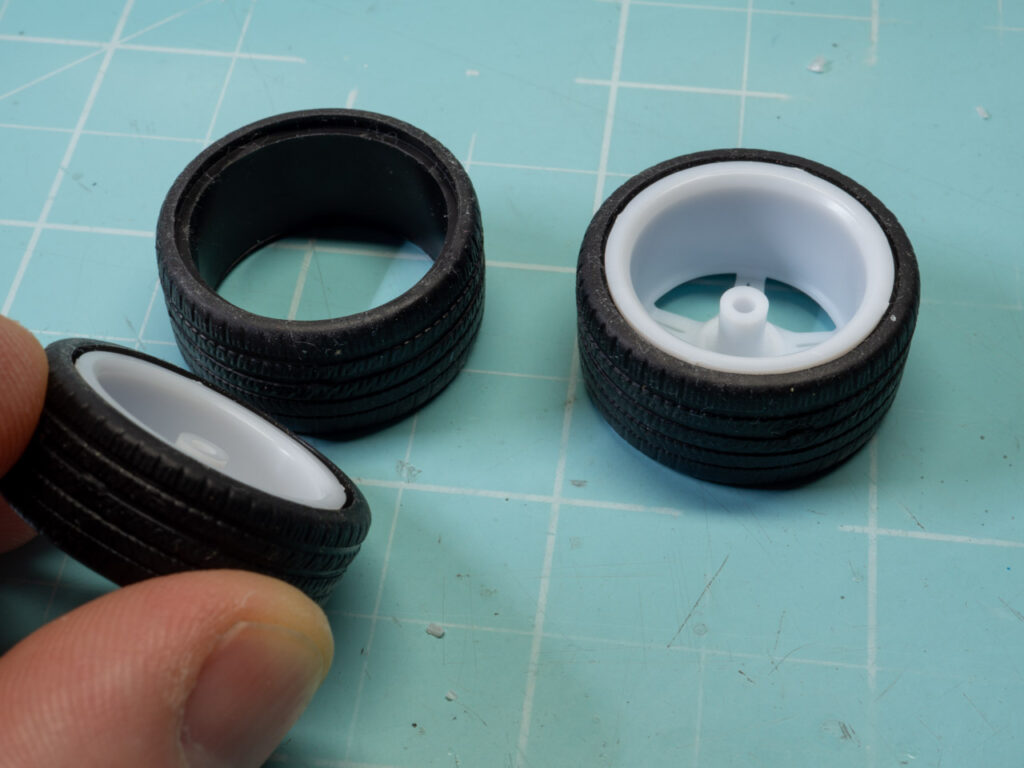
By the way, the rubber has a groove for the rim. It’s a good solution to hide it. No need to cut off that ring on the back side. The wheels themselves do not use a rubber bushing; due to the frictional force, they sit in the hub and even rotates.
This is the preliminary assembly. I like. I’ll probably make this Corvette in the near future, although I didn’t plan to 🤗
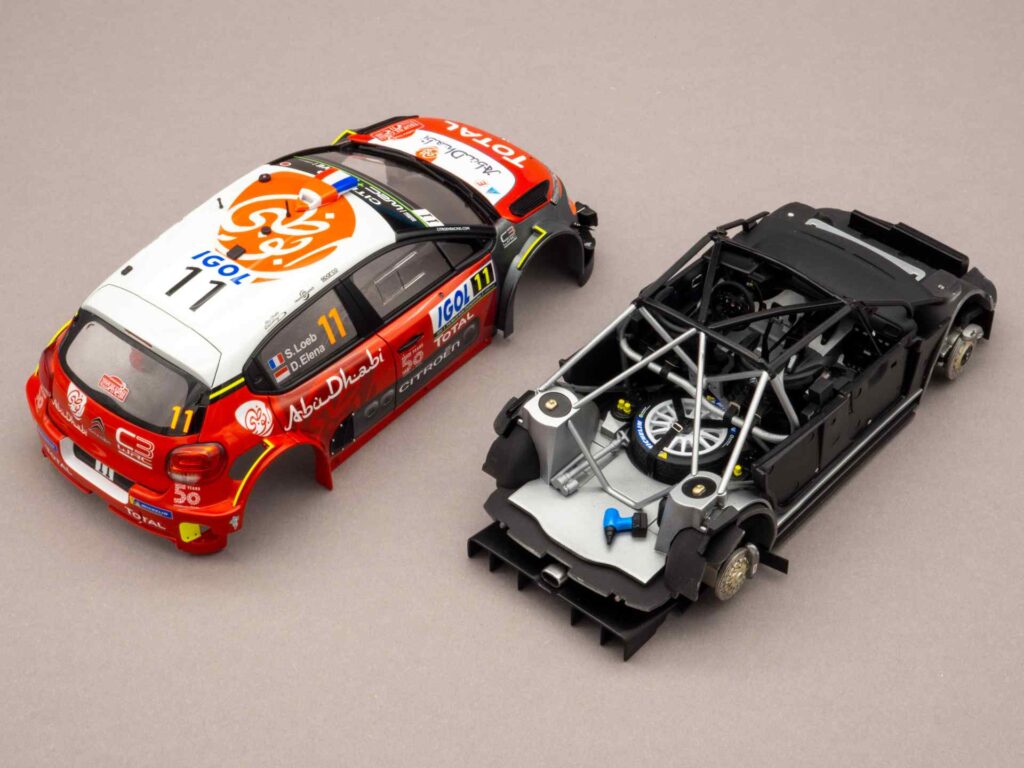
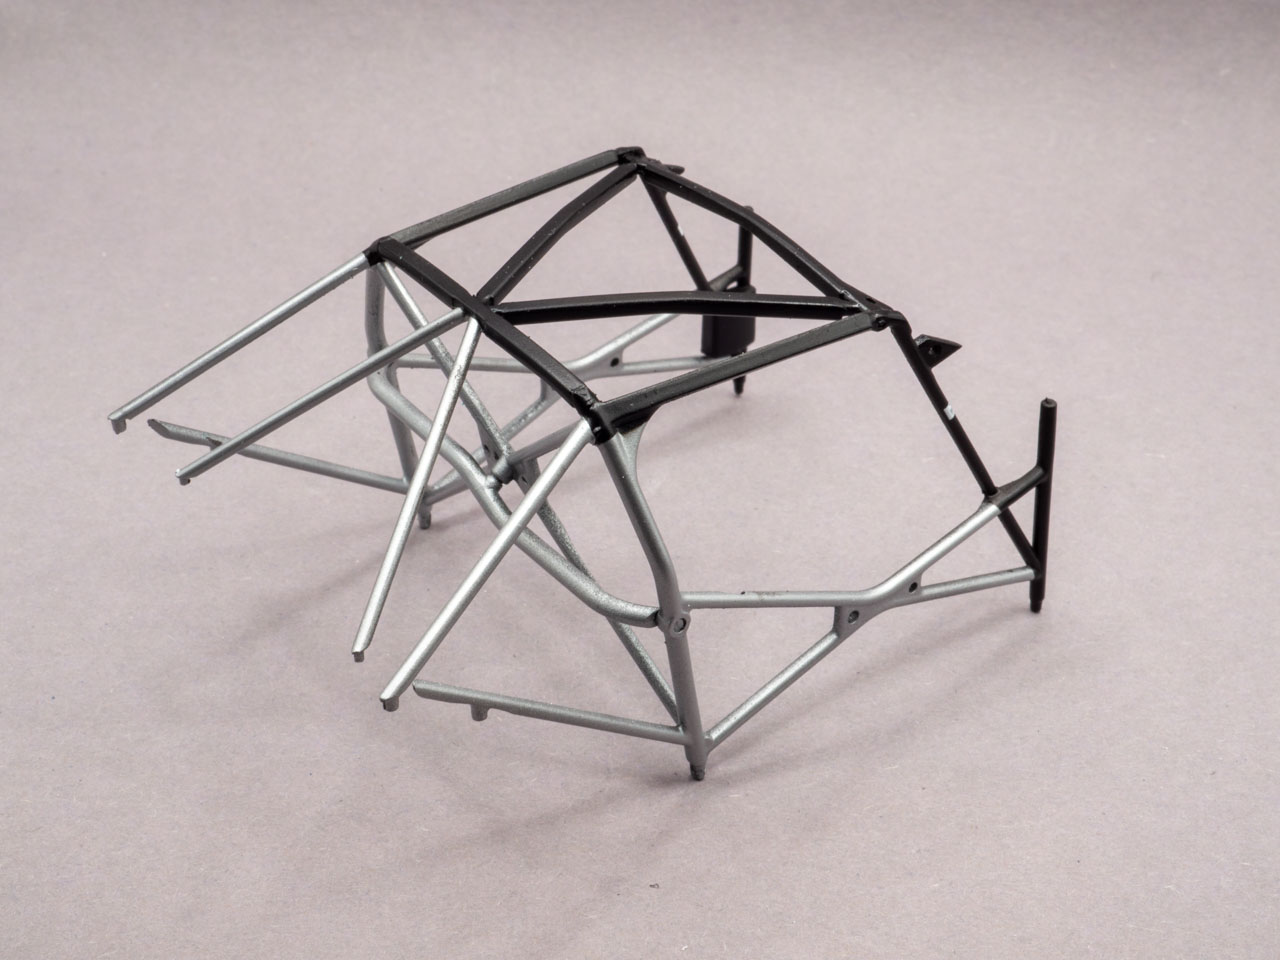
Safety cage, i plan to glue it prior to paint. Do not like when seams are visible if i paint before.
Interior tube serves as jig for easy mounting.
Not convenient to paint it as one piece, but still ok for me. Painted in C8 silver.
And according to manual, painted in black incl. some small decals.
Interior tub was painted in silver.
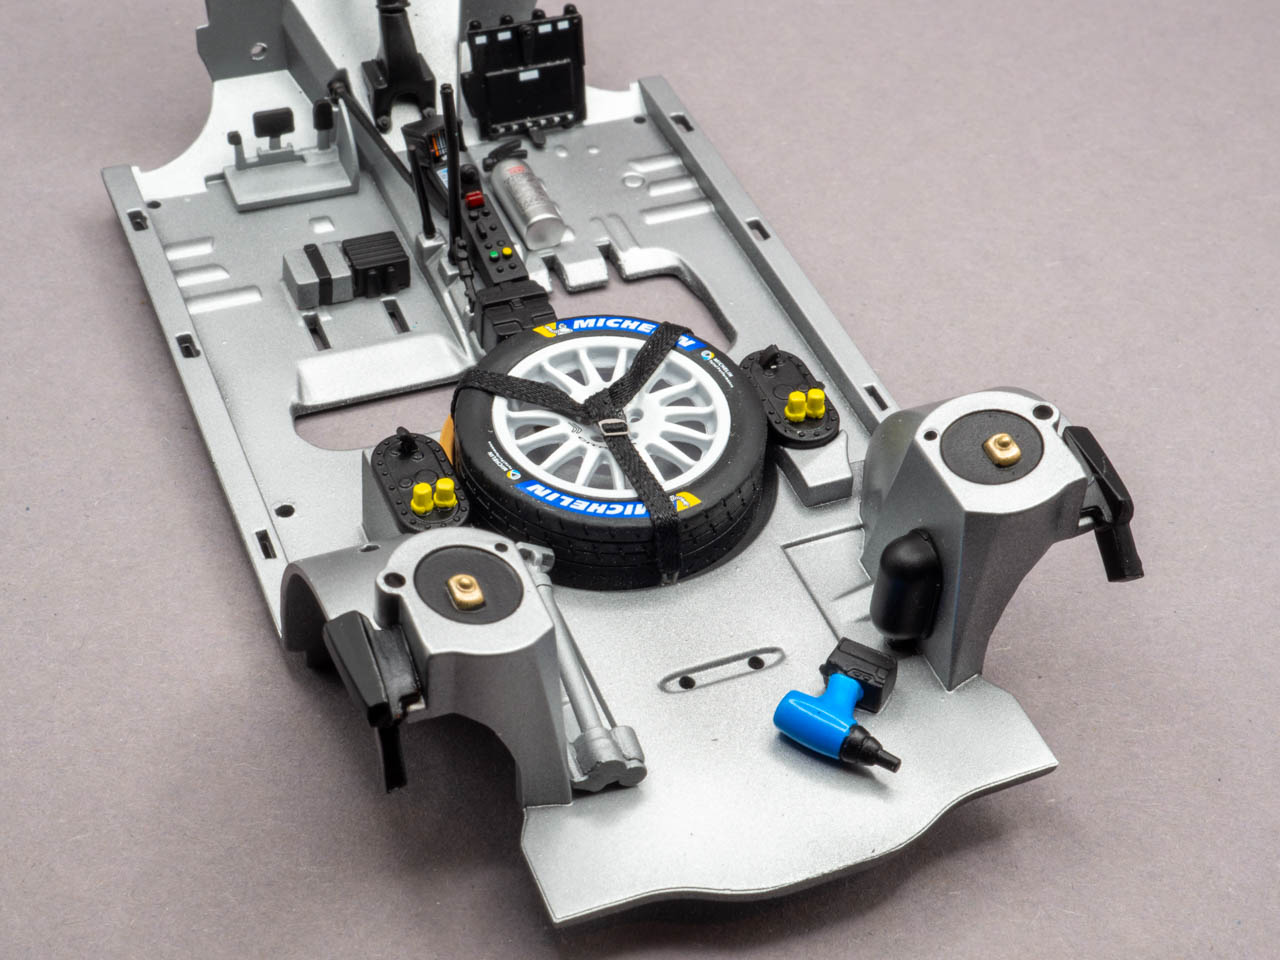
Lot of tools and small parts into the cabin.
So, all these parts placed on the interior. The spare wheel in the instructions is face down, but I don’t like it that way, it will be looks face side on top. I placed the jack and screwdriver on white glue so that they would not dangle around the cabin.
Now we can make the seats, as first remove the seams.
Before applying carbon fiber, painted in black gloss.Unfortunately, carbon decals are not contrast at all, it is hard to recognize a pattern.
Added seat belts from box.
Seats can be installed. Ends of seat belts will mount to safety cage after its installing.
Then prepared door panel parts.
They can be mounted onto the safety cage.
Now i mounted safety cage in cabin and fixed belts to the tube.
Last part is dashboard with steering wheel. They are pretty simple. Steering shaft can be preassembled before painting.
Ready. Most challenged was central decal on wheel. Need to check that small colored button on decal matches with the real one on the part.
After installing dashboard i can call interior done.
Here i have a brand new kit from Tamiya on the table – the chic GMA T50. As usual, Tamiya is taking new steps in engineering and manufacturing new products that delight everyone and everything. The fresh kit offers us to build a sports car from almost 220 parts, which in nature exists in the amount of one hundred cars, and, of course, sold out before it was born.
The first sprue is a bunch of body panels and something from the interior. As you can see, the biggest detail here is the front cowl of the body.
The second sprue is full of different parts, but more recognizable are the door frames and the bottom parts. There are two of them, one for the interior, the second for the engine.
The next sprue with many mechanical parts like engine parts etc.
Look it more closer, you can see that the shock absorber springs are made plausibly. My personal opinion, since they separate from the shock absorber assembly, it was possible also to put in normal metal springs.
The calipers are made separately and quite detailed. It should already be the standard.
In the cylinder head covers, there are holes for the caps of the high voltage wires, cool.
On this sprue is something from the interior. The tub is given without a floor.
The steering wheel, console, gear levers and brakes looks good.
A large part of the skeleton on which the body panels will be attached. Refers us to McLaren Senna.
Tail section part with propeler cover.
Sprue with clear parts. A lot of windows that does not require glue for mounting. Everything is held up with overlay panels. Thin and transparent. But not completely transparent, otherwise the sprue would not be visible in the photo.
Different wide tires as usual without logos. There are also small polycaps, their purpose is a mystery for now. One of them is needed to secure the motor cover, I found this in the instructions.
Decals are standard for the latest tamiya kits. There are also metal stickers. The etching set is limited to meshes for the rear. They also do not require gluing.
Further, according to tradition, I build everything in order to determine the production plan. Picked up the monocoque a bit.
And here is the shock absorber suspension system.
As installed with wheel hubs.
The seats are not as detailed as in the senna, but divided enough for easy painting. Passengers got own seats near the drivers.
Interesting config.
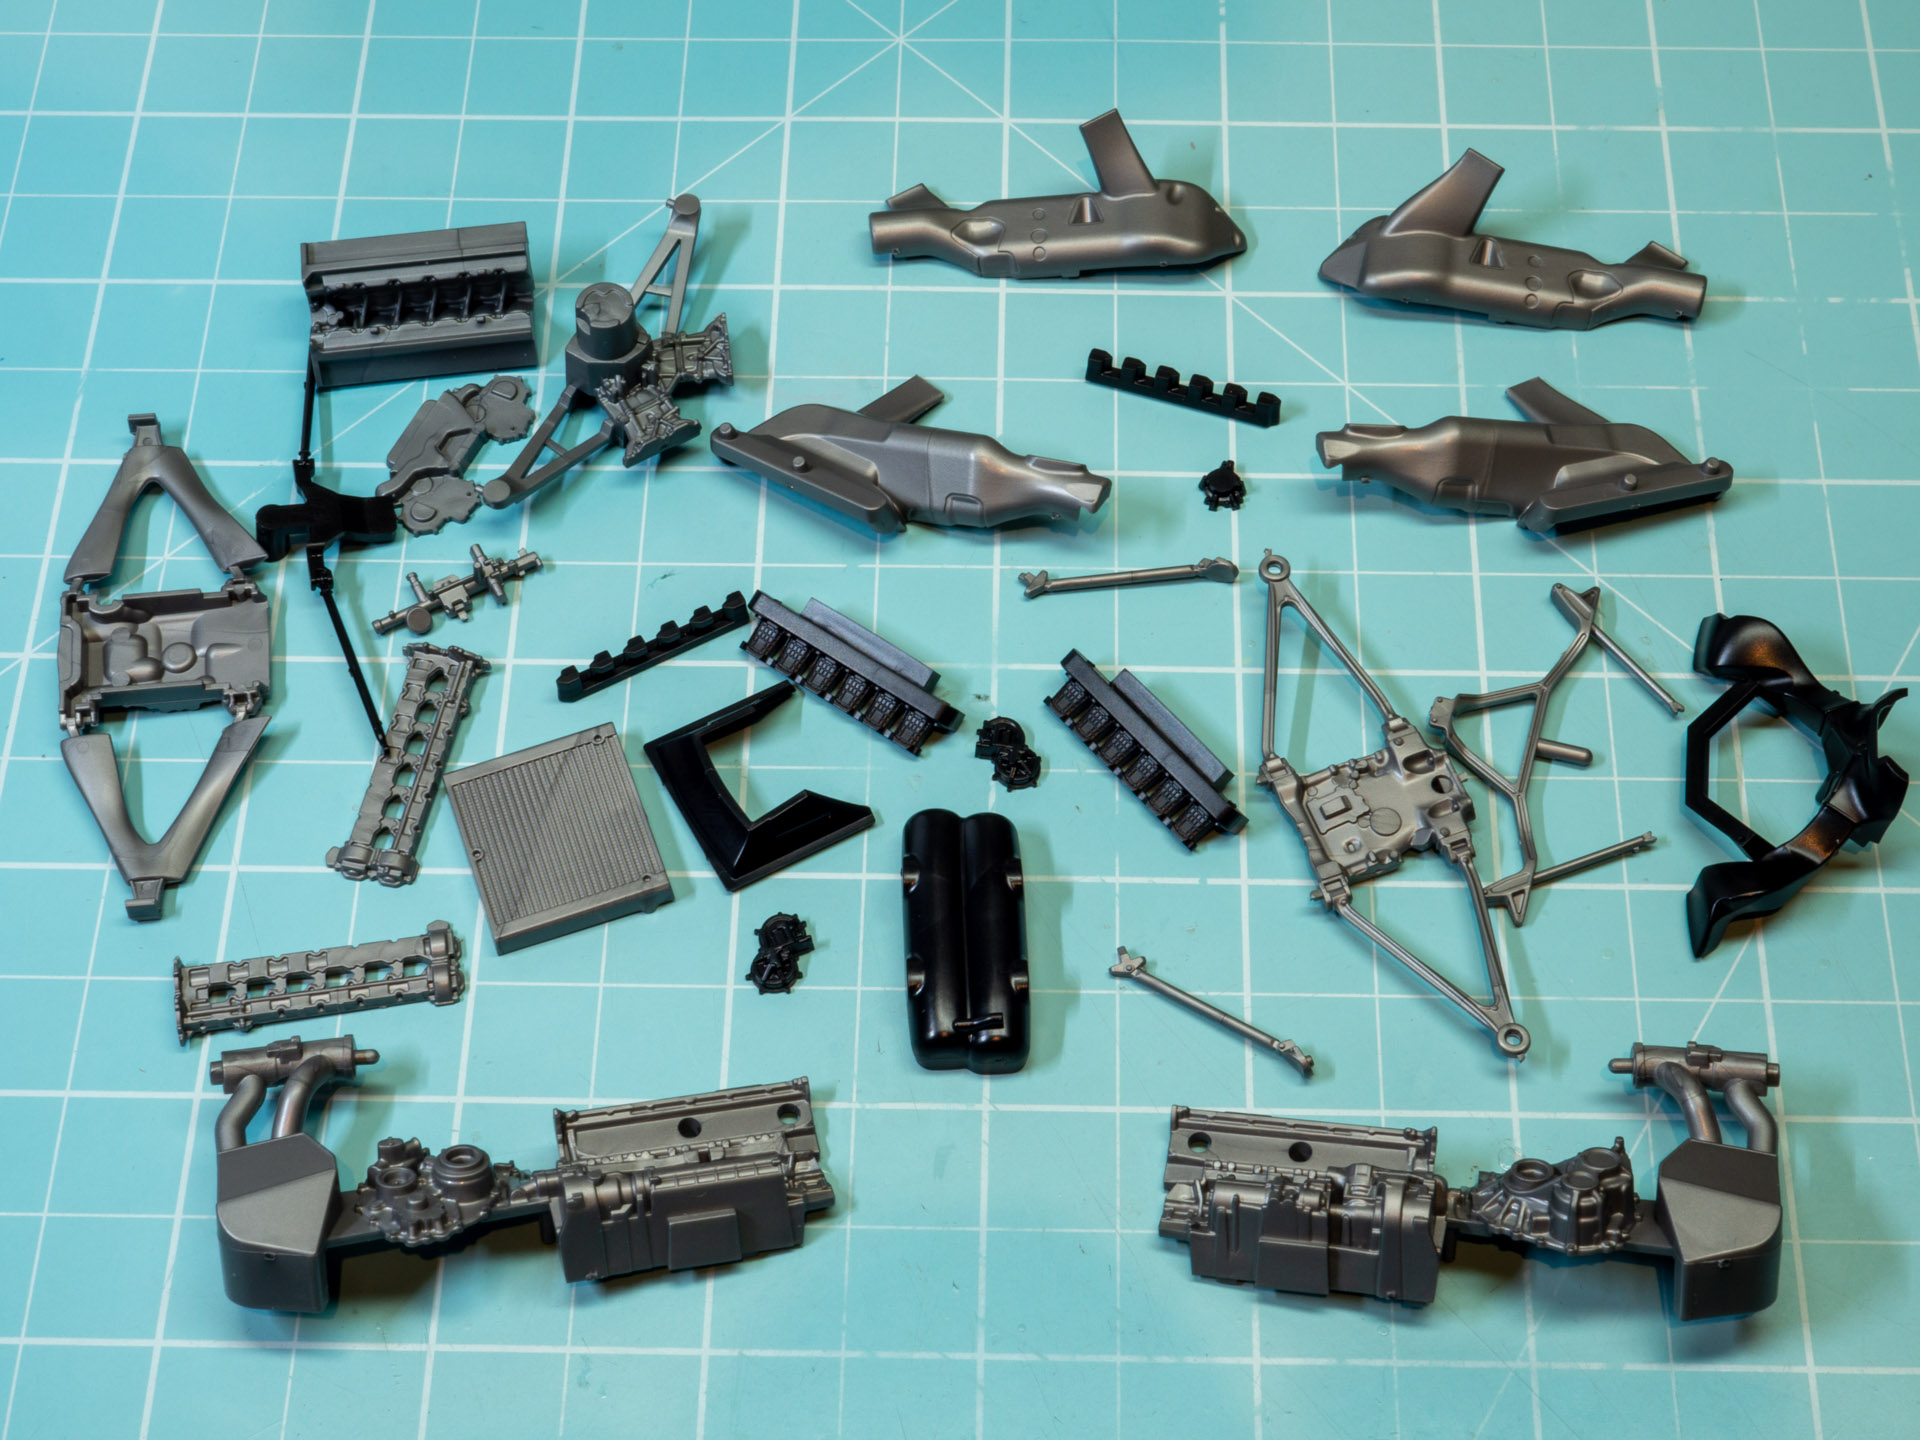
Here are the details for the engine. Pretty much parts.
The first step in assembling an engine with a sump.
Along with exhaust pipes.
And this is what the assembled chassis looks like.
Dashboard with door cards.
The interior is attached to the skeleton, then the windows is hung and fixed with frames.
The headlights are made up of several parts. The optics look convincing. The door panels consist of two parts, should remember to glue them and hide the seam.
Panels and glasses fixed on the skeleton.
Assembled the back with the propeller. Etching does not require gluing.
The front lip has a several parts and easy fixed in its place after marriage, which, by the way, is simple and also easy.
Engine compartment covers. Depending on the glass used, they can be either open or closed. This glass can be changed even after painting and assembly. Nothing is fixed on the glue, but simply inserted into the groove.
Open/Closed.
A small carousel, as it may look after assembly.
There is also a video, give me likes if possible, thanks!
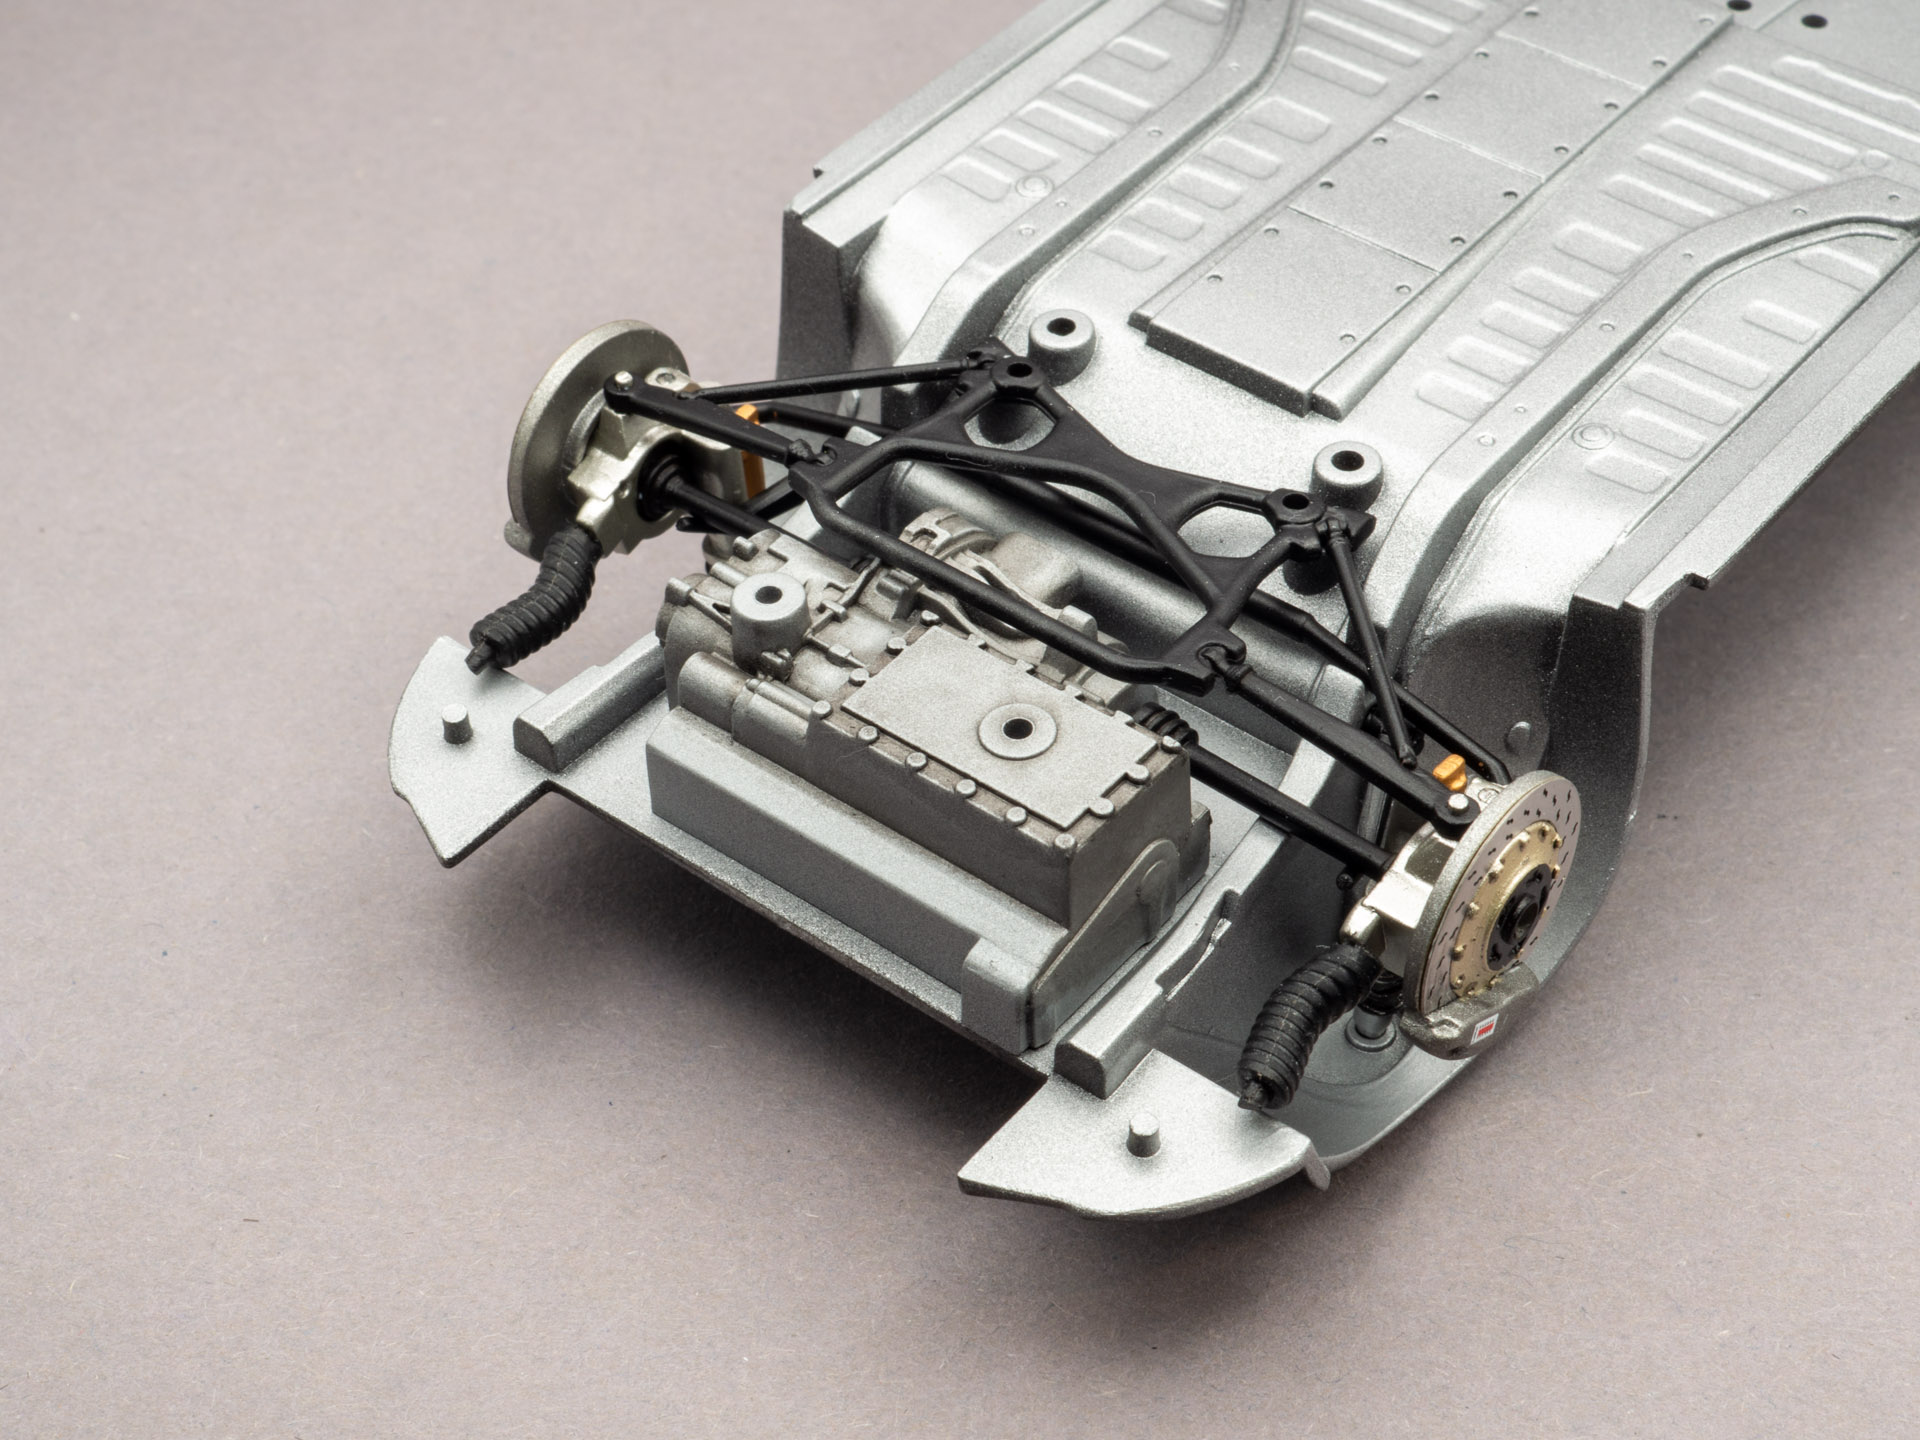
I am working here with chassis. As first i do some bores to be able mount small parts like levers and rubber duct part.
And next step is painting bottom part in black as underlayer and then aluminum gloss.
Axles are also painted and mounted. Imitation of gearbox and rear diffirential are aluminum flat.
Brake supports and rotors made as one part, pe disc need to be glued on it.
And then I painted them and added a little wash to the ventilation of the disks for contrast and realism. Michelin decals on rubber are brushed with Vallejo matt acrylic varnish. It cures evenly well and has a rubber-like vinyl base. Someone asked how I made the red dots in the center of the wheel. There is no need for any masking or sloppy brush work. With the help of a punch bit, we cut 4 circles from unused red decal.
Springs brushpainted, nothing unusual.
The front and rear axles assembled.
Brakes closer
For realism reason the exhaust pipe is drilled and hole deeped.
It will be hidden a bit, so I didn’t do any burnout or effects on it.
Radiator made of pe and glued accordingly.
Finally, I closed everything with plates and rubber pads, little bit weathered, and call it is done.
Wheels do not mount so far, i left it till the end of overall build.
That is all. The video on Youtube is also available.