
Just a few small things left before I can call it complete.
I’ll clean up the roof air intake to make it look proper — the dent there is bothering me.
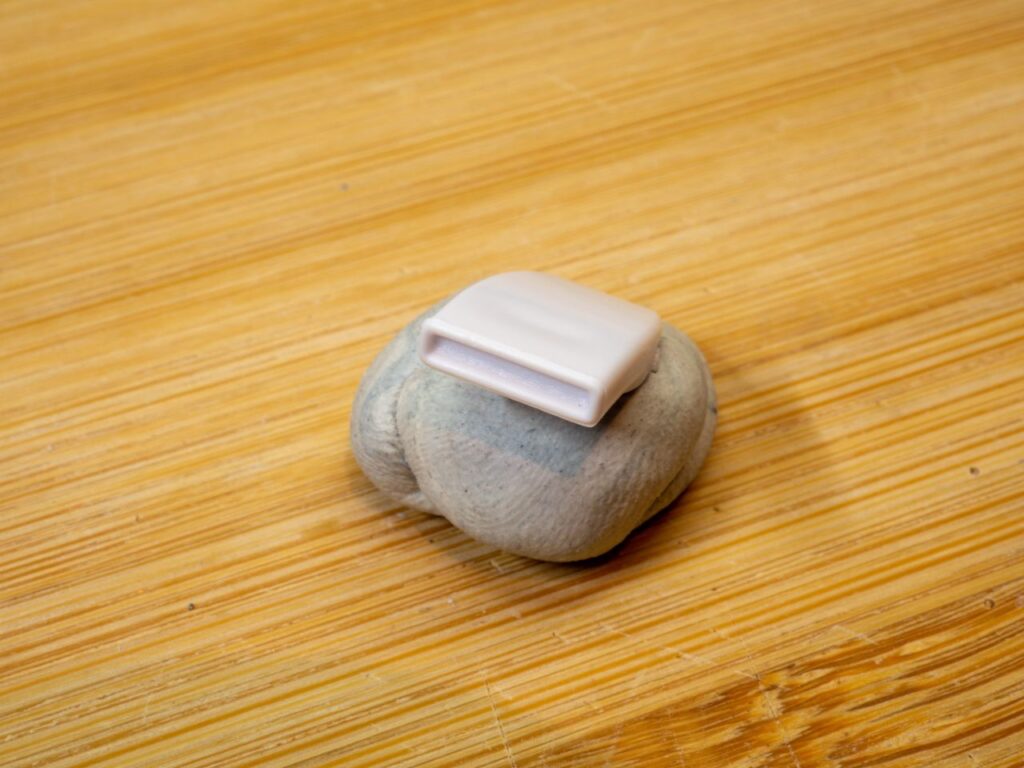

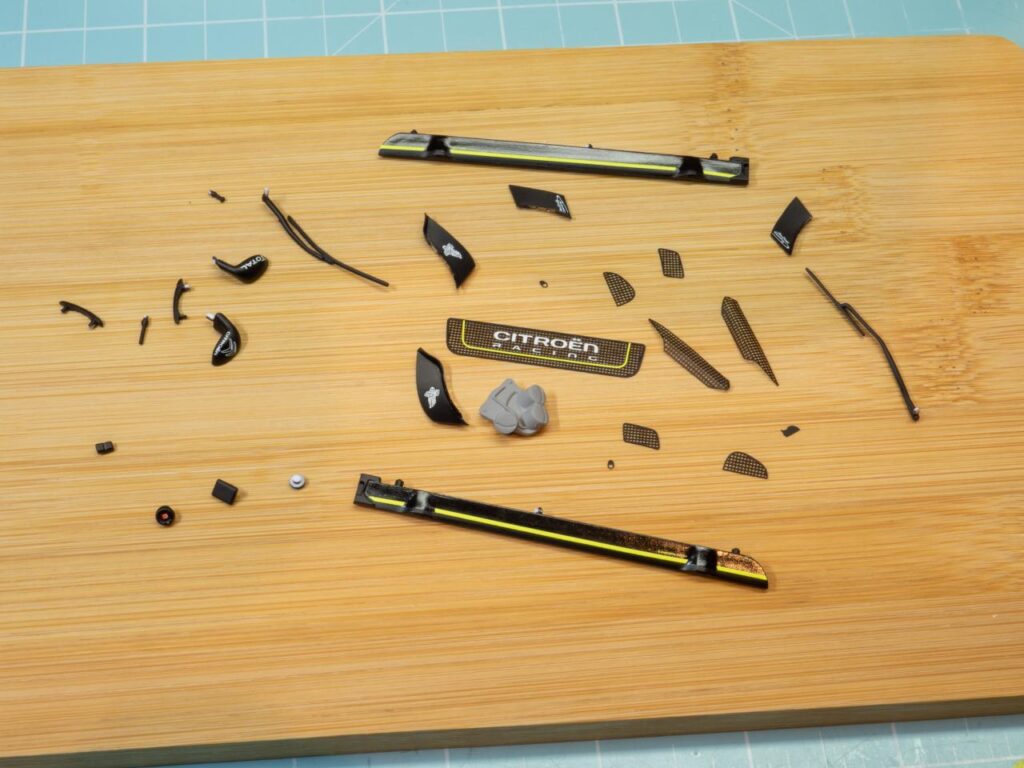
Exterior parts
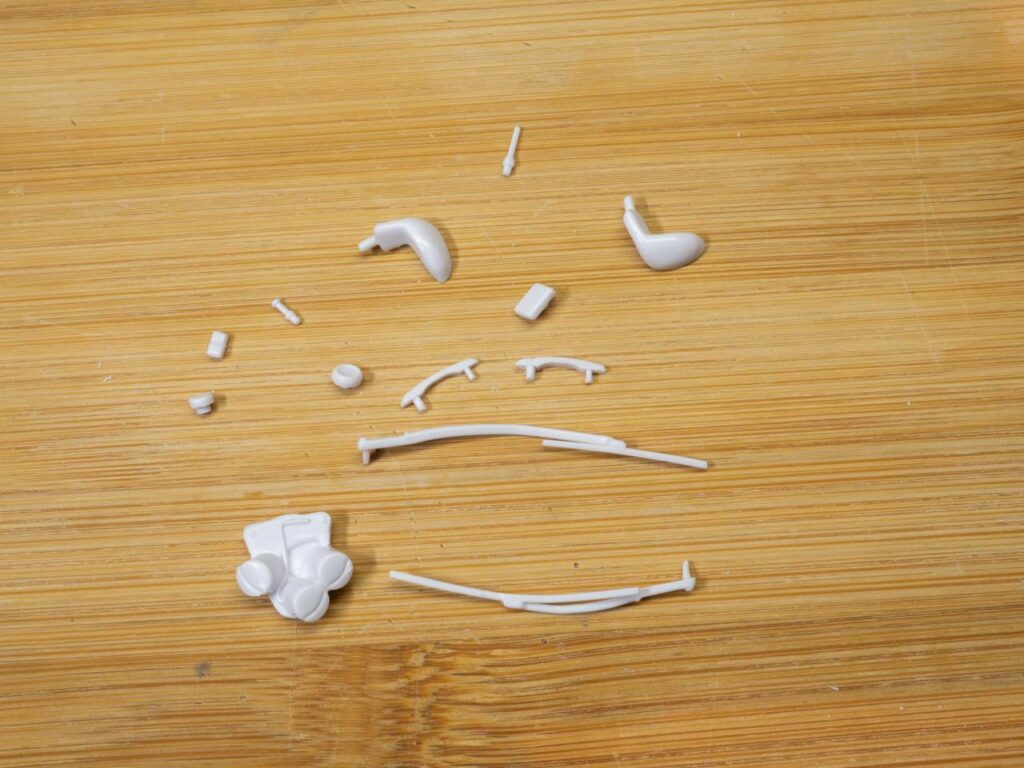
Photo-etched mesh parts.
The ones on the bonnet need to be bent in a double curvature. Doing this without a bending jig is tricky, so mine came out a little uneven.
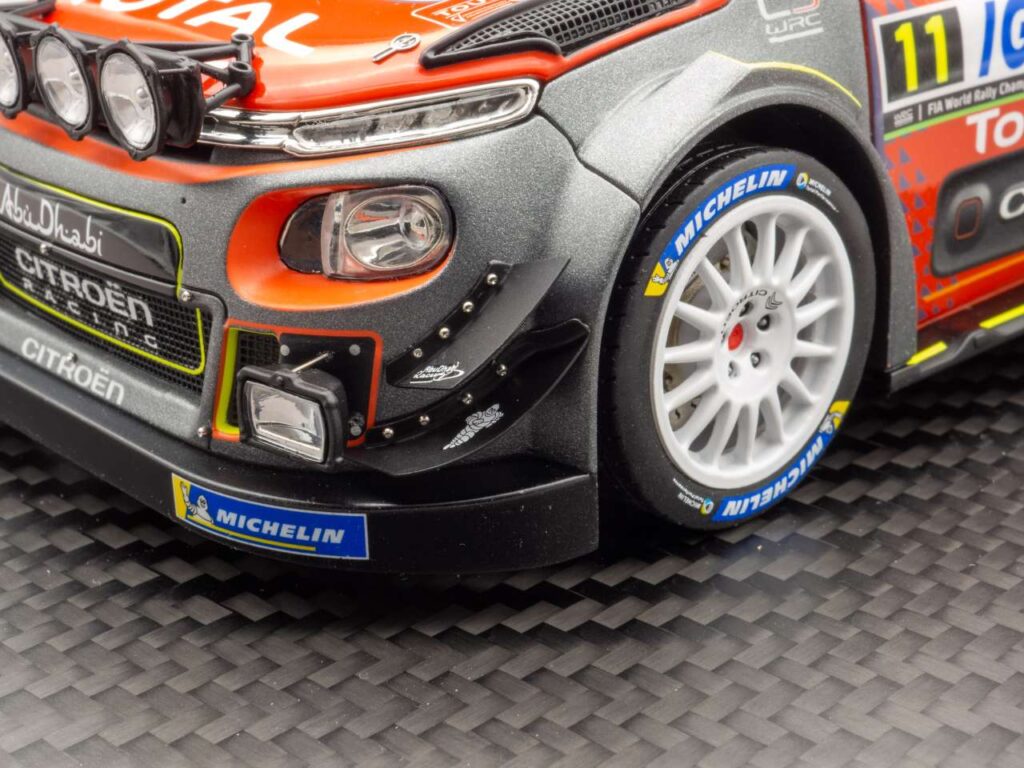
The canards are already pre-pressed, which is great. I’ll attach them with real micro screws.

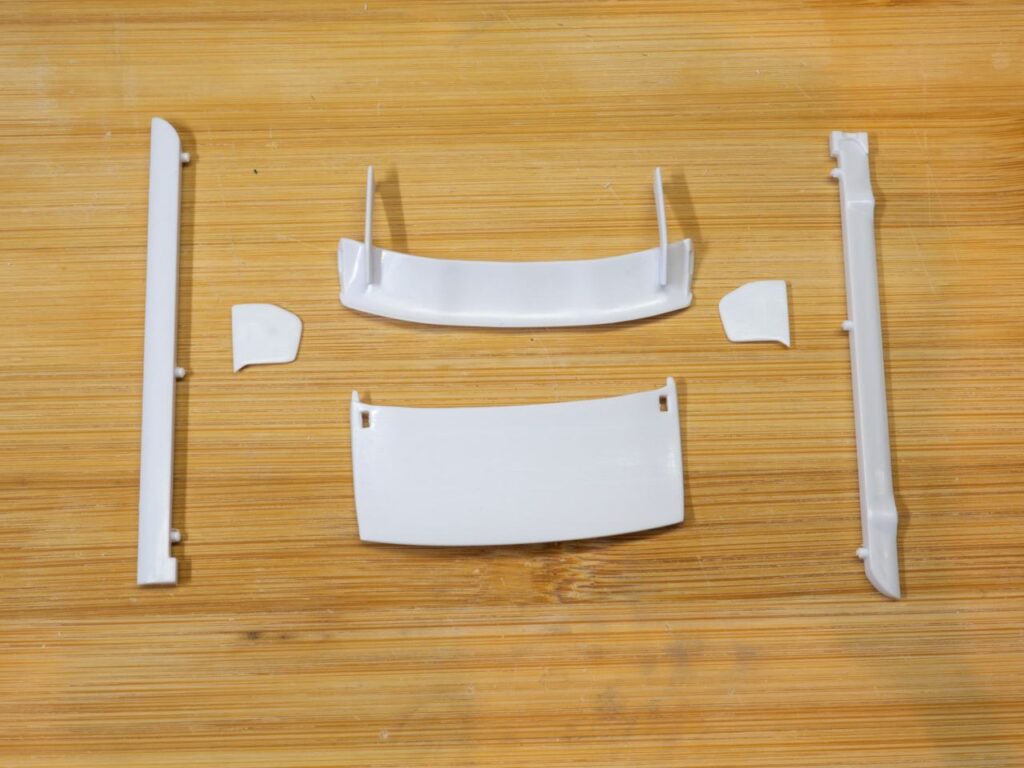
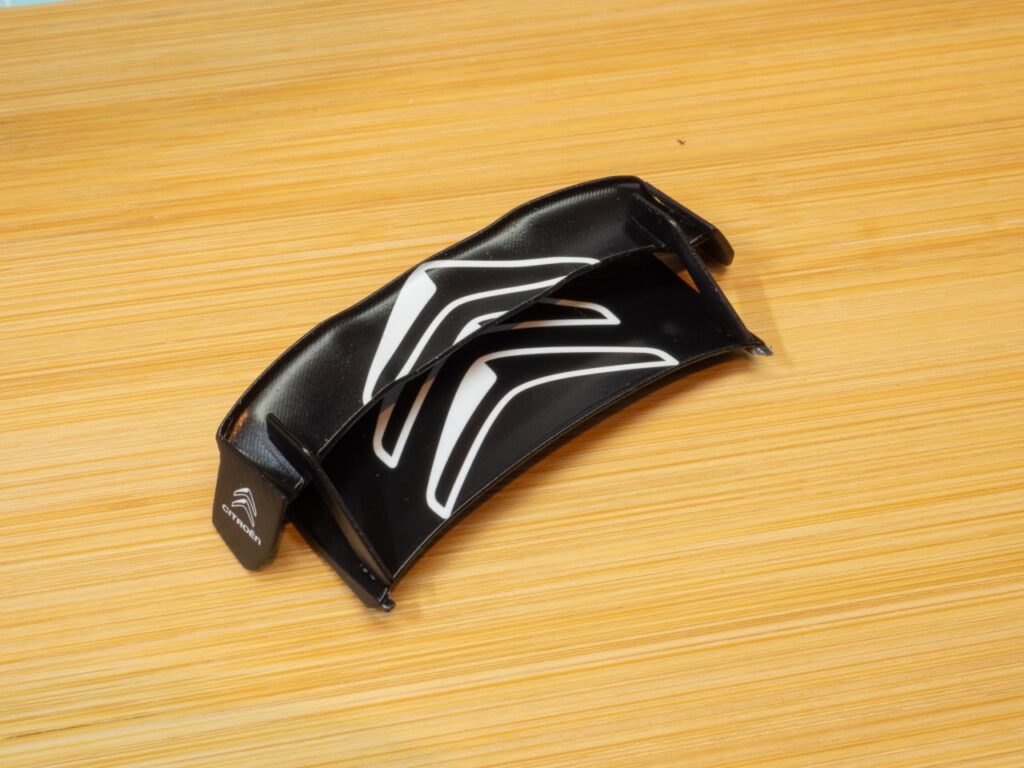
The complex rear wing and the side skirts
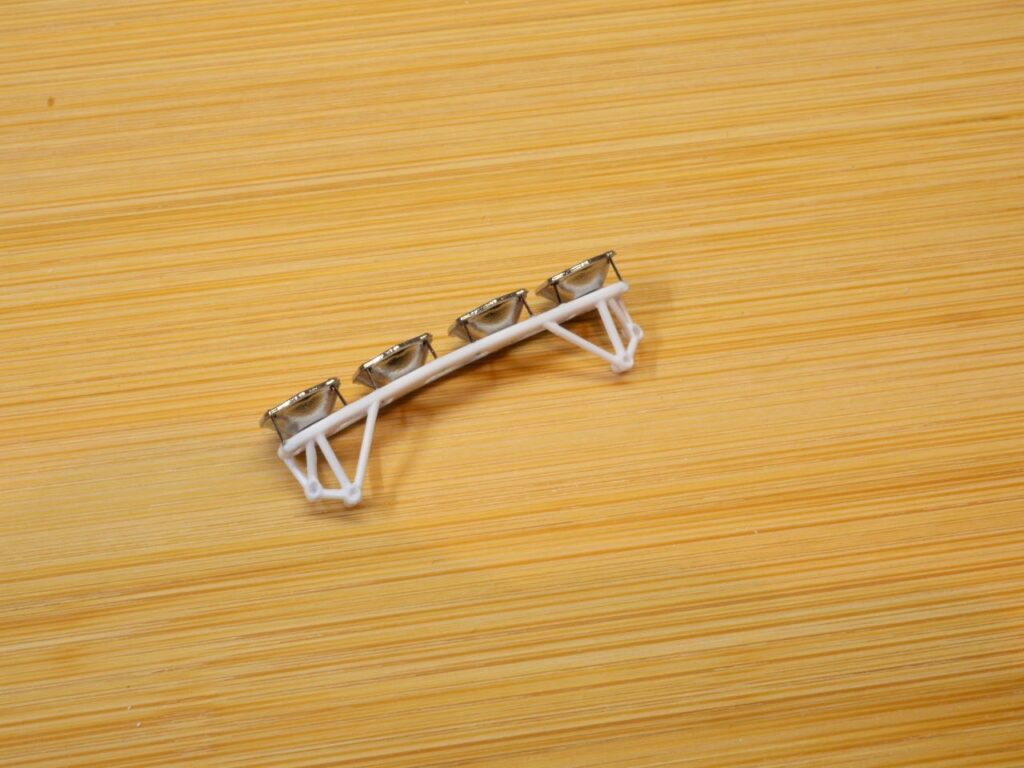
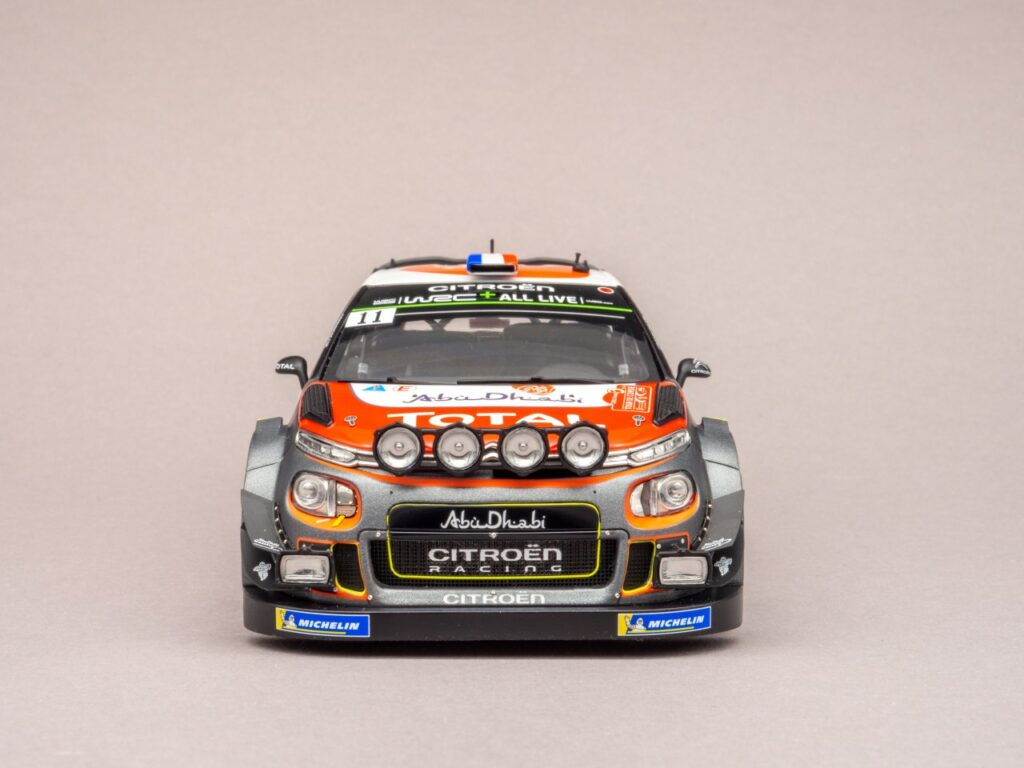
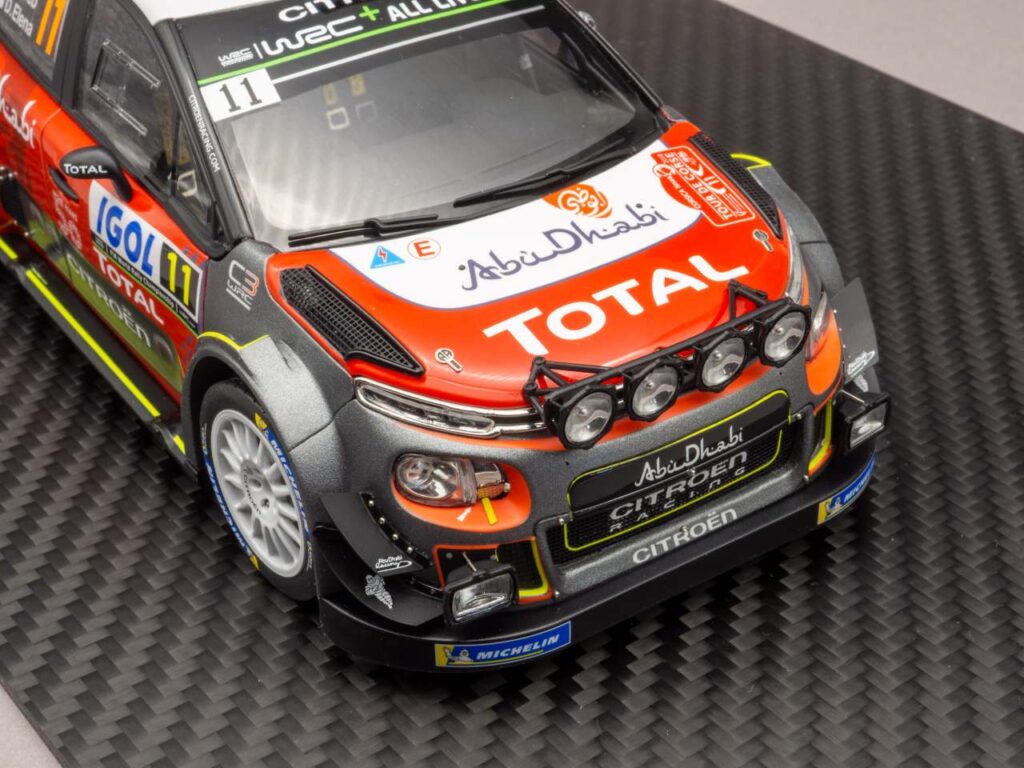
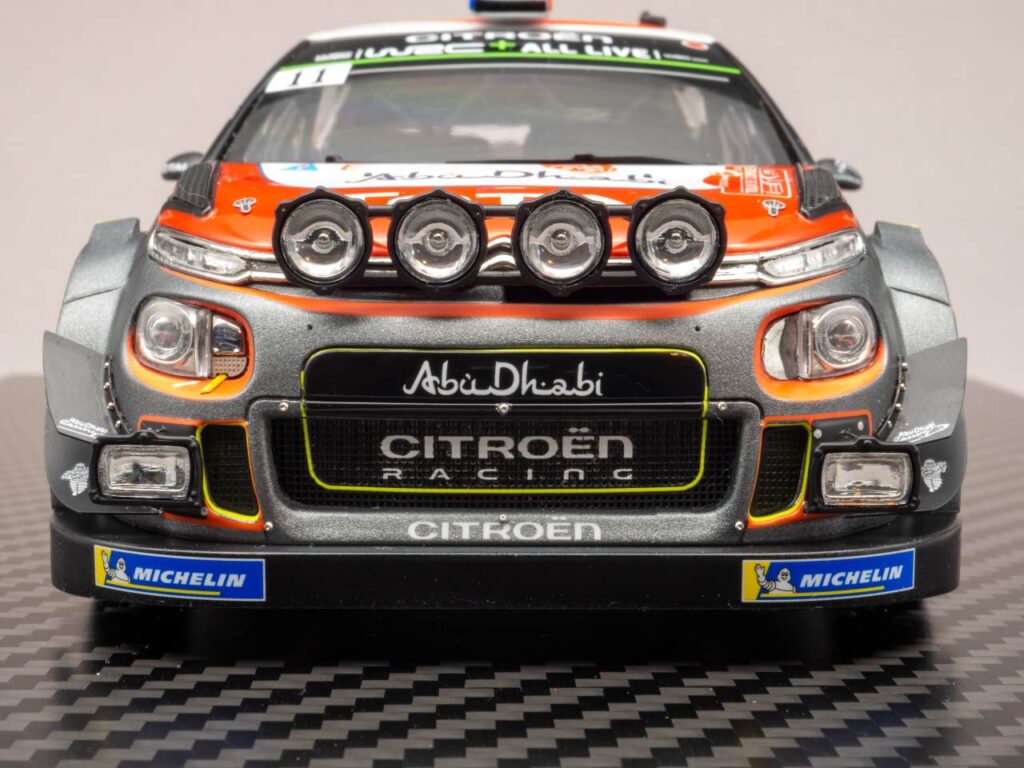
I drilled the holes in the body for the night rally lighting. And here are the lamp units themselves together with the frame.
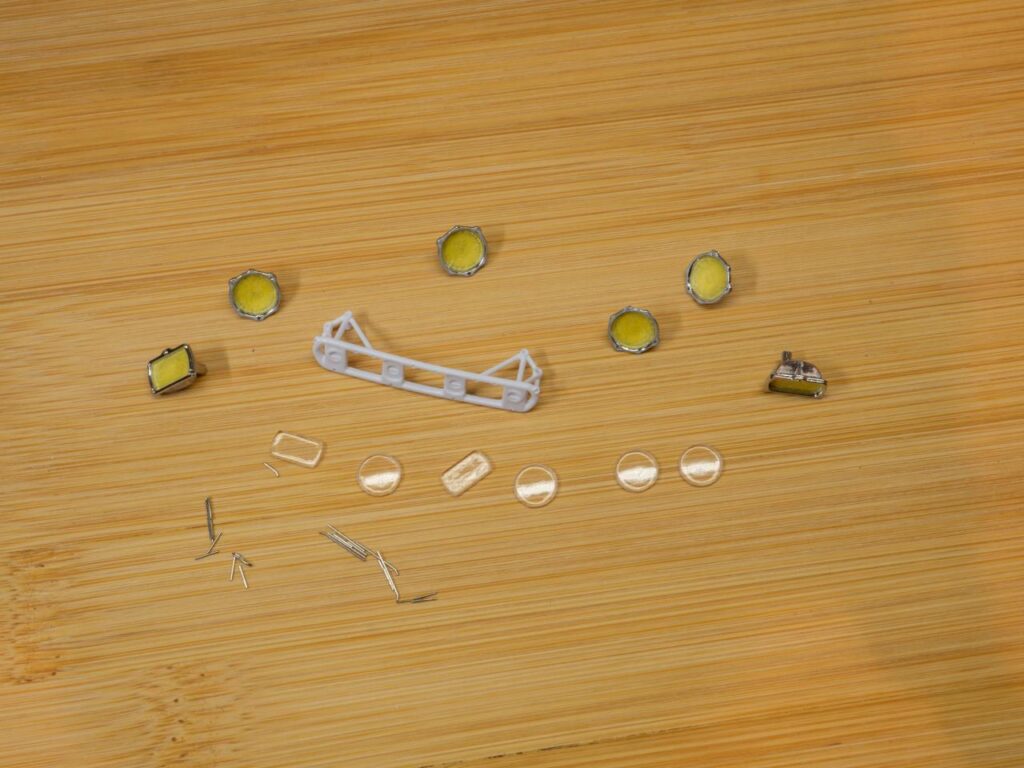
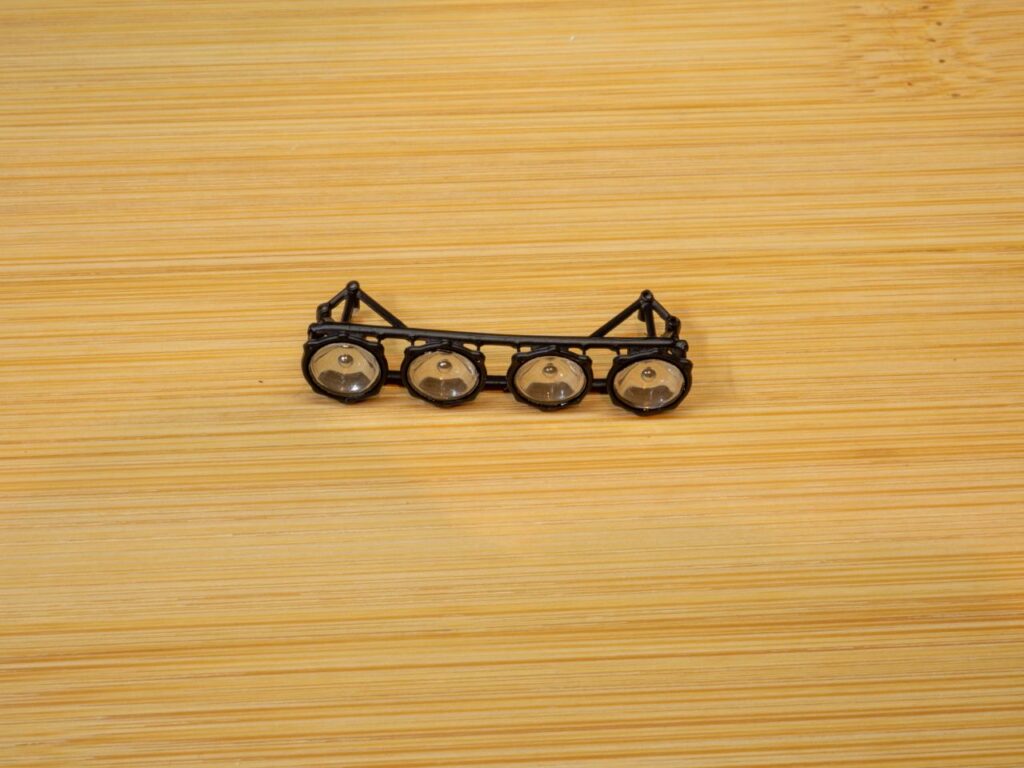
Here is how it looks assembled. I put it together carefully with CA glue. The reflectors were masked; everything else will be painted in one colour.
Paint results.
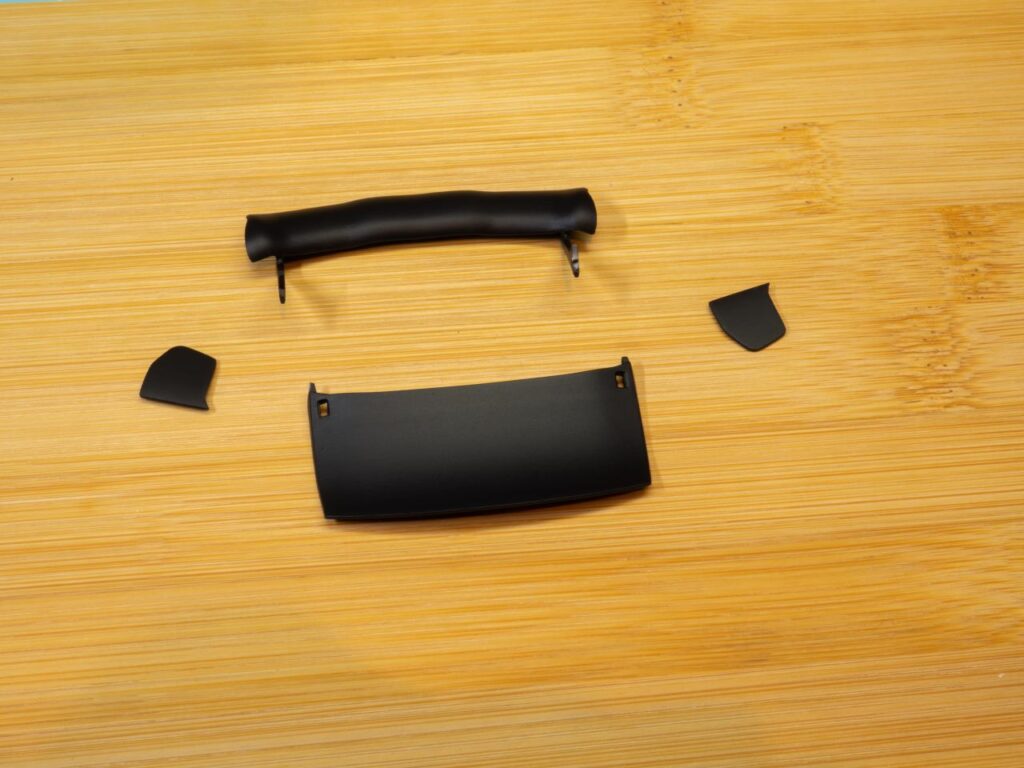
I painted the wing elements separately.
Then applied the “invisible” carbon pattern and sealed it with a semi-matte clear coat.
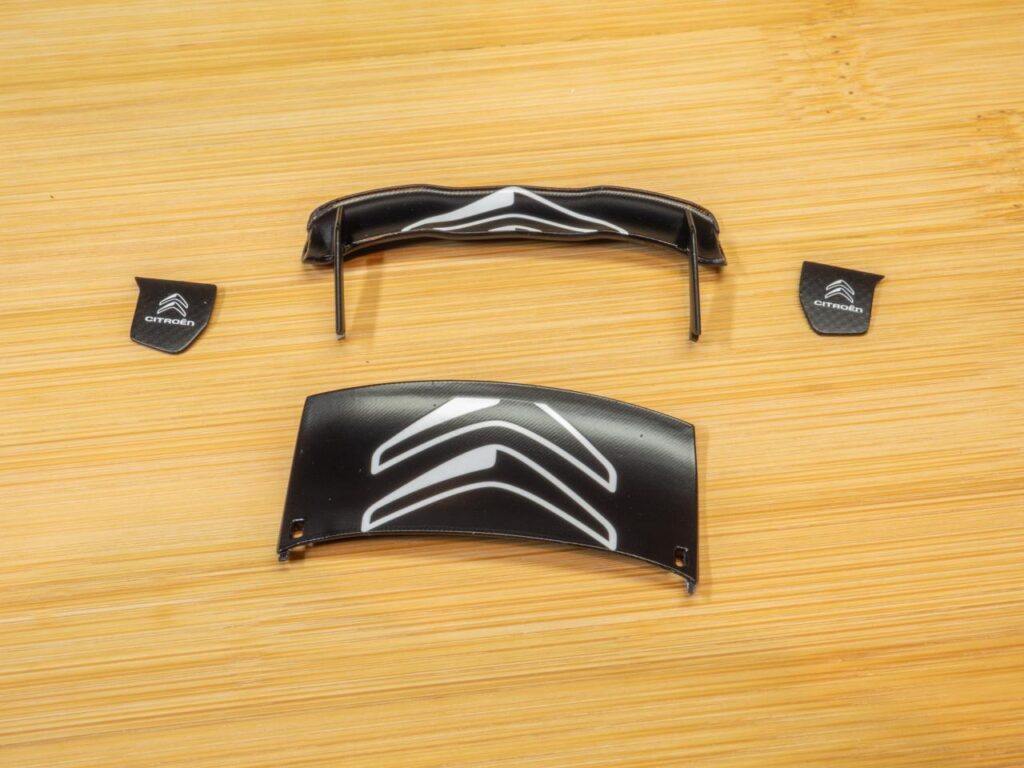
And assembled everything into one module.
The mesh pieces and other small parts are also ready for installation.
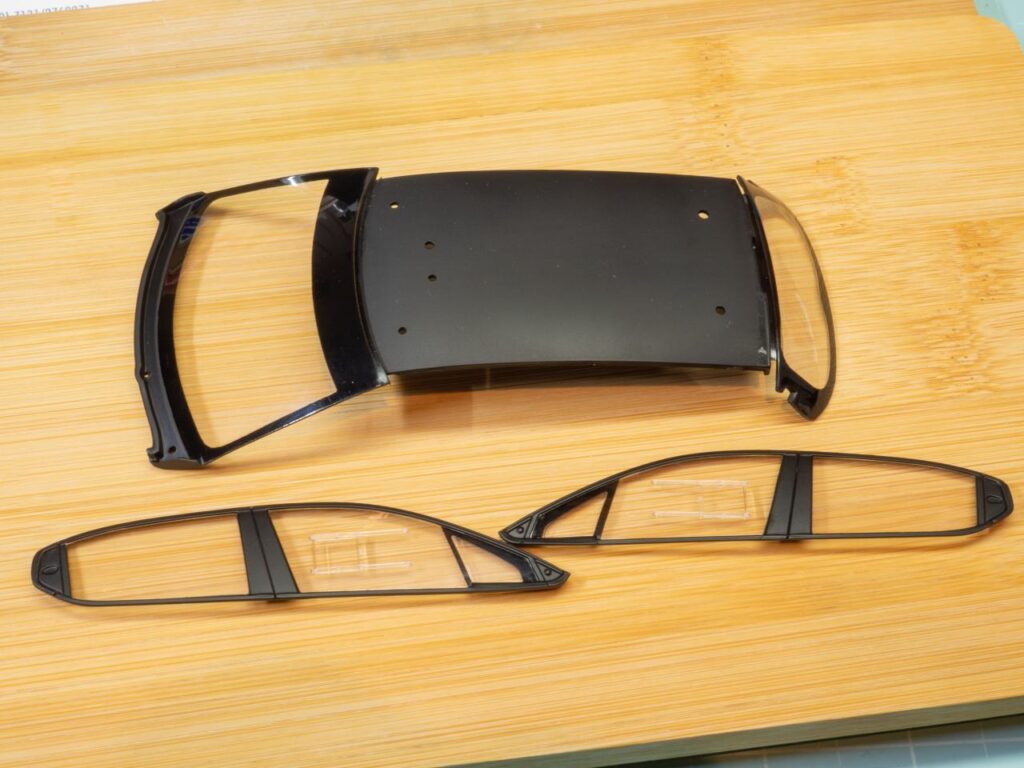
Masked the windows.

Semi-matte black applied.
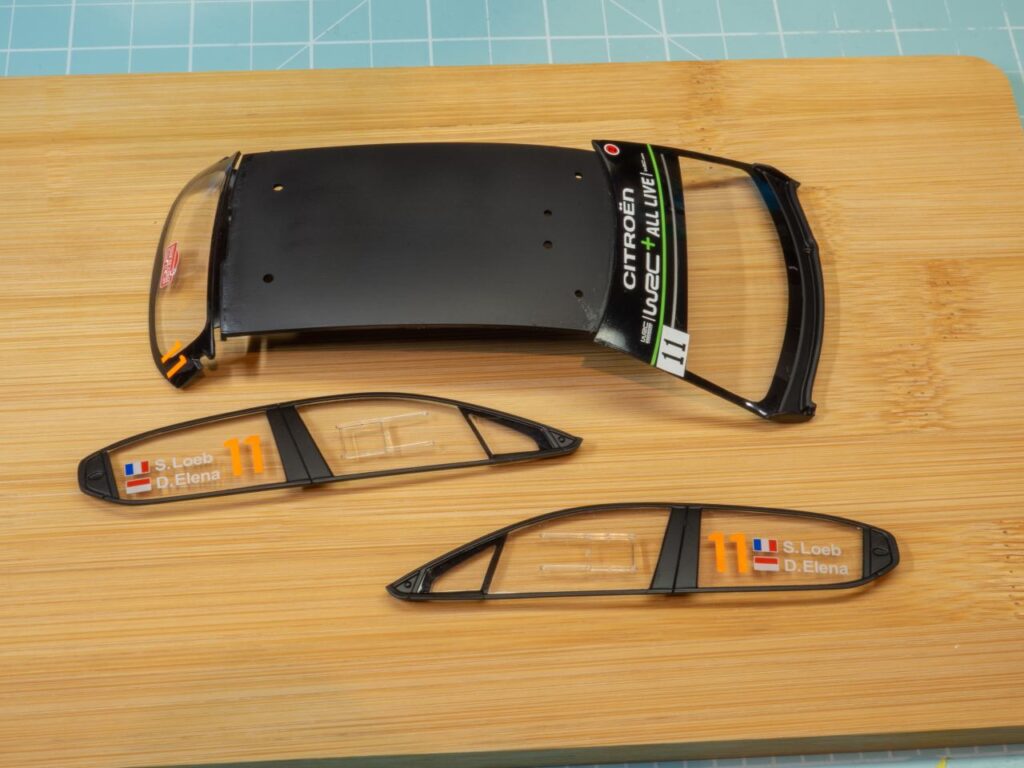
And a few decals.
By the way, I applied the driver names from the inside — looks surprisingly good. I’ll keep doing it this way from now on.
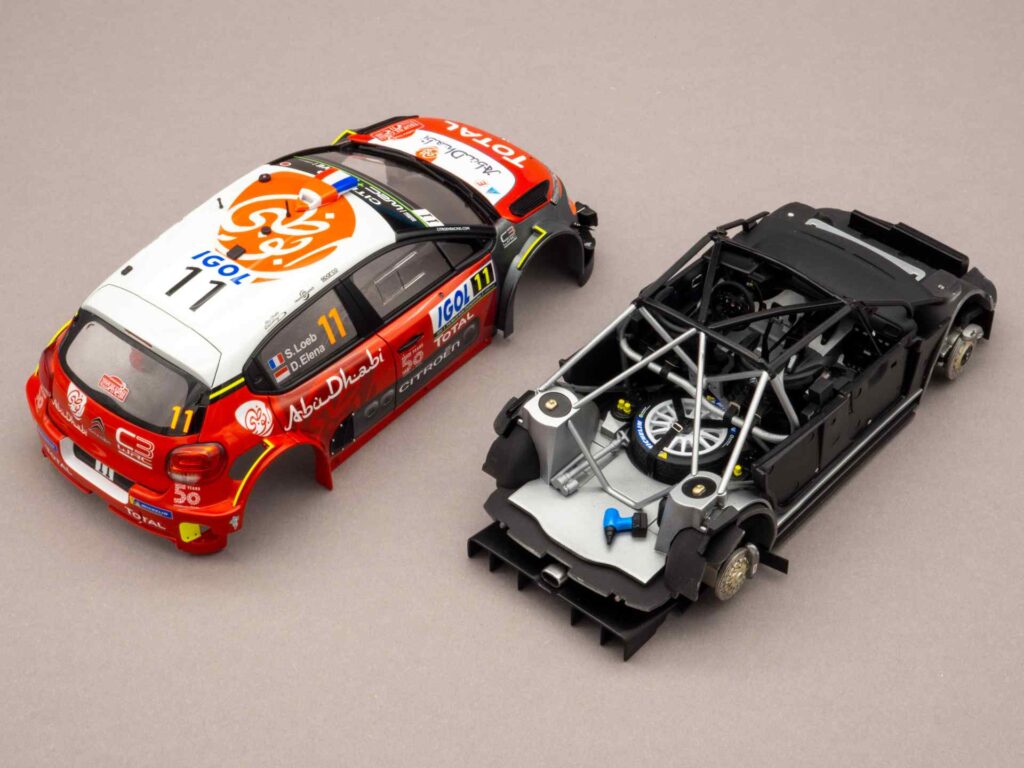
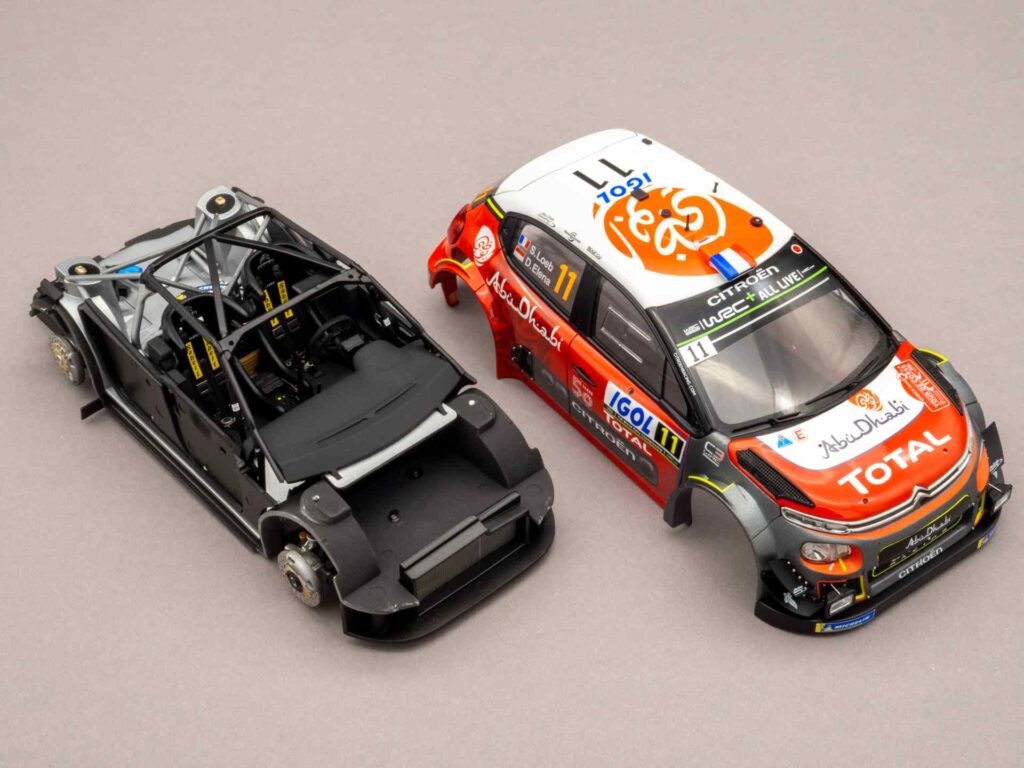
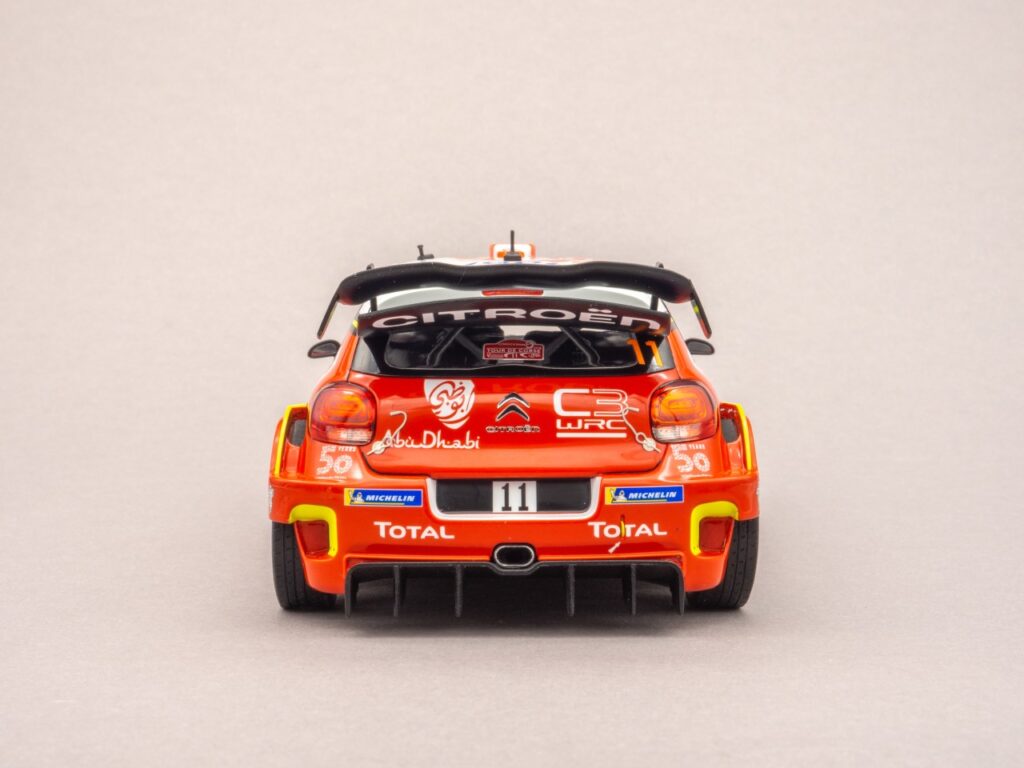
After installing the exterior parts, everything was ready for the “marriage”.
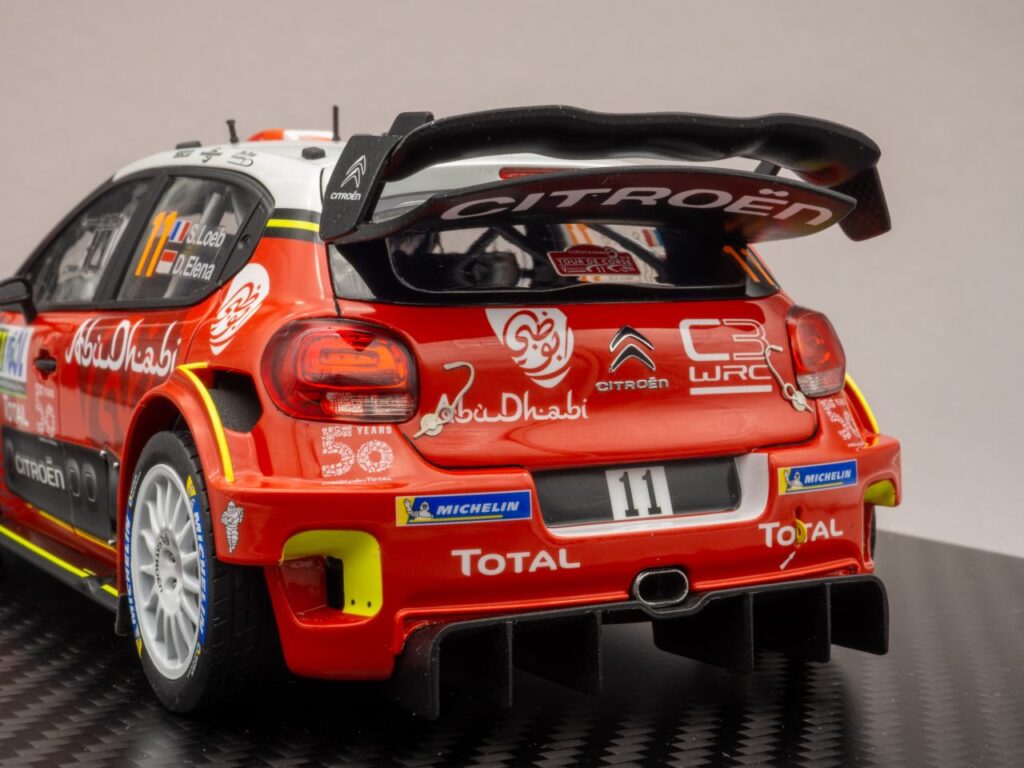
At the very end I added the rear wing and the light pod. Done.
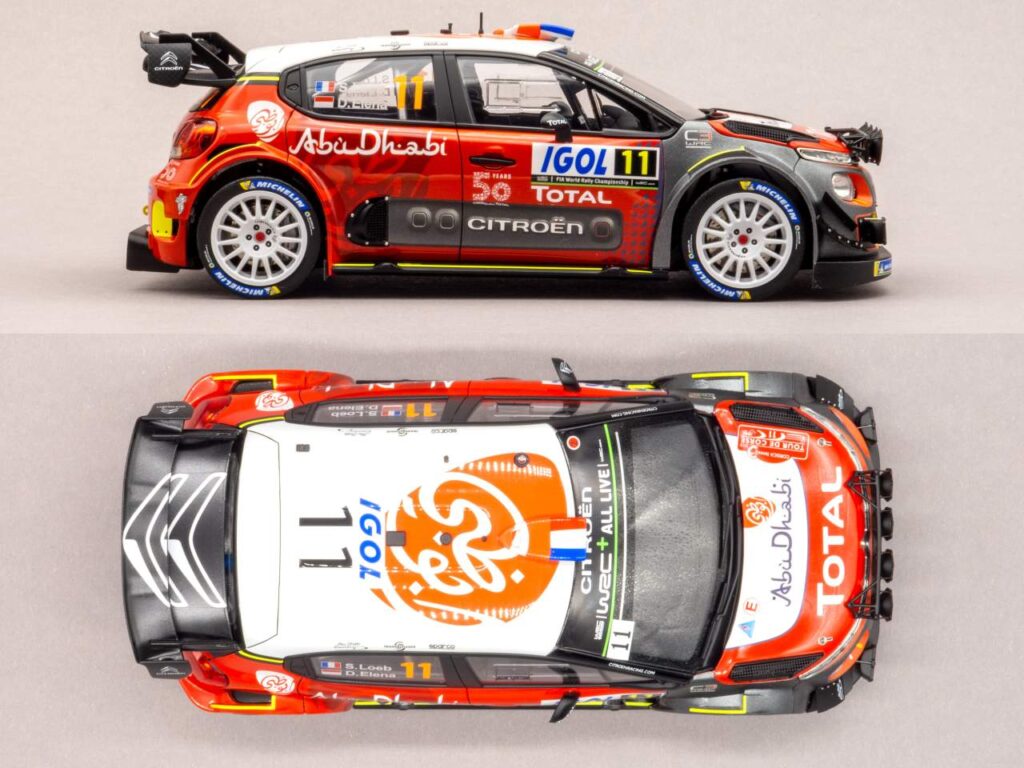
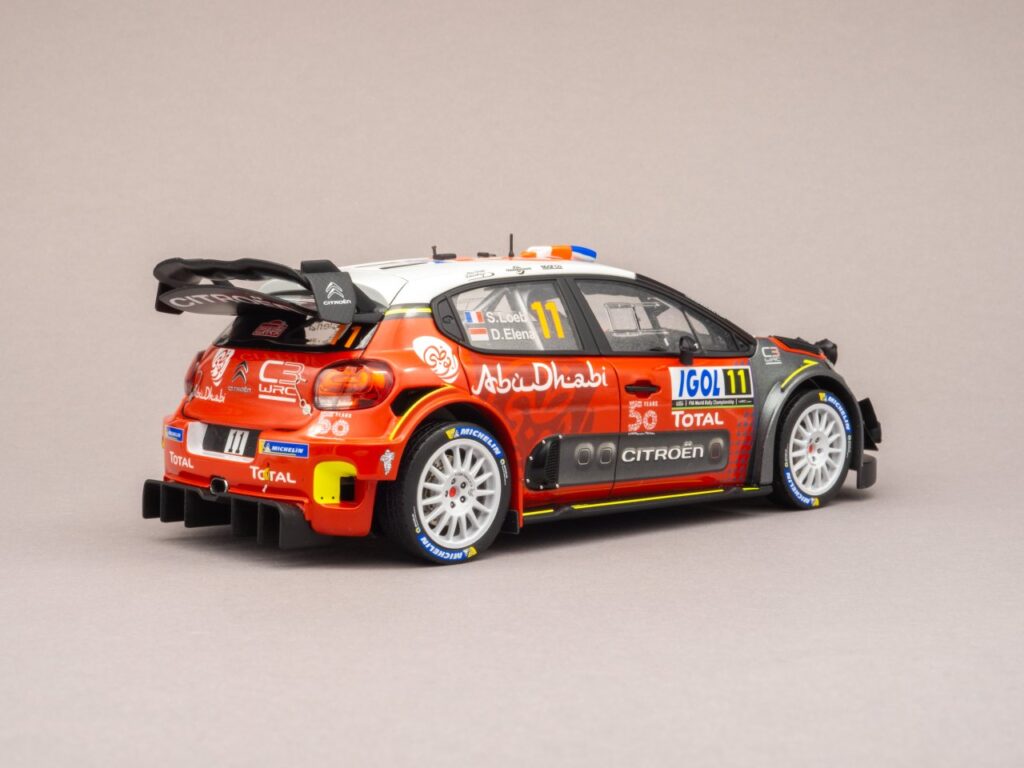
Some shots around.
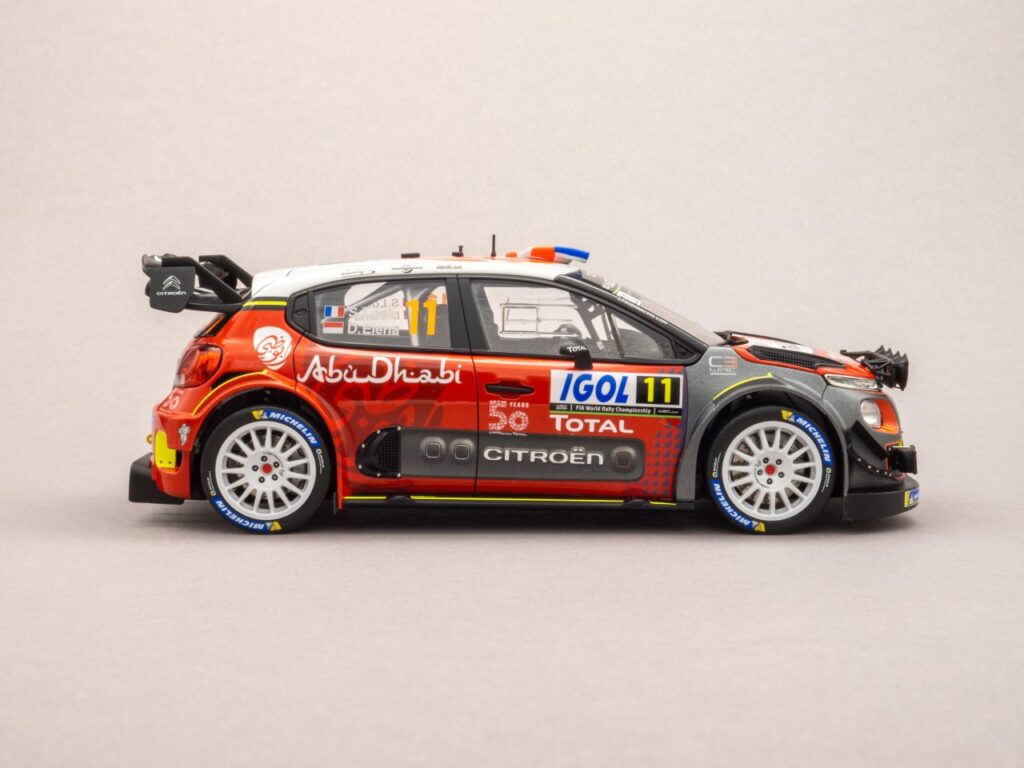
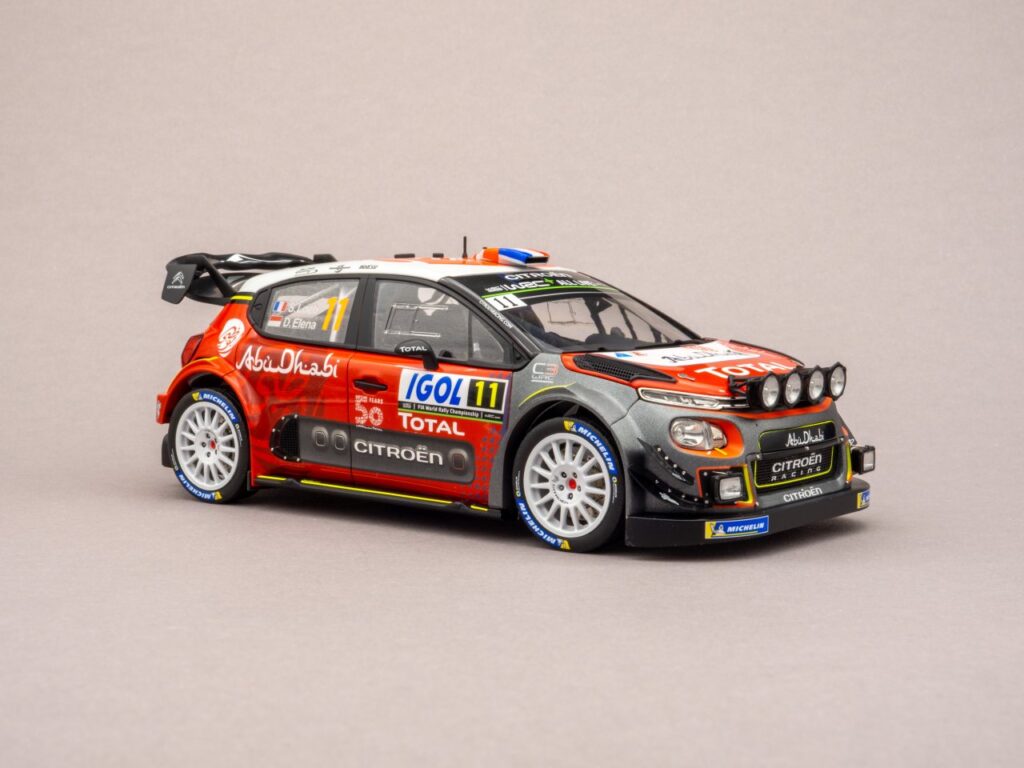
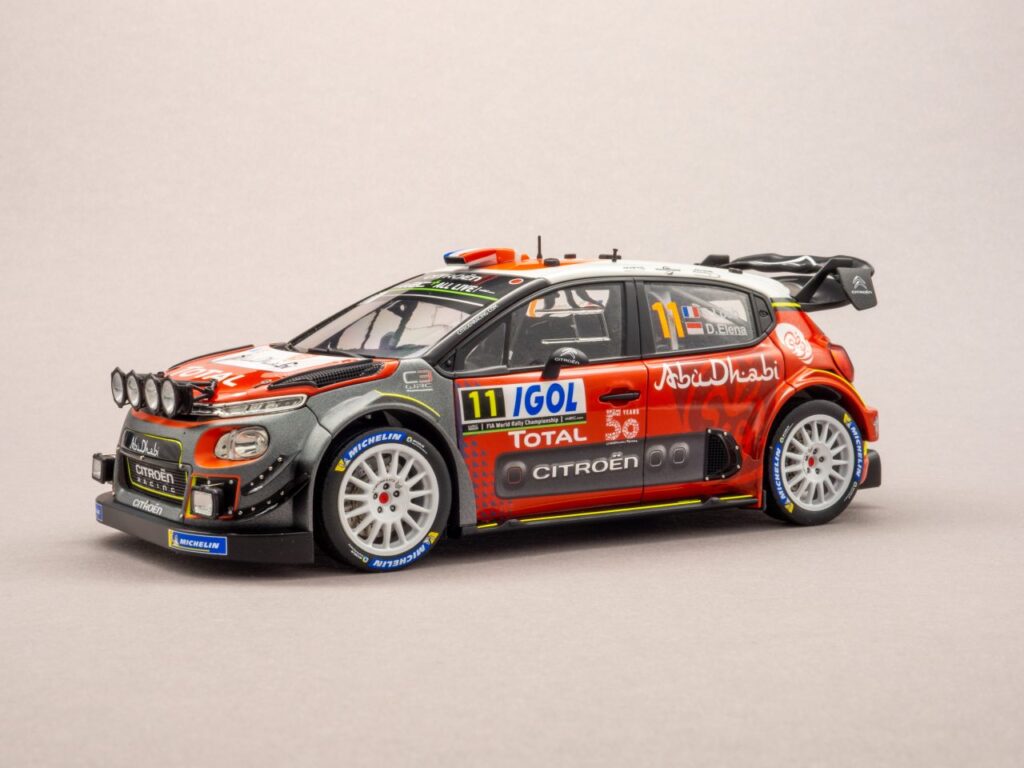
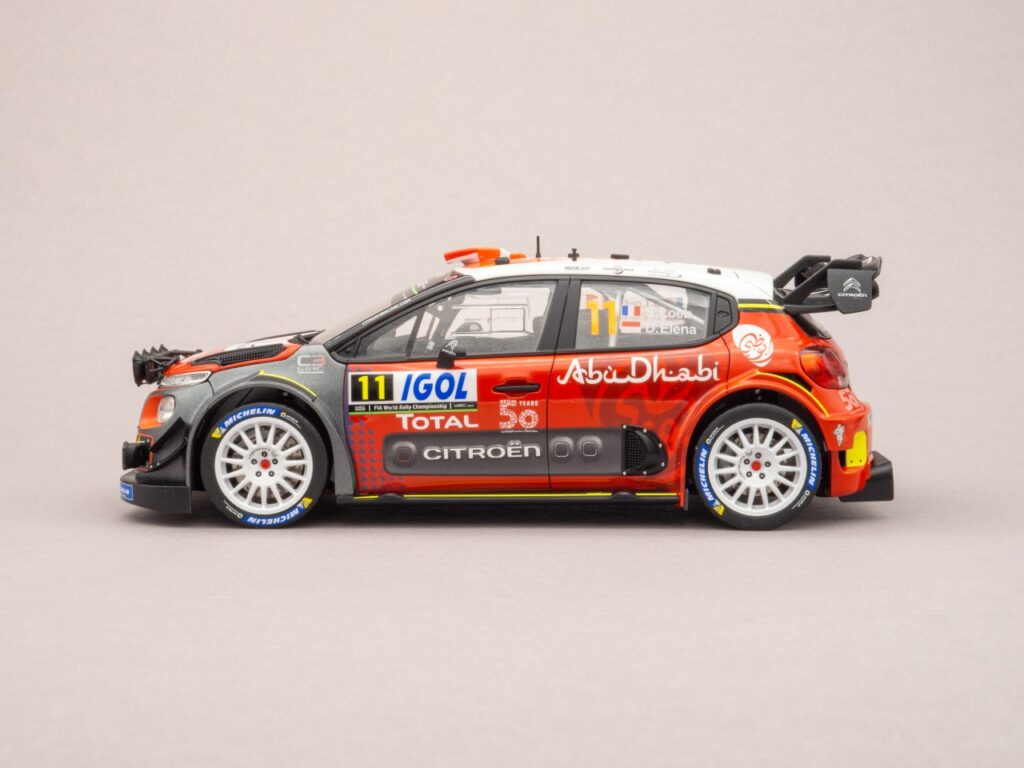

Detail up photos.


Thanks for watching — the build is finished.
More photos look in gallery.
Do not forget to visit my youtube channel.